Einleitung
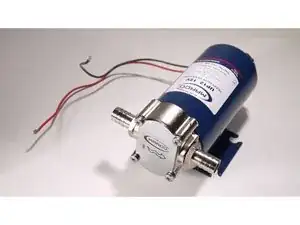
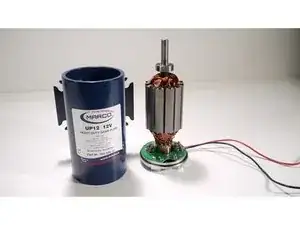
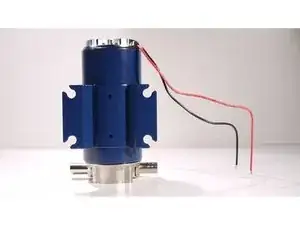
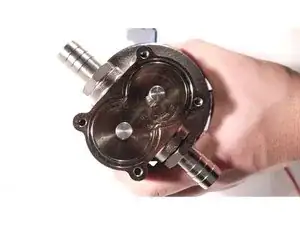
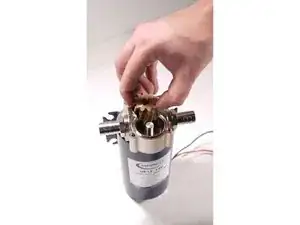
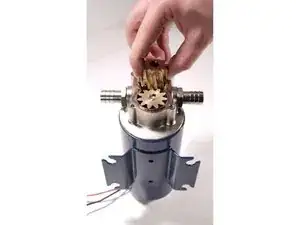
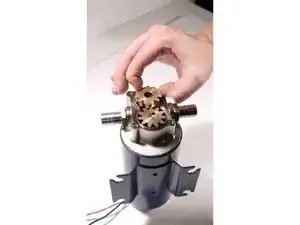
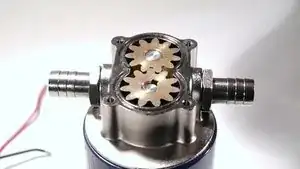
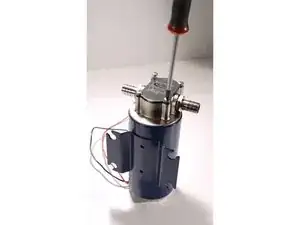
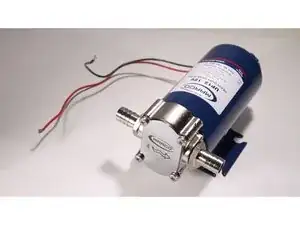
This guide works for every gear pump in the UP series from Marco.
Some parts of the assembly may be tricky; for this reason it's important to read the steps carefully.
The manufacturer's individual product pages are available at this link.
Werkzeuge
-
-
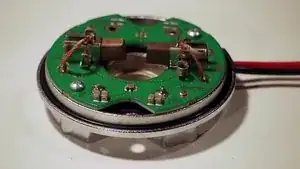
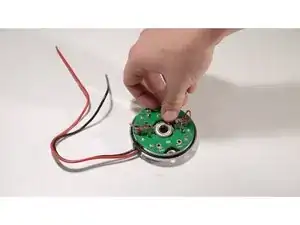
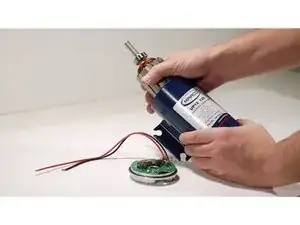
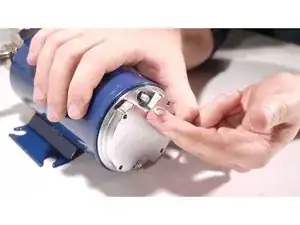
Place the brusholder on the table, face up.
-
Follow the steps in the video to move the brushes' springs out of the way.
-
Pull the brushes away from the center.
-
-
-
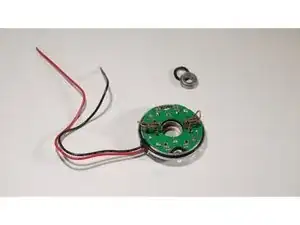
First, fit the round spring in the hole.
-
Then, insert the ball bearing and press a little to be sure that it touches completely on the bottom.
-
-
-
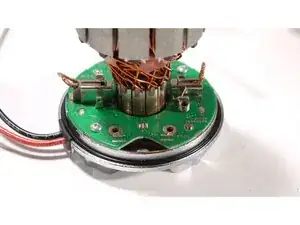
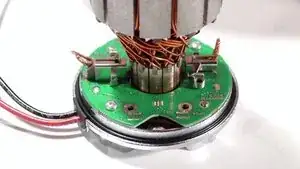
As seen in the video, lift brushes' wires: this helps the brush moving flawlessly in the brusholder.
-
-
-
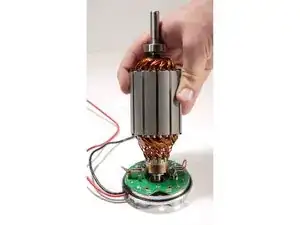
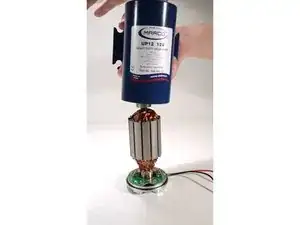
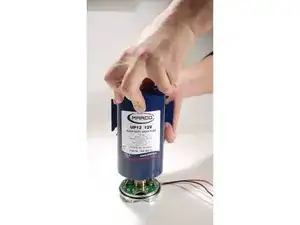
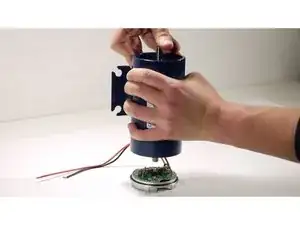
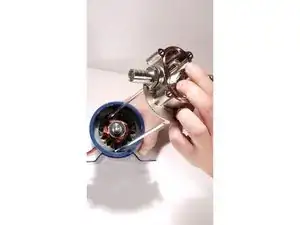
Place the stator tube over the rotor.
-
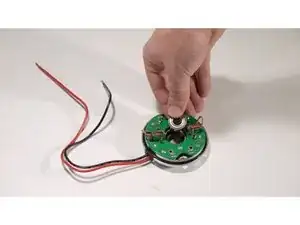
With your thumb, keep the rotor down. The magnetic field is strong and tries to lift it up: if it happens, you have to set the brushes back in place, like in the previous steps.
-
-
-
If you didn't manage to stop the rotor from lifting, pull it out from the stator tube by pulling from the top and pushing from the bottom.
-
Once you have both of them divided, start all over again.
-
-
-
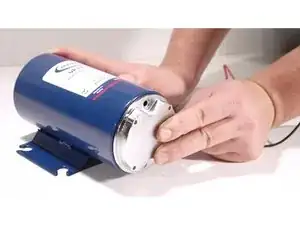
Make sure that the pump's brusholder is in the correct position, like in the first picture. You should have the cables looking down on the right and the MARCO logo in the sticker on the stator that looks toward pump's head.
-
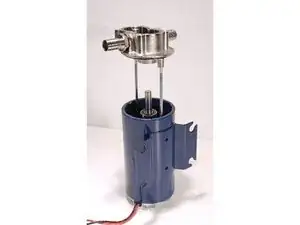
Insert the pump's head tie-rods in the holes between the magnets.
-
Push the tie-rods down to the end of the motor: they should come out on the other side, as seen in the next steps.
-
-
-
First insert the o-rings.
-
Then add the washers.
-
Eventually, close slightly with the nuts.
-
Before screwing firmly the nuts, shake a little the assembly or allow a few kicks with a soft mallet on the back of the pump, to adjust the mechanical parts to each other.
-
Firmly fix the nuts, but be prepared to untighten them as needed if the pump draws too much current.
-
-
-
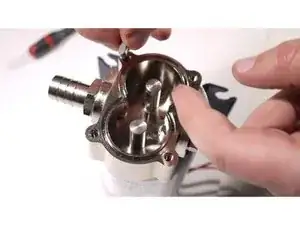
Turn the pump around and insert gear's key in the shaft.
-
This may be tricky on the smaller pumps: if you haven't enough room to slide it inside with the finger like in the pictures, you may use a magnetic flat screwdriver if you have a metal key or a flat screwdriver with some grease on it to make it sticky for the plastic ones.
-
-
-
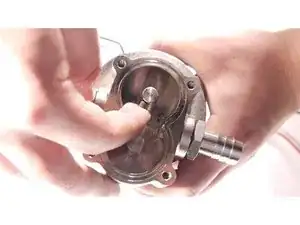
First, insert the gear with the key: it could be harder to do it once the other gear is in place.
-
Then, insert the second gear.
-
-
-
Follow the movements in the video to insert the o-ring in its slot.
-
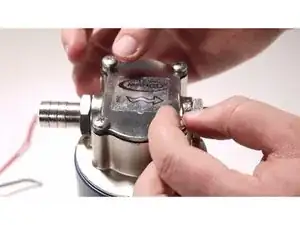
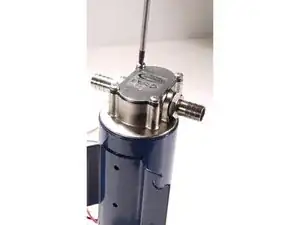
Watch the flow direction arrow on the sticker, and place the top plate as shown.
-
4 Kommentare
Marco Spa, I have a UP3/oil. When I put the port adapters on and the next adapters (3/8 > 5/8flr) then my AN10 hose fittings it all becomes too wide. I wish to make special adapters from the pump body direct to AN10. Can you please tell me the thread size of the pump body? It looks like 17x1.5mm but I wish to be very sure.
Gracie Mille
Ed LLorca
Hi! The pump body follows the G 3/8"-19 ISO 228 specification.
