Einleitung

  1. LHMhRZhKkTHeFA6I
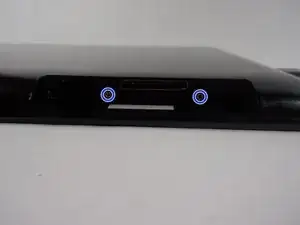
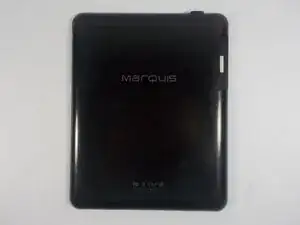
    • Remove the two screws using a PH #00 Phillips head screw driver.

  2. VNU25HeTsOoFqAk2
    VNU25HeTsOoFqAk2
    U5wHYy46OlMpc5DI
    uiCe36nX2ePXsOQZ
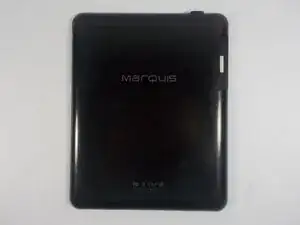
    • Then, place the device face down on a flat surface.

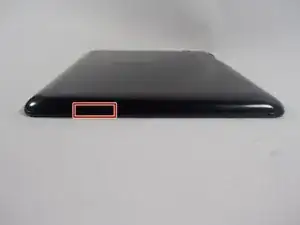
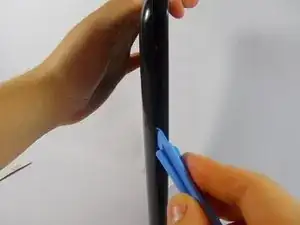
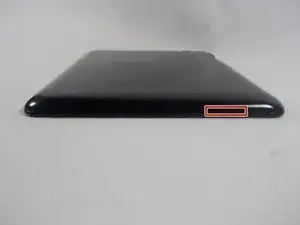
    • Insert one of the wide tipped, plastic opening tools into the top of the left speaker slot.

    • Be sure not to puncture the covering of the speaker.

    • After, pry the back plate open and slide the tool in a clockwise direction, moving it along the opening between the device and the back plate until you reach the power button.

  3. 6PI3olfSBl6XXb3k
    6PI3olfSBl6XXb3k
    LaSeGQRLZV3kyGKU
    • Insert opening tool into the right speaker slot.

    • Then, pry open the back plate of the device , and slide the tool counter clockwise along the device until you reach the charging port.

  4. FXpuk1KQYAfO1ha2
    • Remove the back plate and place it to the side of the device.

  5. aNiEjDaeufZ1PUIX
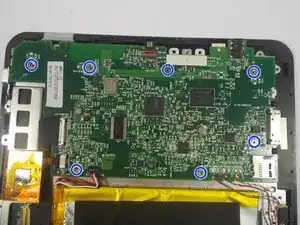
    • With the same screw driver, PH #00 Phillips head, remove the seven screws holding in the motherboard.

    • Place the screws somewhere safe where they wont fall.

  6. l156B55nlEhWQXeV
    l156B55nlEhWQXeV
    TswFWNpVt2h6ETsi
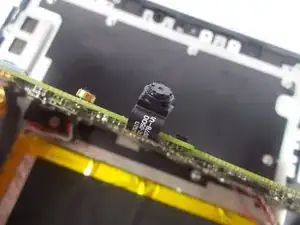
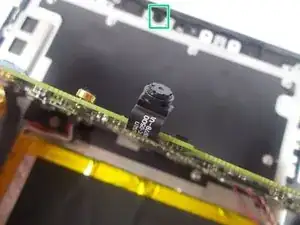
    • Pull the camera optic fiber out of the slot it is in causing the flap to pop right open.

    • Be sure not to damage the camera port.

  7. KixahlHXfZs5L3vO
    KixahlHXfZs5L3vO
    jNvQwjmATnWObdou
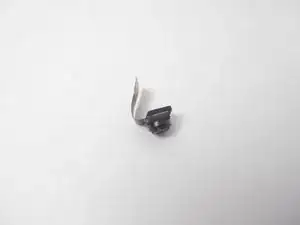
    • Last, Insert the new camera into the pinhole camera slot.

Abschluss

To reassemble your device, follow these instructions in reverse order.
Kathryn Sherlock

Mitglied seit: 24/03/15

127 Reputation

0 Kommentare