Einleitung
Werkzeuge
-
-
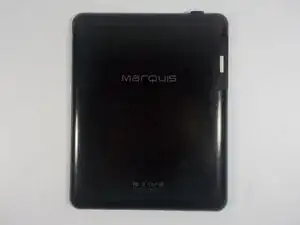
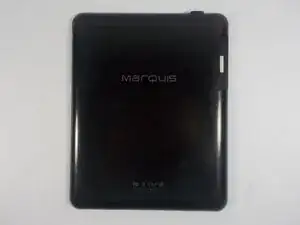
Place the device face down on a flat surface.
-
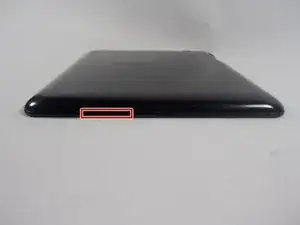
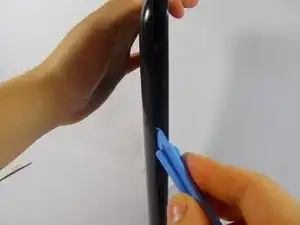
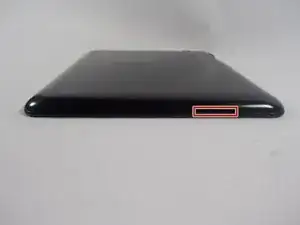
Insert one of the wide tipped, plastic opening tools into the top of the left speaker slot.
-
Pry the back plate open and slide the tool in a clockwise direction, moving it along the opening between the device and its back plate until you reach the power button.
-
-
-
Insert opening tool into the right speaker slot.
-
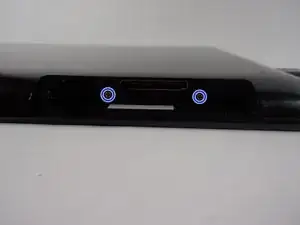
Pry open the back plate, and slide the tool counter clockwise along the device until you reach the charging port.
-
-
-
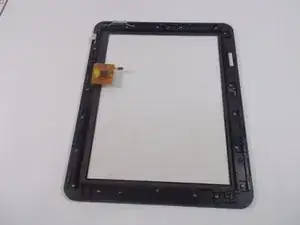
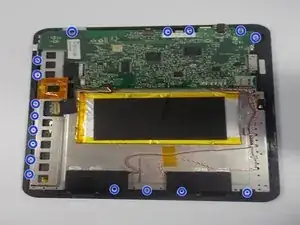
Remove the screws holding the metal frame plate in place.
-
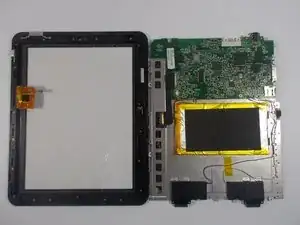
Remove the metal frame plate from the plastic housing.
-
To reassemble your device, follow these instructions in reverse order.
Ein Kommentar
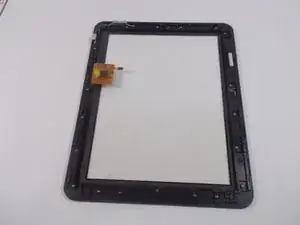
where can you order the front plastic panel from? and how much?
daf01ca -
