
Einleitung
-
-
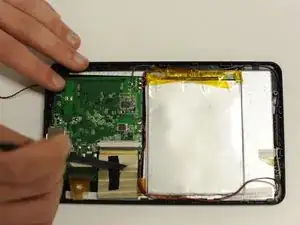
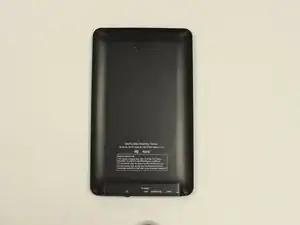
Use the plastic opening tool to separate the back cover plate from the front.
-
Insert the plastic opening tool in between the back plate cover and the top cover, then slide along edges to pry open.
-
-
-
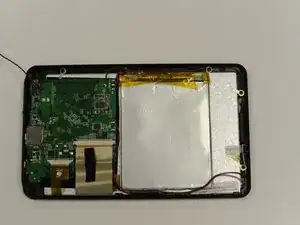
Locate the two ribbons attached to the device's motherboard.
-
Flip the small black plastic catches down by using the small end of the spudger.
-
Remove the ribbons by gently pulling them away from the motherboard.
-
-
-
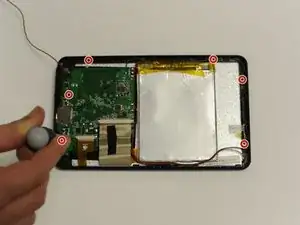
Remove the two screws from the motherboard.
-
Remove the four screws and metal holds from the edge of the device.
-
-
-
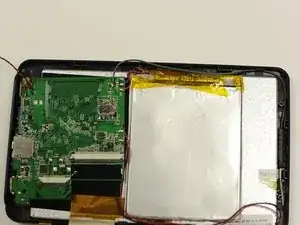
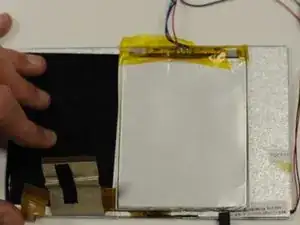
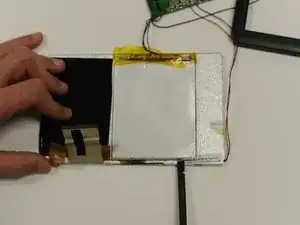
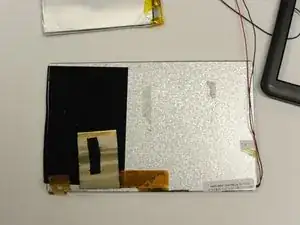
Remove the battery by using the spudger to gently pry the battery away from metal case around the front screen.
-


Abschluss
To reassemble your device, follow these instructions in reverse order.
