Einleitung
Werkzeuge
-
-
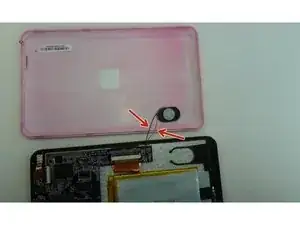
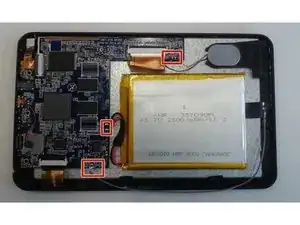
Caution: Before completely removing the cover take note of the wires connecting the speaker to the motherboard. Do not pull off the cover too forcefully or else the wires will become unsoldered from the motherboard. (Refer to picture 1)
-
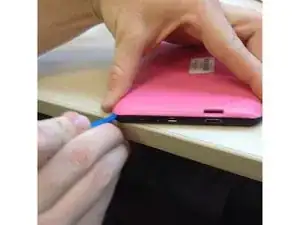
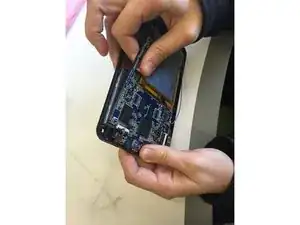
Use a plastic pry tool to gently pry open the tablet by inserting the plier in between the pink back cover and black screen frame.
-
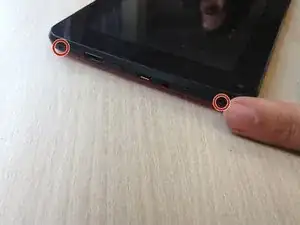
Be sure to go around all corners of the tablet carefully.
-
You may need insert a second pry tool close to the first to keep the cover from closing as you move around the edges.
-
-
-
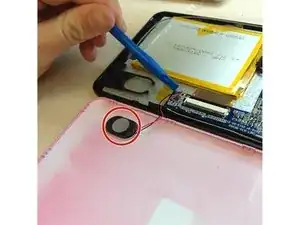
Slowly flip open the pink back cover and gently remove the speakers from it with a plastic plier.
-
-
-
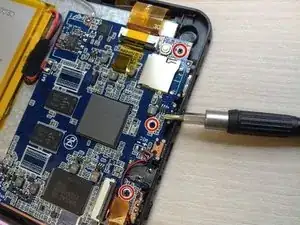
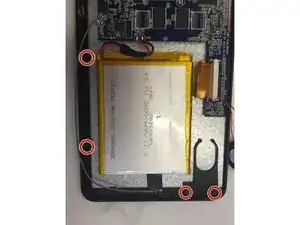
Use a PH 00 Phillips head screwdriver to remove the seven screws from around the perimeter of the interior screen frame.
-
3 screws are located on the bottom of the motherboard (as indicated in picture 1)
-
4 screws are located in brackets around the silver screen plate (as indicated in picture 2).
-
Note: The brackets (small black plastic pieces) will become loose when the screws are taken out and then can easily be removed.
-
-
-
Unsolder wires that are connected to the motherboard by pressing the solder tool to the flux and liquifying it. Then the wire can easily be pulled away from the motherboard.
-
To reassemble your device, follow these instructions in reverse order.
