Einleitung
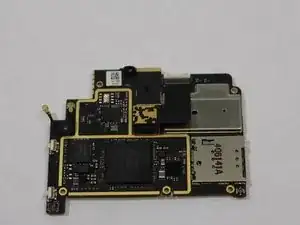
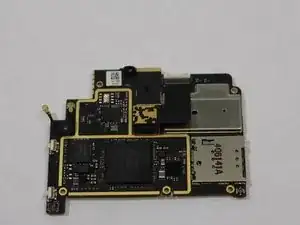
If you feel the need to replace your phone's motherboard, chances are the device isn't functioning at all. If you're sure that the failure in your device lies in the motherboard, then follow this simple guide to replace your Meizu MX3's motherboard.
Werkzeuge
-
-
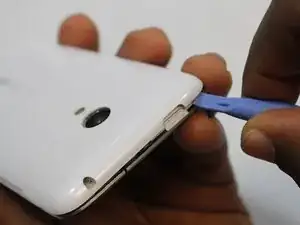
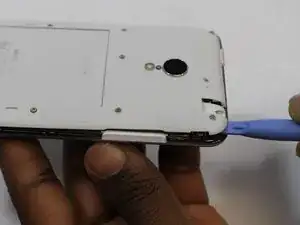
Insert the plastic opening tool in between the charging port and the back case of the device. Slowly move the tool to the left of the until you come the top by the power button.
-
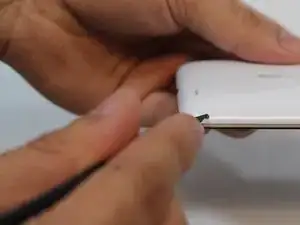
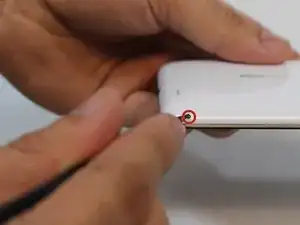
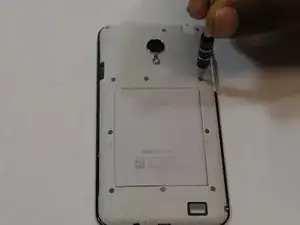
Using a paper clip or pointed edge spudger push in the pin located in the bottom right had corner of the back of the phone.
-
-
-
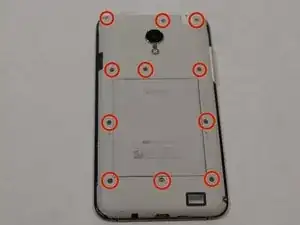
Using one of the small Phillips screwdriver bits provided unscrew the 11 screws present on the protective plastic plate under the device case.
-
-
-
After the 11 screws are loosened use the plastic opening tool and gently pry the protective plate from the back of the device.
-
Once the plate is off, use the same tool to gently remove the 3 ribbon cables located directly above the battery.
-
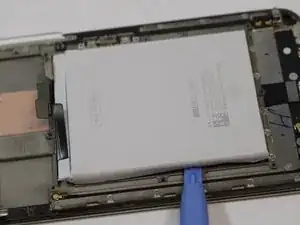
On the left side of the battery on the phone case, there is a groove where the plastic opening tool can be inserted to pry the battery up and out. The battery might be glued to the phone so exercise caution.
-
-
-
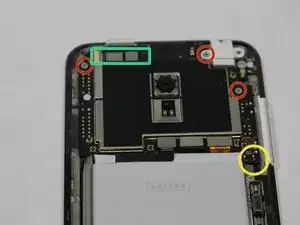
Remove the screws in the three red circles. Two of the three ribbon cables in the turquoise box will need to be removed like those above the battery. Use the pointed edge spudger to pull the third cable out to the left.
-
Insert the spudger on top the ribbon cable but below the circuit board in the yellow circle, and pry that ribbon cable free. Remove the headphone jack as see in the picture.
-
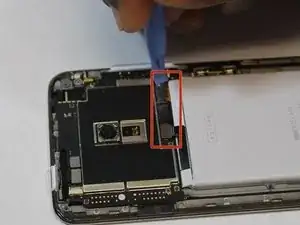
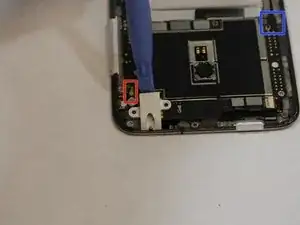
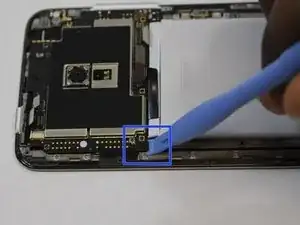
Use tweezers to disconnect the wire connector in the red box. As seen in the picture gentle insert the plastic opening tool and unhook that cable and begin to lift the circuit board.
-
-
-
After removing all screws and disconnecting all cables, the board should easily lift up off of the device housing.
-
To reassemble your device, follow these instructions in reverse order.
