Einleitung
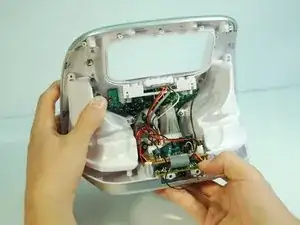
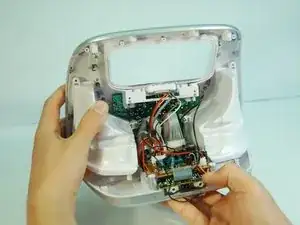
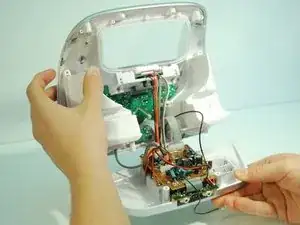
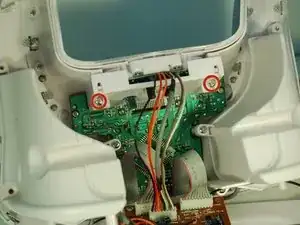
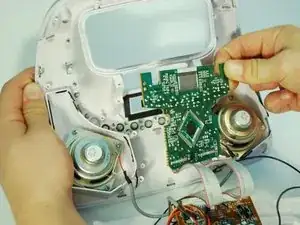
You may have broken the display to your Minimove boombox. This guide will direct you in removing the current display and re-installing a new one. The display is part of a daughterboard that must be replaced altogether if your display is not working. This guide will require extensive disassembly of the Minimove.
Werkzeuge
-
-
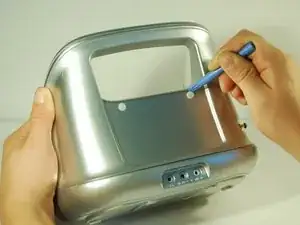
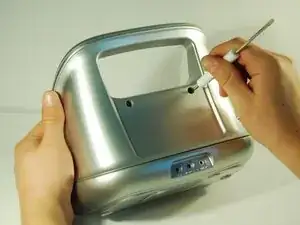
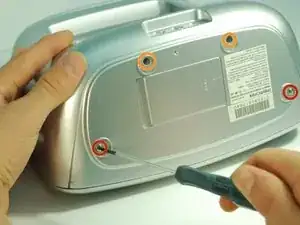
Remove the two plastic screw covers on the back of your Minimove by inserting the flat end of your plastic opening tool between the screw cover and the back panel and prying it out.
-
-
-
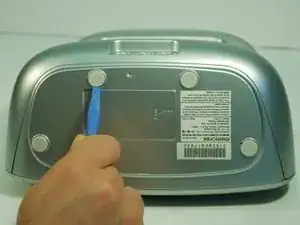
Remove the four grey screw covers by inserting the plastic opening tool underneath the screw covers and rotating around the circumference.
-
-
-
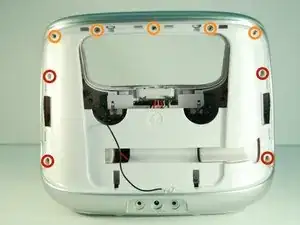
Remove the two 8 mm screws with a Phillips #1 screwdriver.
-
Remove the two 12 mm screws with a long Phillips #1 screwdriver.
-
-
-
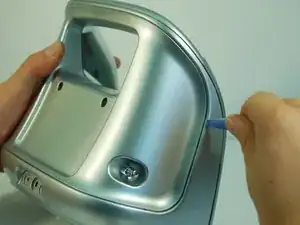
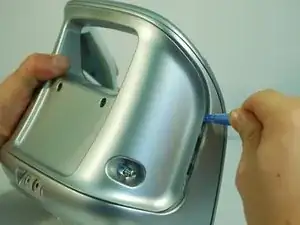
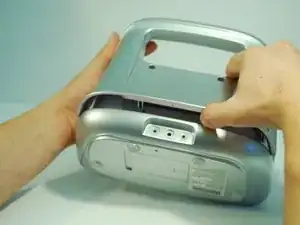
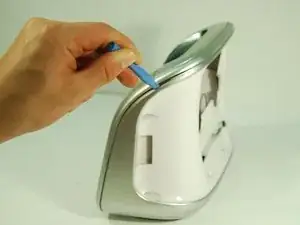
To remove the back panel, use the plastic opening tool and gently work around the outline of the panel. The outline wraps around the sides and can be spotted at the top back of the device.
-
-
-
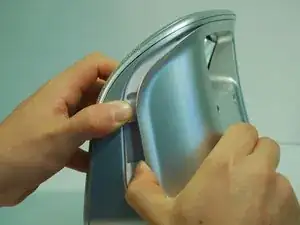
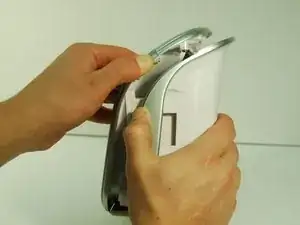
After loosening the panel with the plastic opening tool, use moderate force to pry open the panel with your hands.
-
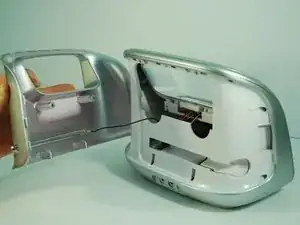
Carefully pull the panel off.
-
-
-
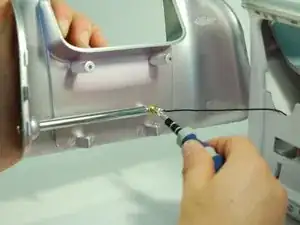
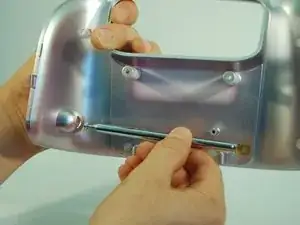
Use a Phillips #1 screwdriver to detach the wire from the back panel by removing the 8 mm screw connecting the wire to the antenna.
-
-
-
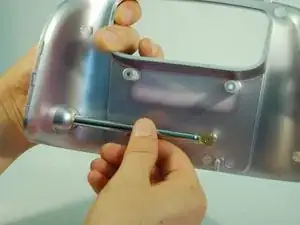
If desired, the antenna can now be removed by pulling inwards and horizontal to the panel bottom.
-
-
-
Use the Phillips #1 screwdriver to remove the four 12 mm screws.
-
Remove the five 6 mm screws at the top with the same screwdriver.
-
-
-
Pry open the inner back panel by inserting the plastic opening tool in the crack at the top corner.
-
Use moderate force to pry it open and take the cover off.
-
-
-
Remove the bottom panel of the boombox by carefully pulling the panel straight backwards from the boombox until the boards are free.
-
-
-
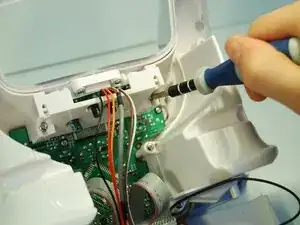
Use a Phillips #1 screwdriver to remove the two 8 mm screws encasing the iPod adapter near the top of the device.
-
-
-
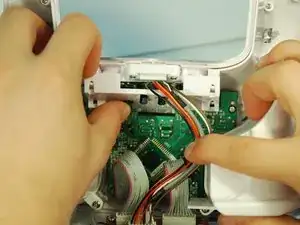
Use moderate force to pry the plastic casing off with your finger while pushing with your thumb against the black, round capacitors.
-
-
-
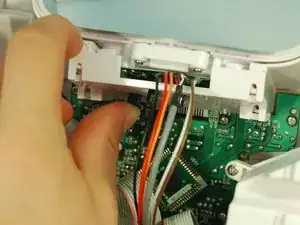
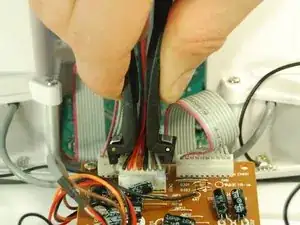
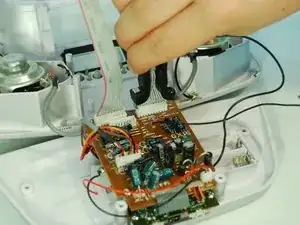
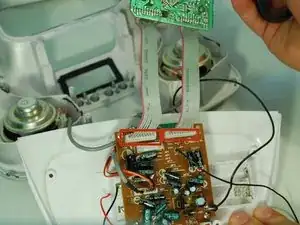
Follow the wires attaching to the iPod adapter and use the IC (Integrated Circuit) extractor to remove the indicated wire connectors from the motherboard.
-
Pinch the IC extractor just under the top lip of the wire housing.
-
-
-
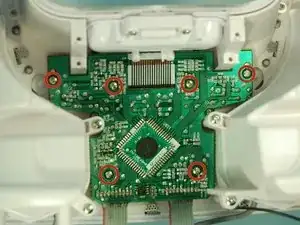
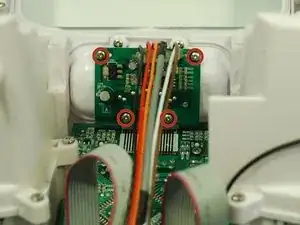
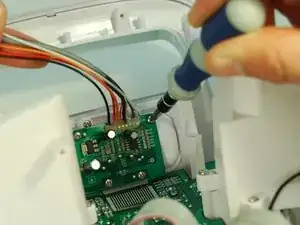
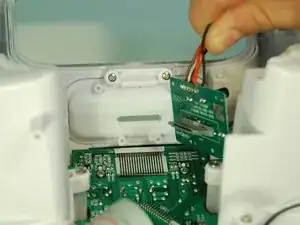
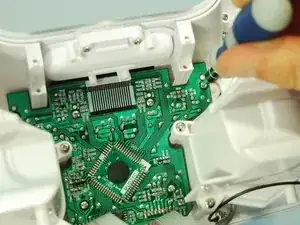
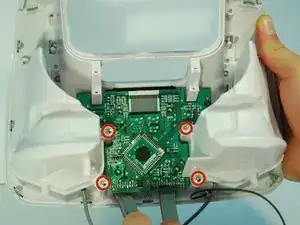
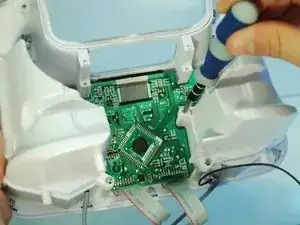
Going back to the small green daughterboard, unscrew the four 6 mm screws with a Phillips #1 screwdriver.
-
-
-
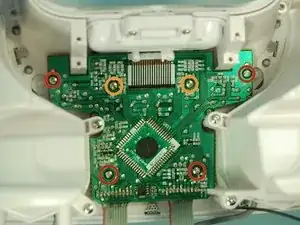
Locate and unscrew the four 8mm screws (in red) along the edge with a Phillips #1 screwdriver.
-
Unscrew the two 12mm screws (in orange) on the inside of the daughterboard.
-
-
-
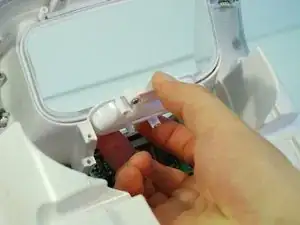
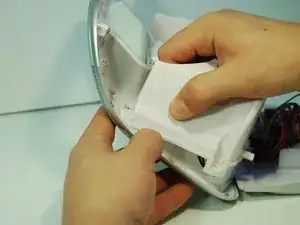
Slide out the iPod adapter housing by applying moderate pressure with your two index fingers from the inside as well as your thumb downward.
-
-
-
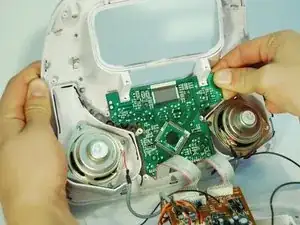
Grab the outside of one speaker housing and pull outwards (starting with the top) while holding the main casing still with your other hand.
-
Remove the other housing on the opposite side the same way.
-
-
-
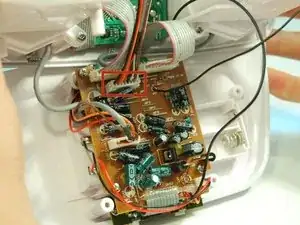
To finish, disconnect the two wires outlined in red rectangles that are connected to the motherboard using the IC extractor.
-
Pinch the IC extractor just under the top lip of the wire housing and pull firmly out.
-
To reassemble your device, follow these instructions in reverse order.
