Einleitung
Werkzeuge
-
-
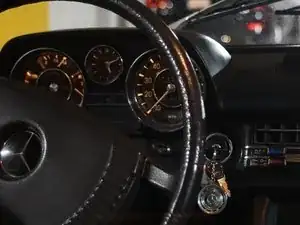
Instrument cluster pulls out a few centemetres. Make use of the gap behind the cluster to remove:
-
- Speedo cable (use locking pliers to get started)
-
- Electrical pin connector (just pulls out)
-
- Oil pressure sensor (10mm)
-
- Pin connector on the right (just pulls out)
-
After that you can pull out and set aside the cluster
-
-
-
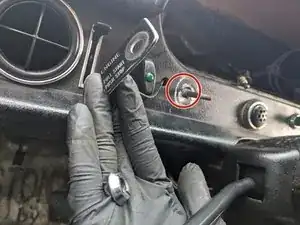
Unscrew the "start engine" knob. If the whole shaft turns, grip the metal shaft with pliers and knob will unscrew counter clockwise.
-
-
-
Unscrew the metal bezel that fits flush on the front of the dash. The bezel has two notches in it (at 12 o'clock and 6 o'clock) so if it's tight you can fit a flathead screwdriver in one notch and lightly tap it to get the unscrewing started. It is usually only hand tight.
-
Engine "pull start, push stop" sign will then pull out. Take care not to snap the wire that fits into the light in the back of it. It breaks easily.
-
-
-
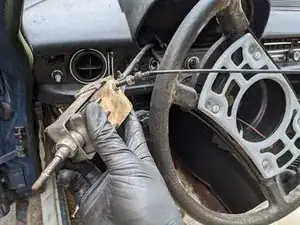
Unscrew the connector that goes from the back of the pull knob assembly to the ignition assembly (10mm).
-
-
-
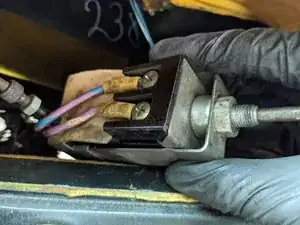
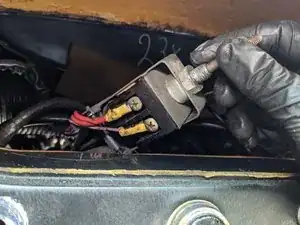
On either side of the gorilla knob assembly are the wiring connectors (two on each side). These need to be unscrewed (Phillip's head screws).
-
Remember to make a note of which connectors screw into which holes
-
-
-
Now, with a little persuasion, you should have enough play in the gorilla knob assembly to free it from the dash.
-
Now, we need to move on to the engine bay side.
-
-
-
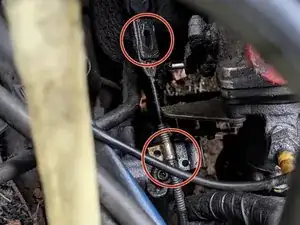
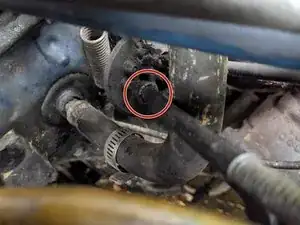
Standing on the left side of the, look down through the engine bay where you'll be able to spot the arm and lever for the pull start mechanism.
-
Pull on the cable from inside the car (get someone to do this if you can't reach) and you'll see which cable moves.
-
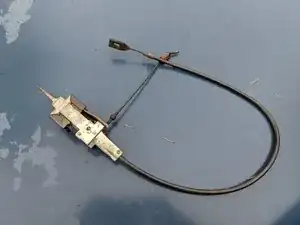
The end of the cable has a long notch in it (top of photo) that fits into a metal finger on the arm/lever. It should be held on to the arm by a split pin. Pull this out with some long nosed pliers and the end of the cable will be freed.
-
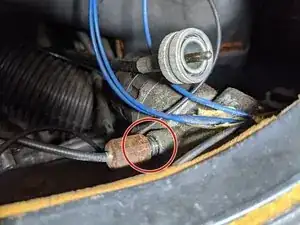
Next, undo the brass coloured flathead screw (lower down the cable), to completely free the cable from the arm/lever.
-
The screw fits into a square fitting on the underside of the brass tab. Take care not to lose it when you unscrew it. I suggest putting a magnetic dish underneath to catch it if it falls.
-
-
-
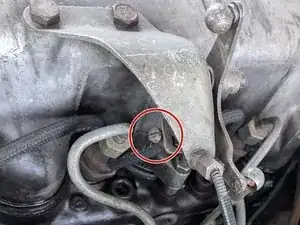
Remove the throttle cable (flathead screw) from the mount and pull the cable out of the assembly.
-
You need to completely free the throttle cable at this end to allow the necessary movement for the next step.
-
Make a note of how much cable protrudes from the end of the assembly so you can put it back in the same manner later.
-
-
-
This is a fiddly step so take your time. You must now push the engine bay end of the gorilla knob cable through the rubber grommet from the engine bay to the inside of the car.
-
Firstly, pull the grommet itself out of the hole in the engine bay closer to you to give yourself more room to work.
-
Now, pull the throttle cable through the grommet and set it aside. Take note of which hole it went through for reassembly later.
-
Now you can work the gorilla knob cable through the hole towards the engine bay. It takes some persuasion but it does go through.
-
-
-
Once you've pulled the cable through the grommet you'll need to feed it through the wires in the back of the dash area.
-
This is a simple enough job. Take care to avoid catching the cable on any other electrical connectors.
-
Now, you'll be able to pull out the entire mechanism. Job done!
-
To reassemble your device, follow these instructions in reverse order.
