Einleitung

  1. htRVusYYZ33RvRZy
    htRVusYYZ33RvRZy
    S4Aya21WutNAgIHW
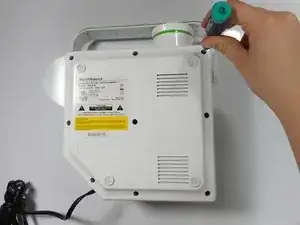
    • Flip the projector onto its back and unscrew the nine 15mm screws using the Phillips #0 screw driver.

  2. AXCDhLDCAFxZhuIK
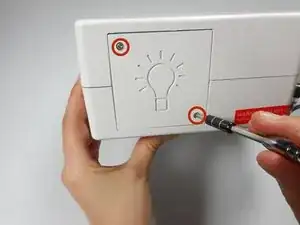
    • Flip the projector right side up and unscrew the two 12mm screws on the light bulb panel located at the rear of the projector with a Phillips #0 screw head.

    • The bottom right panel screw does not come completely out the panel door.

  3. ERl1a2hs2MKOdQ3D
    ERl1a2hs2MKOdQ3D
    sZ2OrjGBbI1FKAtp
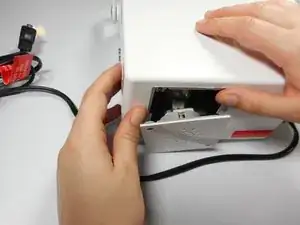
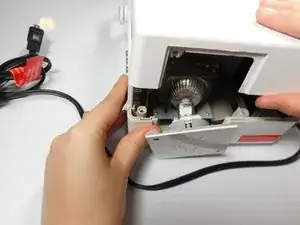
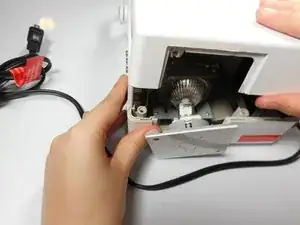
    • Using your hands, gently pry the top and bottom of the projector casing apart.

Abschluss

To reassemble your device, follow these instructions in reverse order.
Winthrop Townsend

Mitglied seit: 08/01/15

281 Reputation

0 Kommentare