Einleitung
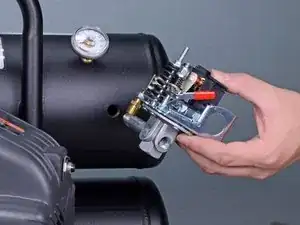
Use this guide to remove or replace the pressure switch on a MiTM Air Compressor AM1HE0205HD 2014.
-
-
Ensure the compressor is unplugged.
-
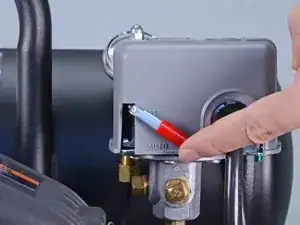
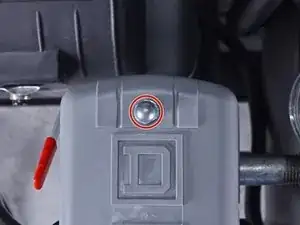
Flip the pressure switch lever up to the off position.
-
-
-
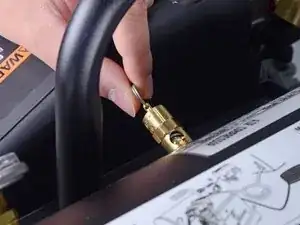
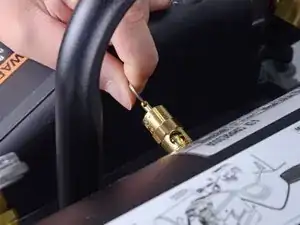
Pull the ring on the safety release valve away from the compressor tank to drain the air from the compressor.
-
-
-
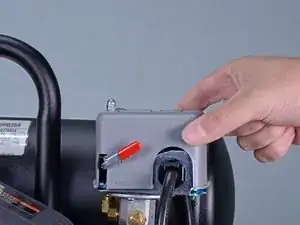
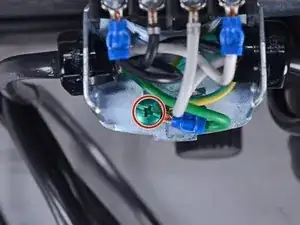
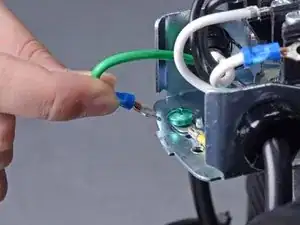
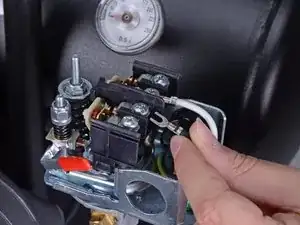
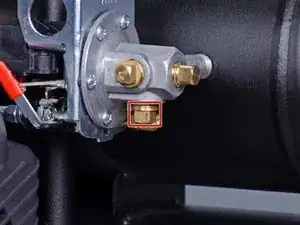
Slide the black power wire's spade terminal connector straight out from under its screw.
-
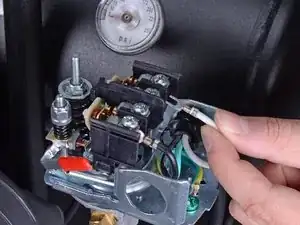
Slide the green ground wire's spade terminal connector straight out from under its screw.
-
-
-
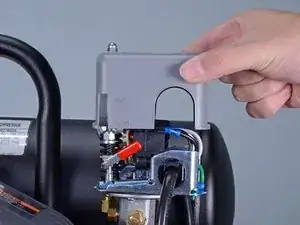
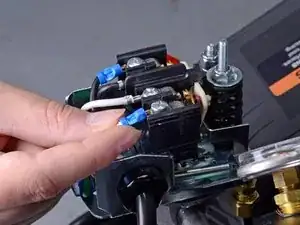
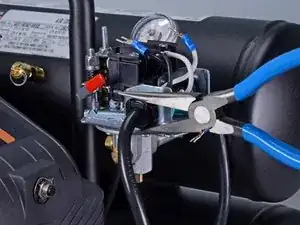
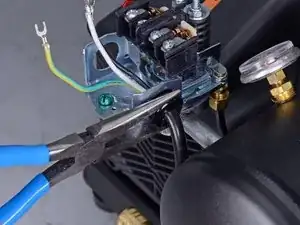
Use a pair of needle-nose pliers to squeeze the locking tab on the power cord bushing inwards, toward the cord.
-
While squeezing the locking tab, slide the bushing out of its hole in the pressure switch.
-
-
-
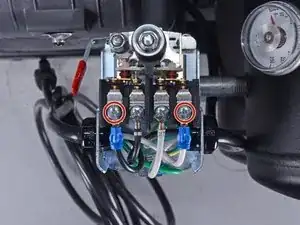
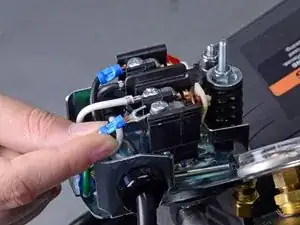
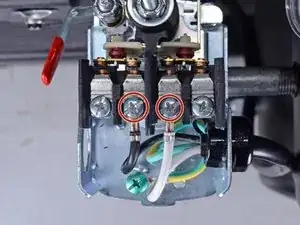
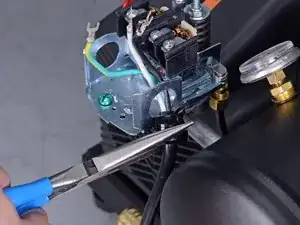
Use a Phillips driver to loosen the two remaining screws securing secondary power cord wires in the pressure switch.
-
-
-
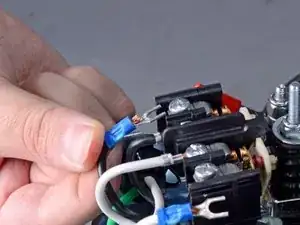
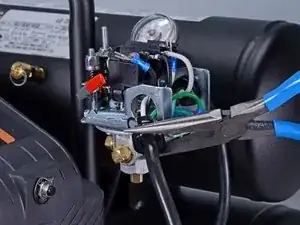
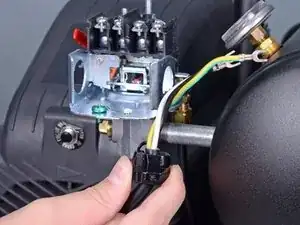
Use a pair of needle-nose pliers to squeeze the locking tab on the secondary power cord bushing inwards, toward the cord.
-
While squeezing the locking tab, slide the bushing out of its hole in the pressure switch.
-
-
-
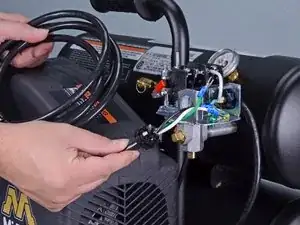
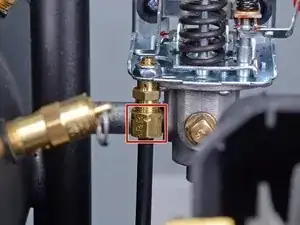
Use a 1/2 inch wrench to loosen and remove the air hose from the bottom of the pressure switch.
-
-
-
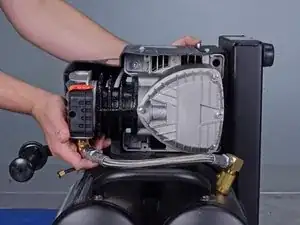
Tilt the compressor on its side, so that the air tanks are on the bottom.
-
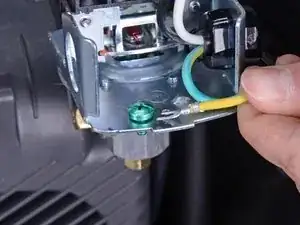
Use a 7/16 inch socket to remove the four bolts securing the support bracket to the compressor base.
-
-
-
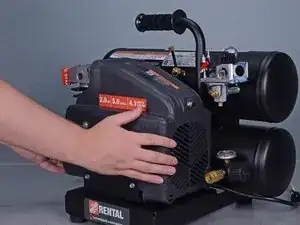
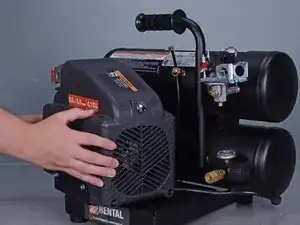
Tilt the compressor back onto its feet, while supporting the compressor motor.
-
Slide the compressor motor away from the air tanks so that you have enough space to rotate the pressure switch.
-
-
-
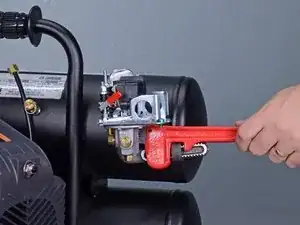
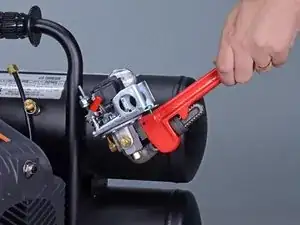
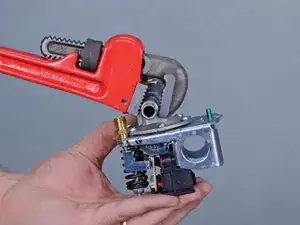
Use a pipe wrench to grasp the air tank nipple connecting the pressure switch to the air tank.
-
Use the wrench to rotate the nipple and the switch together counterclockwise far enough to access the brass plugs on the bottom of the pressure switch.
-
-
-
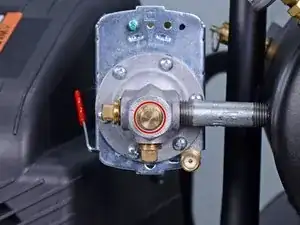
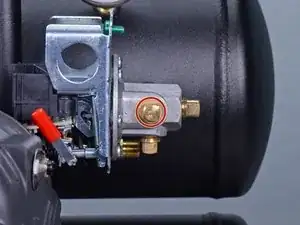
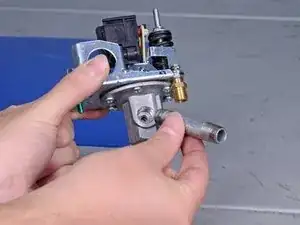
Use a 3/8 inch open-ended wrench to remove the three square head brass plugs on the bottom of the pressure switch.
-
To remove the plug that opposite the air tank nipple, brace the pressure switch assembly with a pair of channellock pliers or something similar.
-
-
-
Rotate the pressure switch and air tank nipple counterclockwise together to remove them from the air tank.
-


To reassemble your device, follow these instructions in reverse order.
