Einleitung

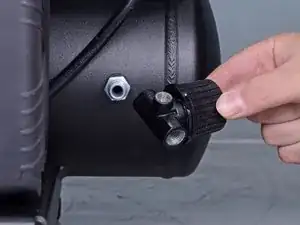
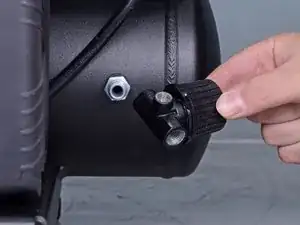
Use this guide to remove or replace the pressure regulator on a MiTM Air Compressor AM1HE0205HD 2014.

  1. pZUNiUJVaw3FUiqm
    pZUNiUJVaw3FUiqm
    vYZiIpIEvmPdRJcX
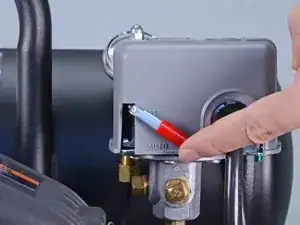
    • Before you begin, ensure the device is powered down and cool to the touch.

    • Ensure the compressor is unplugged.

    • Flip the pressure switch lever up to the off position.

  2. UDQbXmVLjSt6MniU
    UDQbXmVLjSt6MniU
    sr3YEtFhYRn2IjO4
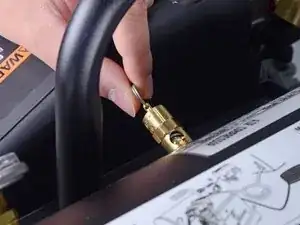
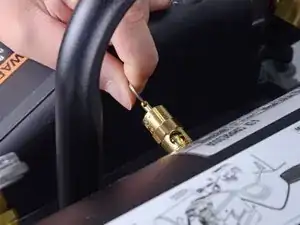
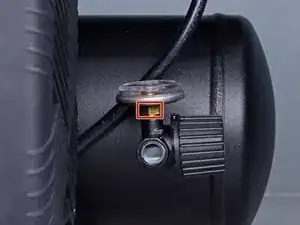
    • Pull the ring on the safety release valve away from the compressor tank to drain the air from the compressor.

    • Ensure all air is drained from the tank before beginning repairs.

  3. OjalisCMegD55TDG
    OjalisCMegD55TDG
    fMW2n2x6pnX6uXBZ
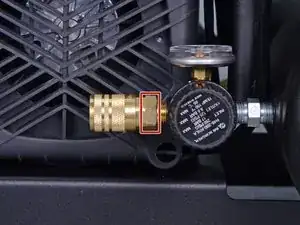
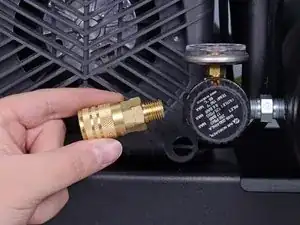
    • Use a 3/4 inch wrench to loosen and remove the air hose quick-connect socket.

  4. ElVQ1JA2AIIPoTil
    ElVQ1JA2AIIPoTil
    m24KHjekEIFWNILp
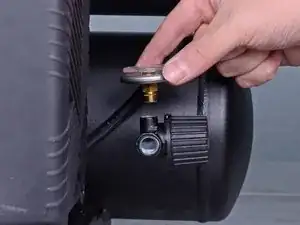
    • Use a 7/16 inch wrench to loosen and remove the pressure gauge.

  5. HBByvrJLBZq4nWp2
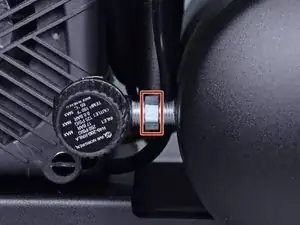
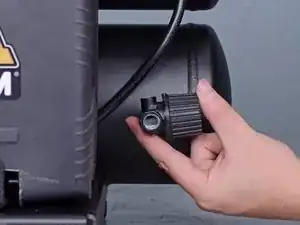
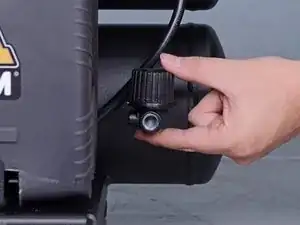
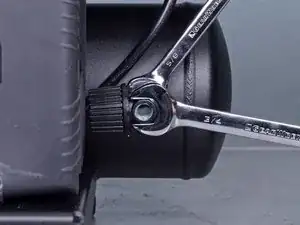
    • Use a 5/8" wrench to loosen the air tank nipple from the air tank enough to be able to rotate it with the regulator.

  6. VLJKOyu4YQ2D4FpS
    VLJKOyu4YQ2D4FpS
    qVBOr6TYHVe13lZJ
    Y2YdKVSu3jSNhRgK
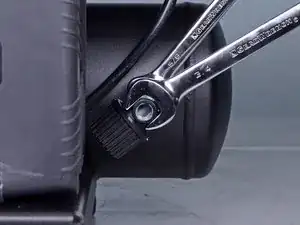
    • Rotate the regulator 180°, so the bottom of the regulator faces away from the compressor motor.

  7. iCCpYhJIsjNEX2lu
    iCCpYhJIsjNEX2lu
    aJ2KPmevfAKoBmy4
    GbjRXBpM3j3vhybe
    • With a 5/8 inch wrench bracing the air tank nipple, use a 3/4 inch wrench to loosen and remove the regulator.

    • Make sure the nipple stays connected to the air tank.

    • During reassembly, tighten the air tank nipple to the air tank, and then tighten the regulator to the nipple.

Abschluss

To reassemble your device, follow these instructions in reverse order.
Adam O'Camb

Mitglied seit: 11/04/15

178852 Reputation

0 Kommentare