Einleitung

Use this guide to remove or replace the adjustable regulator on a Mi-T-M Air Compressor AM1-PH65-08HD 2012.

  1. 1BMEmi1dCWvFxJXk
    1BMEmi1dCWvFxJXk
    rsdlmQMNjrrrfgJx
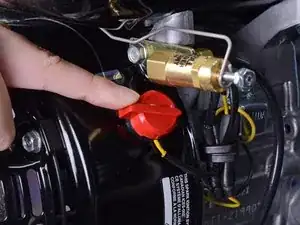
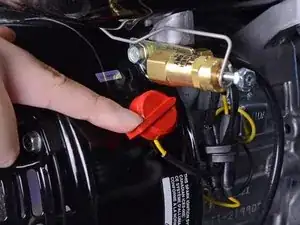
    • Before you begin, make sure the device is powered down and cool to the touch.

    • Flip the engine switch into the OFF position.

  2. 6QFrwaUyZaV352YF
    6QFrwaUyZaV352YF
    UBFBdZ5EDZqEIq3V
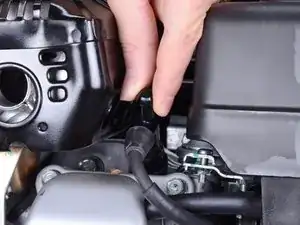
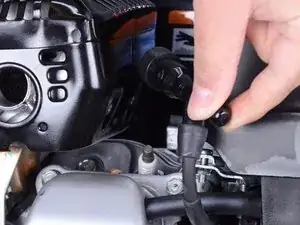
    • Grab the plastic housing at the end of the spark plug wire.

    • Pull firmly to disconnect the wire from the spark plug.

  3. JNRgETcPYiaDvIVA
    JNRgETcPYiaDvIVA
    q21e555dEIBpb5jn
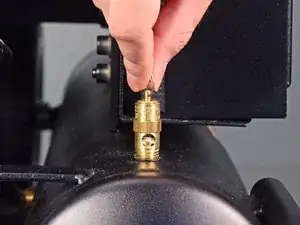
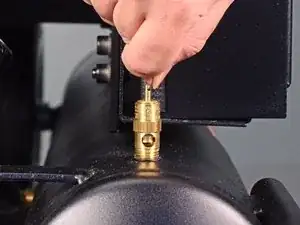
    • Pull the ring on the safety relief valve away from the compressor tank to drain the air from the compressor.

    • Ensure the tank is completely depressurized before starting repairs.

  4. n52mJXllognBC4Ql
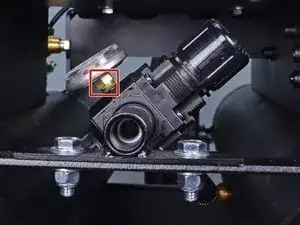
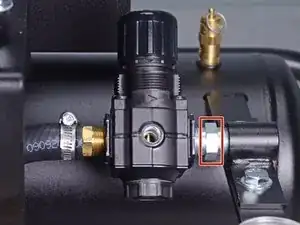
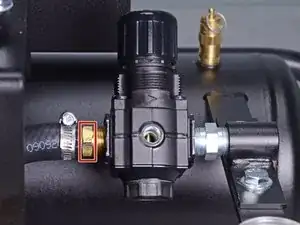
    • Use a 7/16 inch wrench to loosen the nut securing the pressure gauge to the regulator housing.

  5. MuACb5d5OQrAZLHQ
    MuACb5d5OQrAZLHQ
    t3spQTXguhEqNTcX
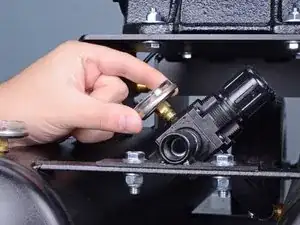
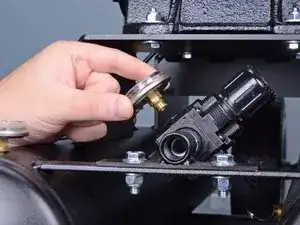
    • Remove the pressure gauge.

  6. fAANPEOcg4WZKsDG
    fAANPEOcg4WZKsDG
    PjUFiP4rsW5nuqkx
    EgNaqQblmhUtOxjO
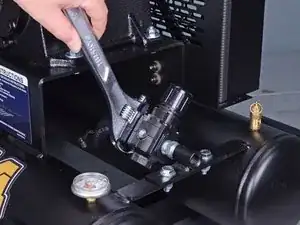
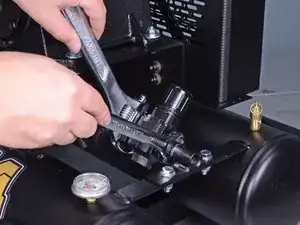
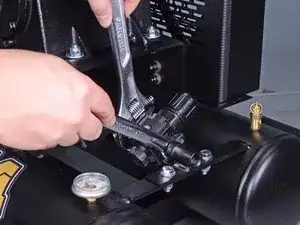
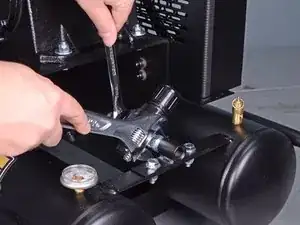
    • Fit an adjustable wrench to the black metal square on the hose side of the regulator.

    • Use a 3/4 inch wrench to hold the nipple in place.

  7. v2XHAFyWADX6gFKm
    v2XHAFyWADX6gFKm
    Wt1kAxZUfJYGpZ5G
    • Push the adjustable wrench to break the regulator loose from the threaded nipple.

  8. GSQhiyK6NcGhMXxp
    GSQhiyK6NcGhMXxp
    WLONOmwyhiMbpGXD
    j3EQwEiIs6PQOoaX
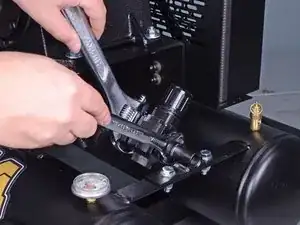
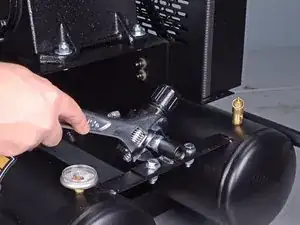
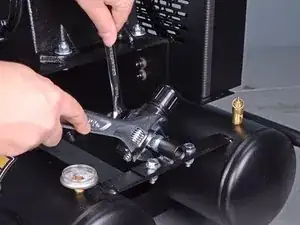
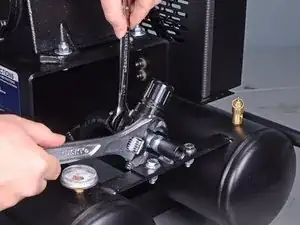
    • Fit an adjustable wrench to the black metal square on the bracket side of the regulator.

    • Use an 11/16 inch wrench to hold the hose barb.

  9. VTUvcLnHaWGJa3ts
    VTUvcLnHaWGJa3ts
    5uCtFAUa4nayEc5c
    • Break the hose barb fitting loose from the regulator.

  10. 3vmJWqafF42YJsS2
    3vmJWqafF42YJsS2
    DIl3FjPVWBPwfgok
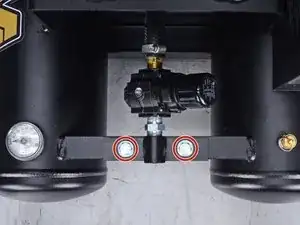
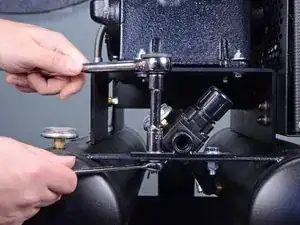
    • Use a 1/2 inch socket and wrench to remove the two bolts and accompanying nuts securing the regulator mounting bracket to the frame.

    • Don't forget to remove the two washers as well.

  11. PI6GdlAlWTWKsy1C
    PI6GdlAlWTWKsy1C
    Mpl211UfSKvqPegv
    RqT4aBlVmsoTMJI4
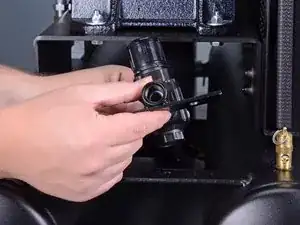
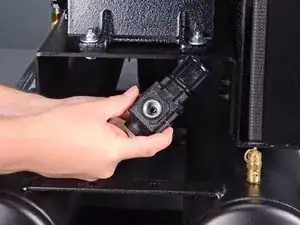
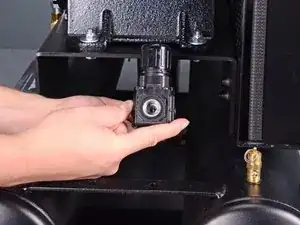
    • Lift the regulator off of the mounting bracket.

    • Use your fingers to unscrew and remove the mounting bracket from the regulator.

  12. 3HnClHGUC1qBOgbq
    3HnClHGUC1qBOgbq
    4nkk1OpCSdBdgOUl
    JbgJVcBMJJ1TMfaM
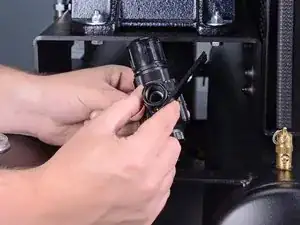
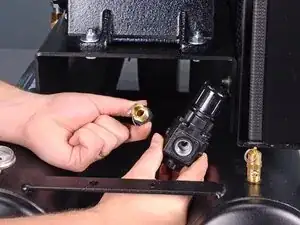
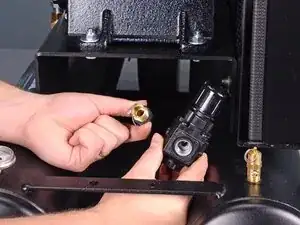
    • Unscrew the adjustable regulator from the hose barb.

    • Remove the regulator.

  13. 3vQCiLZFAdviPsUJ
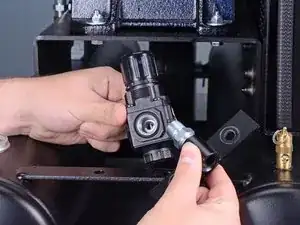
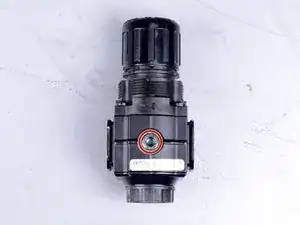
    • Use a 3/16 inch hex key to remove the plug from the regulator.

    • Only the regulator remains.

Abschluss

To reassemble your device, follow these instructions in reverse order.
Kyle Smith

Mitglied seit: 01/02/21

35834 Reputation

0 Kommentare