Einleitung

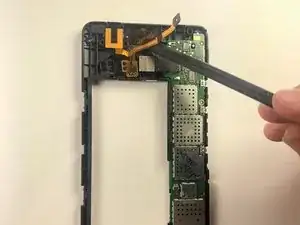
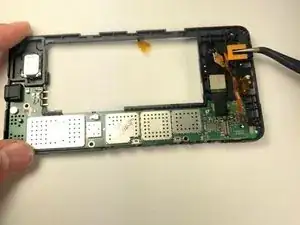
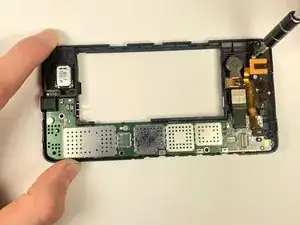
This guide is used to help users to remove the headphone jack of the Microsoft Lumia 640 LTE. This will help headphones to work on the phone.

  1. ujdcxRZOMC36mCYg
    ujdcxRZOMC36mCYg
    6twbpIcTCwk1pKkA
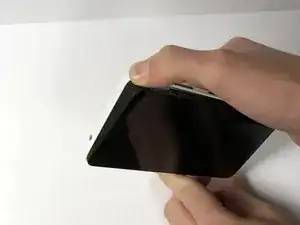
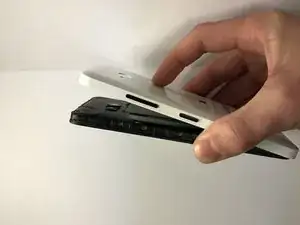
    • Use your thumb or fingernail on the edge/corner of the phone to pry the back cover off the phone.

    Cant do it. to tough.

    cass_abubu -

  2. dF5GudLumxOGl3kR
    dF5GudLumxOGl3kR
    QpK4JaqrE6WGMAiv
    SCQnryWoBmyMsPOe
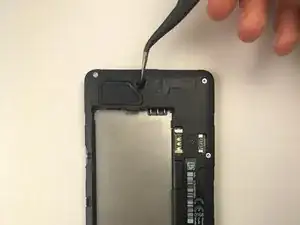
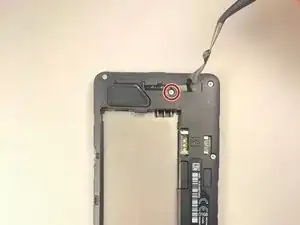
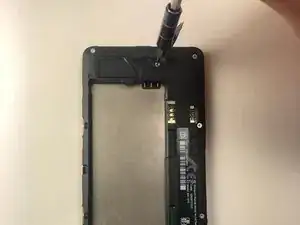
    • Use the tweezers to pull back the sticker, revealing the screw underneath.

    • Be careful when removing the screws as they can strip easily.

  3. yGKwCAaeVaQdDh5J
    yGKwCAaeVaQdDh5J
    BoklAksFHkscqniy
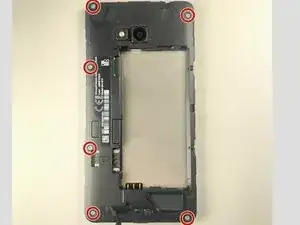
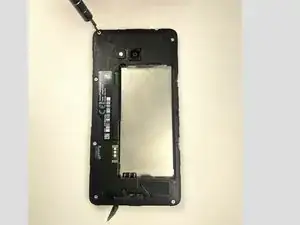
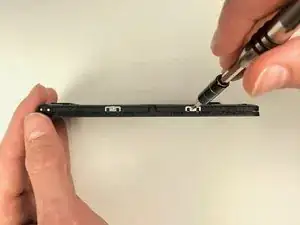
    • Use a T4 Torx driver to remove the screws in the four corners, along with the two in the middle left side (six total).

  4. dQhHynEpfo2M1RI1
    dQhHynEpfo2M1RI1
    QyvCXXRmhqs1v6v1
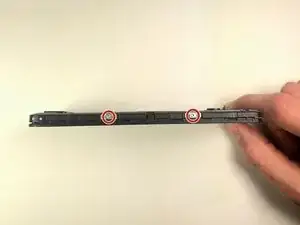
    • Using the T4 Torx driver, unscrew the two screws.

    • Keep these screws separate from the screws from back of the phone to ensure that the right screws go where they belong.

  5. KK1CteFtFwB31KNP
    KK1CteFtFwB31KNP
    mJDi1wWnoJheF5IZ
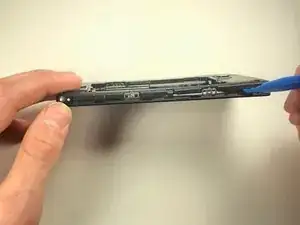
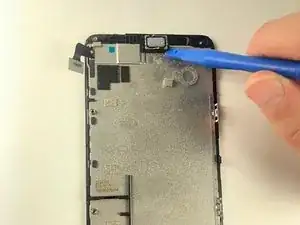
    • Use a plastic opening tool to separate the screen from the back plastic casing

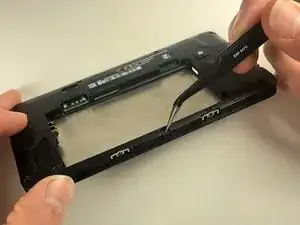
    • Use tweezers to release the clip on the side of device, and remove the back of the phone.

  6. ygYdoGfqFiMImIxG
    ygYdoGfqFiMImIxG
    A4GgkgMJ6ooyRA4B
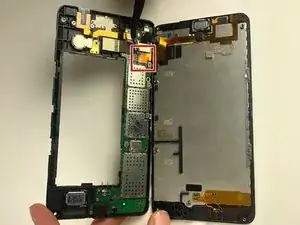
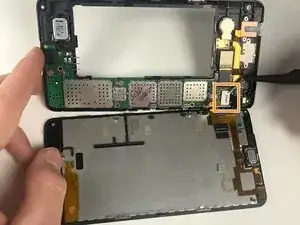
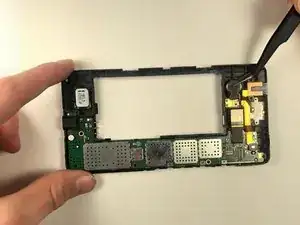
    • Using the tweezers or a spudger, pull the gold tab up gently.

    • Using tweezers or a spudger, lift the white connector up gently to completely detach the screen from the phone.

    • For motherboard replacement, skip to Step 11 after finishing this step.

  7. YubMTmPPHCwt2yKM
    YubMTmPPHCwt2yKM
    bZykYuyAAgoOjjiN
    FrEevsvKXau5XCrU
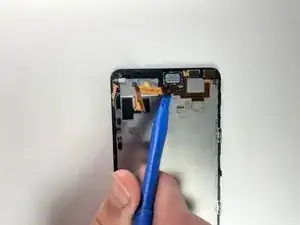
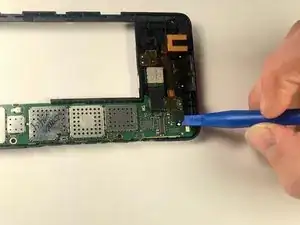
    • Using a plastic opening tool to carefully get under the gold strip.

    • Use tweezers to pull up the camera.

    • Use tweezers to pull up on the depth sensor.

    • This is held in by a strong adhesive.

  8. e3DfUlYMCO2O52vw
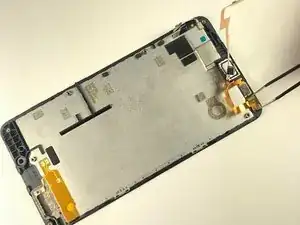
    • Use a plastic opening tool to pry up the ear speaker.

    • This is held in by strong adhesive.

  9. ADmCPmkfGFjeQMNk
    • Unscrew the 2 remaining screws with the T-4 bit.

  10. gifyB554L2LjUvsa
    • Use the tweezers to remove the speaker.

  11. WrjSsZP2oFIwQjL6
    WrjSsZP2oFIwQjL6
    Y3WCEA4CRl5WVnOO
    nRSLZSBhBqGkUaxA
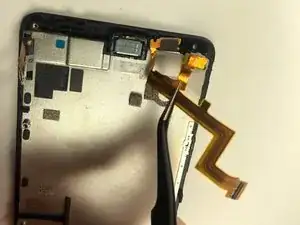
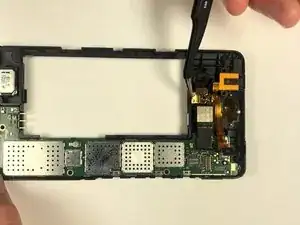
    • Use the plastic opening tool to lift up the black tab.

    • Use the tweezers to gently pull up on the gold tab.

    • Using the spudger, slowly get underneath the gold sticker and pry it up. This sticker is held down with a strong adhesive.

  12. VSMVUHluIsQ5ALEH
    • Use the tweezers to remove the orange insulator foam.

Abschluss

To reassemble your device, follow these instructions in reverse order.
Nick Emmert

Mitglied seit: 27/09/18

637 Reputation

0 Kommentare