Einleitung
You may need to remove the front or back cameras if they have been damaged due to a fall or there seems to be some other problem. When removing the cameras from their respective connections, be sure to pry up on the retaining flap and not the connection itself.
Werkzeuge
-
-
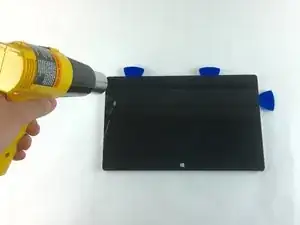
Begin by using a heat gun or the iOpener (This will take longer.) to melt the adhesive all around the outer edge of the screen.
-
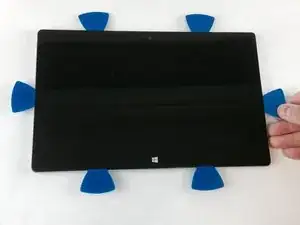
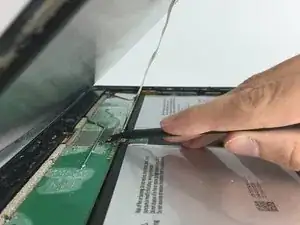
Insert the opening picks just under the screen and black edging. Be sure to place them evenly on each side.
-
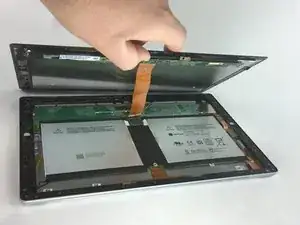
Using the gap created by the picks, slowly pry the screen from the body of the Microsoft Surface 2 with a plastic opening tool. Pry as uniformly as possible.
-
-
-
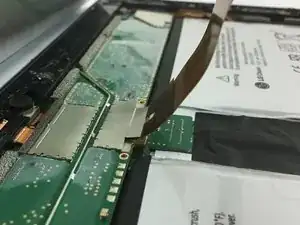
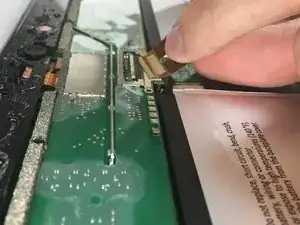
Use a plastic spudger to pry the retaining clip away from the display cable.
-
Carefully pull the ribbon cable from its socket on the motherboard.
-
-
-
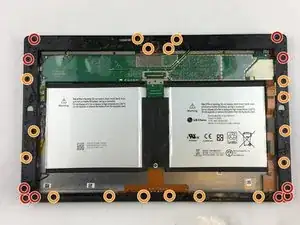
Remove ten 3.45 mm T3 screws from the corners of the black plastic bezel.
-
Remove the remaining seventeen 4.4 mm T5 screws from the perimeter of the bezel.
-
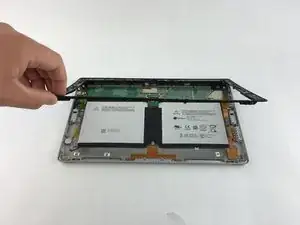
Once all screws have been removed, lift and remove the bezel from the rest of the device.
-
-
-
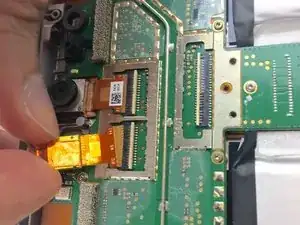
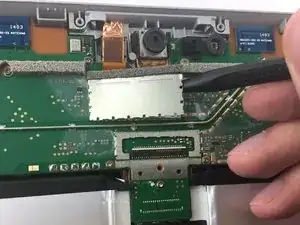
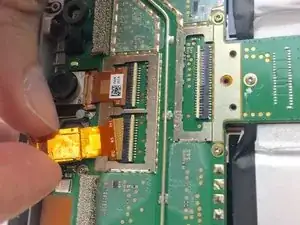
Use a spudger to pry up the retaining clip covering the camera ribbon cables.
-
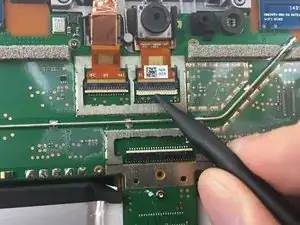
Use the spudger to flip up the small retaining flap on the zero insertion force connector.
-
-
-
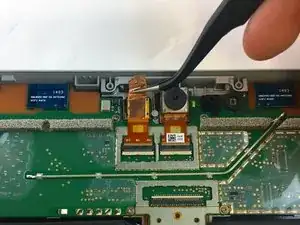
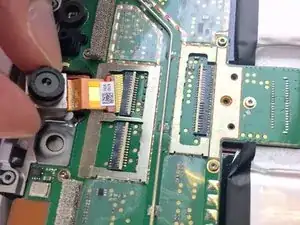
Carefully peel away the copper holding the rear-facing camera in place.
-
Carefully pull the rear-facing or front-facing camera from its ZIF connector.
-
To reassemble your device, follow these instructions in reverse order.
there is no mention of just how strong the adhesive actually is. i might go as far as to say this has been one of he hardest i have ever had to separate. its a combination of the strength of the adhesive and the amount of it to get through. i use a heat mat rather than a heat gun as its far better than the gun.. been able to control the temperature by 1 degrees up to 100. also the digitizer runs right to the edge of the glass, so its possible to damage it while trying to remove the screen.
stuart -