Einleitung
Ersatzteile
-
-
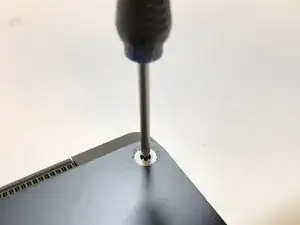
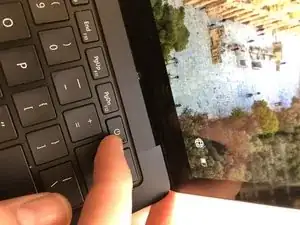
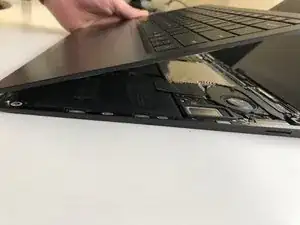
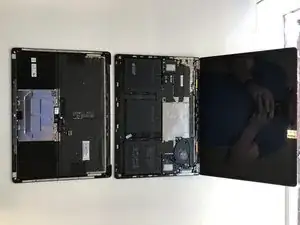
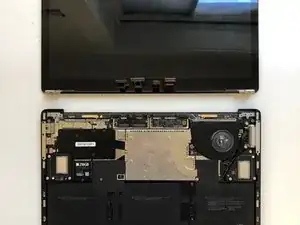
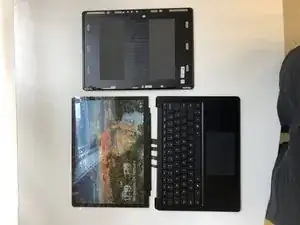
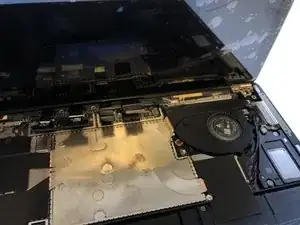
With the screen open, lift the keyboard out. It doesn't take much force as the part is only held in with magnets once the screws are removed.
-
-
-
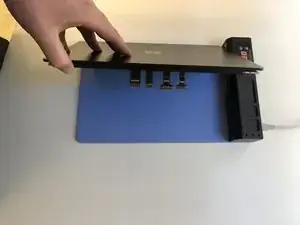
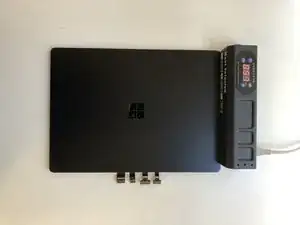
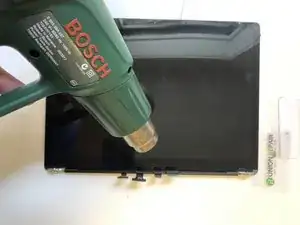
Lay the display on a heating pad being careful of the connectors. A heat gun would work too.
-
I used 60 Degrees C for around 15 minutes.
-
-
-
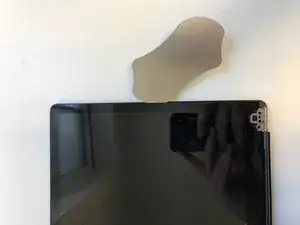
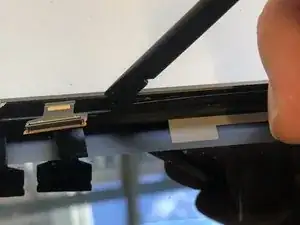
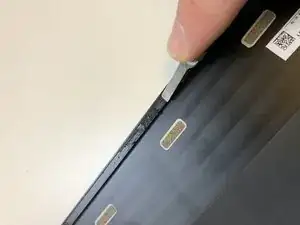
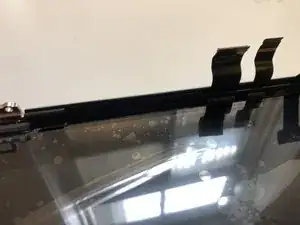
Use a metal card to get in between the glass and the housing. Swap to a plastic card to cut through the rest of the adhesive.
-
-
-
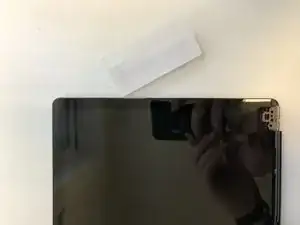
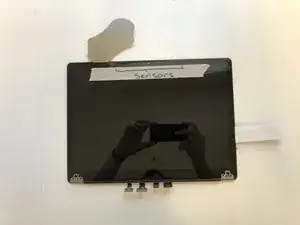
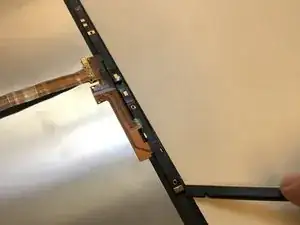
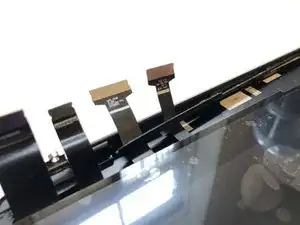
Watch out for the Sensors up the top. If you damage these the device will fail to turn on. It basically bricks completely without the sensors.
-
-
-
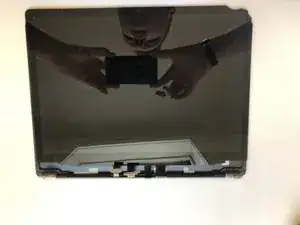
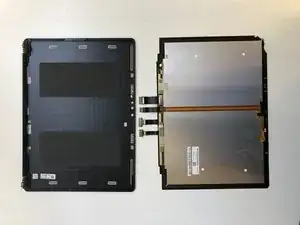
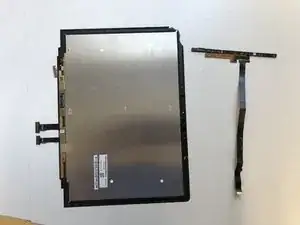
Heat up the bottom of the display and horizontally pull the screen out. Try to leave the bottom adhesive intact as we are going to be using this later.
-
-
-
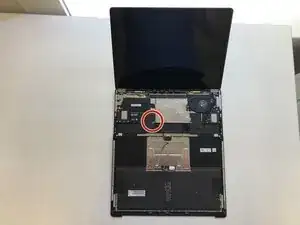
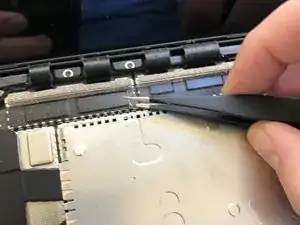
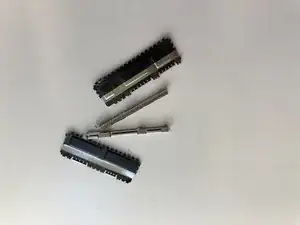
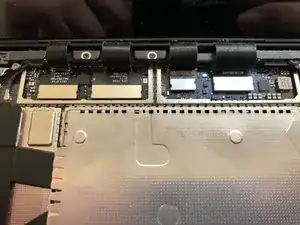
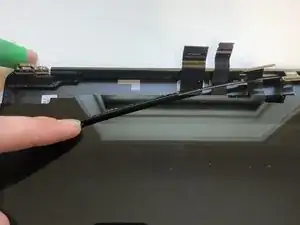
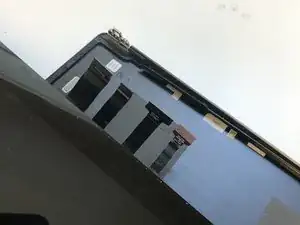
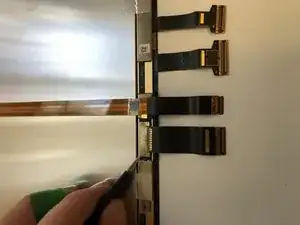
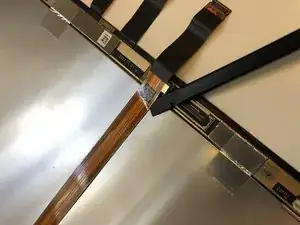
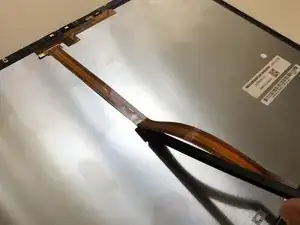
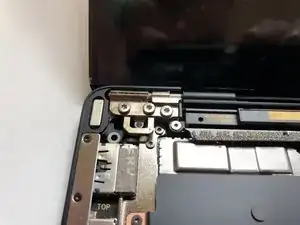
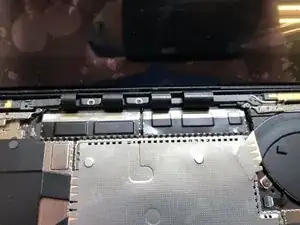
Remove one side of the plastic bar holding the cables in place. Slide the display out leaving the plastic bar intact.
-
-
-
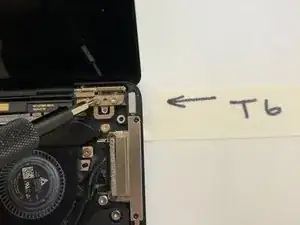
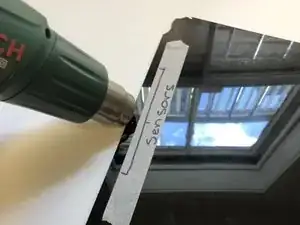
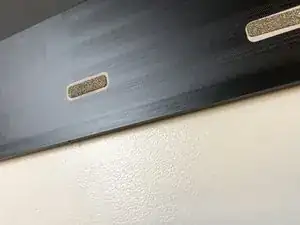
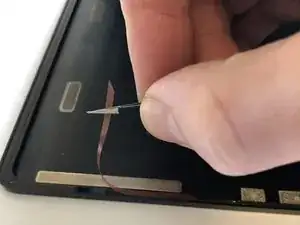
Heat the area around the sensors from the front. The adhesive here isn't very strong so you don't need loads of heat.
-
-
-
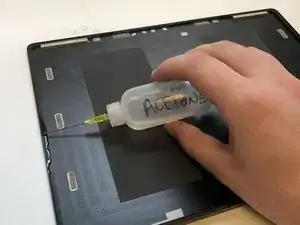
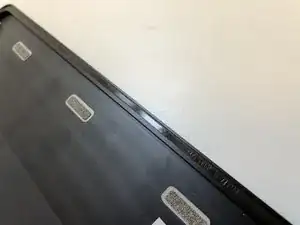
Remove the old adhesive and make sure it's clean. You really don't want to be removing this screen once it's set down.
-
-
-
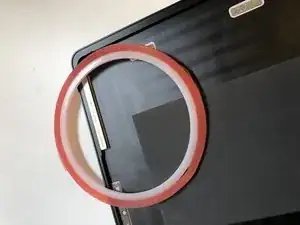
Install the new adhesive. Remove any large clumps on the bottom. We left the old stuff down there as it's a bit awkward to get to cleaning and reapplying-wise.
-
-
-
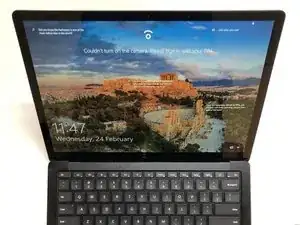
Test the new screen. Make sure you connect the sensors or it won't start or respond at all.
-
-
-
Slide the cable back under the plastic bar and set it back in place. Lightly pull the cables to make sure there's no slack internally.
-
-
-
Remove the plastic layer on top of your adhesive and set the screen into the housing. You need to push the screen in quite a bit at the bottom to make it sit correctly.
-
Let me know how you got on. I think we can all agree this was much easier than a Book 1… lot less nerve-racking too.
