Einleitung
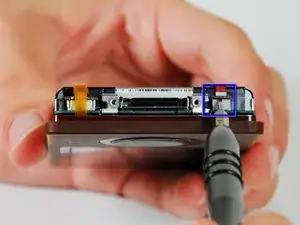
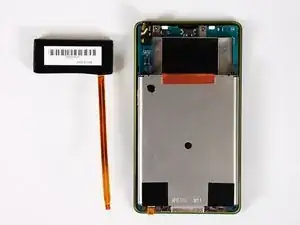
Remove the ribbon cable that attaches the battery to the logic board. If the brown latch is lifted too high it will detach and the white piece might fall off during later steps.
Werkzeuge
-
-
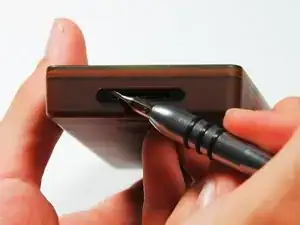
Remove the plastic screw cover located on the bottom of the device. Insert a small flat-headed screwdriver into one side of the cover and gently ease it out. Repeat on the other side.
-
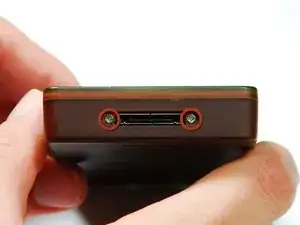
You will need a #00 Phillips screwdriver to remove the two 2.6 mm screws that are exposed.
-
-
-
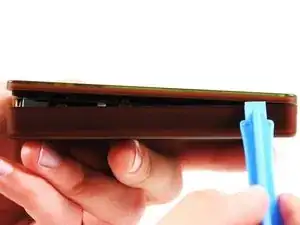
Use the blue plastic opening tool to slowly work your way around the edges of the case, releasing the front plate from the bottom case.
-
-
-
Turn the Zune over so the screen faces downward. This will ensure the battery does not fall out and pull on the cable.
-
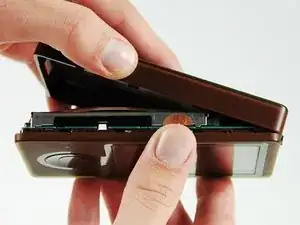
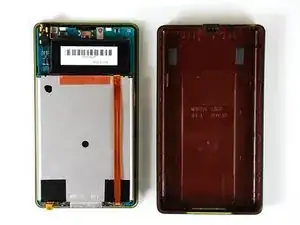
Pry up from the bottom of the Zune because the headphone jack will not allow you to remove the back case in one pull. You must slide the case up and away from the rest of the Zune.
-
-
-
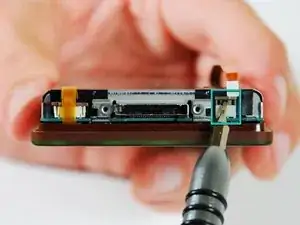
Use the small flat head screw driver to gently lift the brown clamp.
-
The clamp will release the battery ribbon cable from the logic board, freeing the battery.
-
To reassemble your device, follow these instructions in reverse order.

The piece extends inward to kind of sheath the connector itself so it takes a little back and forth between the sides.
jonathan -
Also important to note that this piece only goes in one way, so take note of its orientation, and don't force it if it isn't sliding back in.
kazoodac -