Einleitung
In this guide, you will be removing the gear case completely from the drill. Before beginning, make sure that the area you are working in is dry, as well as your hands, because you will be exposed to the inner components of the drill. Secondly, remove the gear case with caution, being careful not to harm any of the surrounding wires. Damage to any of these wires could potentially damage the drill permanently. This procedure will take approximately 15 minutes and only requires basic tools.
Werkzeuge
-
-
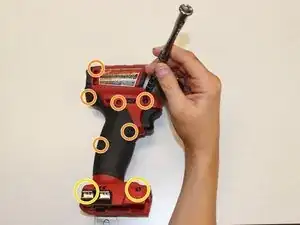
Using the Torx T10 screwdriver, remove the six 17 mm screws on the outside of the handle.
-
Remove the two 40 mm Torx T10 screws near the bottom of the cover.
-
-
-
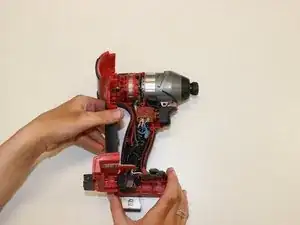
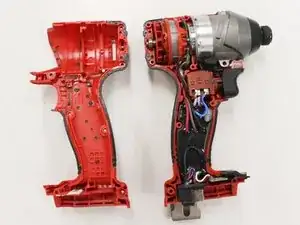
Set the cover aside so the drill body is visible and can be accessed.
-
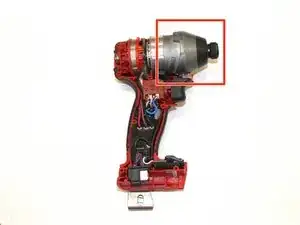
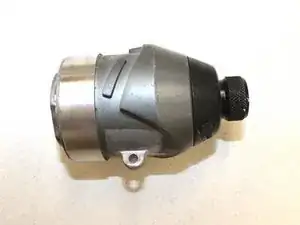
The gear case is the silver cylinder part with a black tip in the top of the drill.
-
-
-
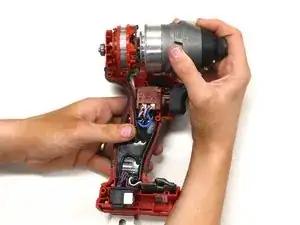
Grip the gear case in one hand while holding the body of the drill with the other.
-
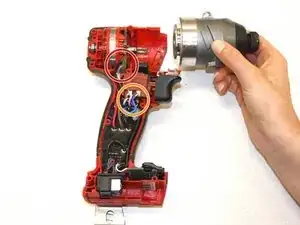
Pull outward to remove.
-
-
-
Check the connection from the motor to the trigger.
-
Check that the connection to the circuit board is intact.
-
If both connections are intact, the gears inside the gear case assembly may be jammed and need to be replaced.
-
To reassemble your device, follow these instructions in reverse order.

