Einleitung

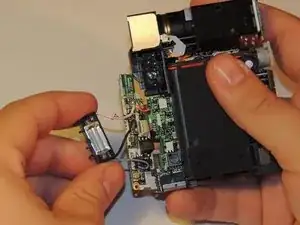
The flashbulb and casing are one component located at the top of the camera. A replacement will be the whole component and not each of the parts separately.

  1. 4UkpgEgGYK6KWRZe
    4UkpgEgGYK6KWRZe
    BXyi2T5yKDhWIlNn
    i5vcFhkG6yvMIiRj
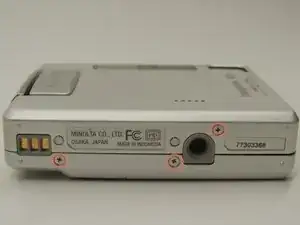
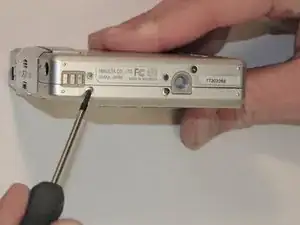
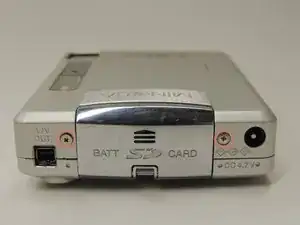
    • Locate and remove the silver screws on each side of the camera.

    • Use the Phillips #00 Screwdriver to unscrew all 2.0mm (4 instances) and 4.0mm (2 instances) screws.

  2. VQ5WTK5UOTLBajxC
    VQ5WTK5UOTLBajxC
    K2uZZmetQ6ZTiP3Q
    LoWdMMKZlOS1iByZ
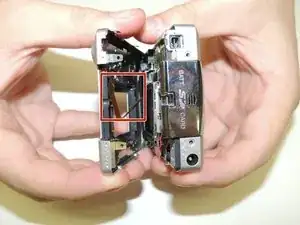
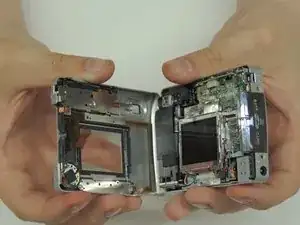
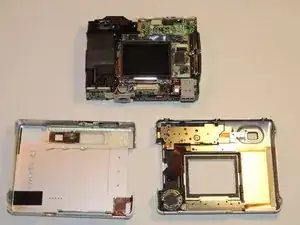
    • Then, carefully pry apart the front and back outer casing away from the internal components.

    • Be aware of the ribbon wire that will disconnect when the casing is detached.

  3. VZhBPK3fSHGtd1ET
    VZhBPK3fSHGtd1ET
    ynKHHERTRN2DILdE
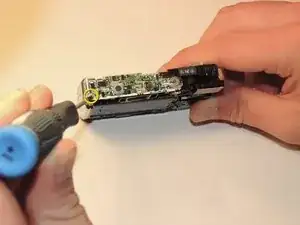
    • Remove 2mm screws connecting the flash housing to the main components of the camera.

    • Use a Philips #00 screwdriver to remove the black 2.0mm (4 instances) screws .

  4. TZtBjFKNnGPCV2Ox
    TZtBjFKNnGPCV2Ox
    hmFQSiv2dFBqdXUy
    QREgjwxGfbTx4VHb
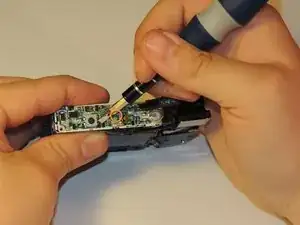
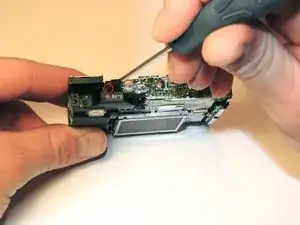
    • Use the spudger to push the black plastic hooks through the circuit board to release the flash housing.

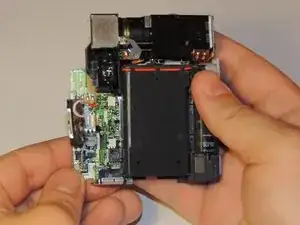
    • Once the screws have been removed, pull the circuit board away from the body of the camera.

    • Wires will keep it from completely detaching.

    • Pull the housing away from the circuit board.

Abschluss

To reassemble device, follow steps in reverse order. This will require the reattachment of wires from the camera to the flashbulb casing.
Keith Sechrist

Mitglied seit: 11/03/13

22 Reputation

0 Kommentare