Einleitung
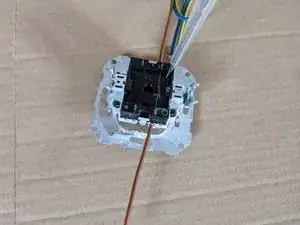
Momentary switches are commonly used in electrical circuits to provide momentary contact, which means that they only make contact when they're pressed or held down. Over time, these switches can become damaged or worn out, resulting in poor or non-existent electrical connections. If you're experiencing issues with your momentary switch, it may be time to replace it.
It's important to note that this guide involves working with electrical wiring, which can be extremely dangerous if not handled properly. If you're not comfortable working with electrical wiring, or if you're unsure about any aspect of the process, we strongly recommend that you seek the assistance of a qualified electrician.
Assuming you're confident and capable of working with electrical wiring, this guide will walk you through the steps of replacing a momentary switch, including how to safely disconnect the power supply, removing the old switch, and installing the new one. It's important to remember that electrical work should always be approached with caution, so make sure to follow the instructions carefully and double-check your work at every stage of the process.
Werkzeuge
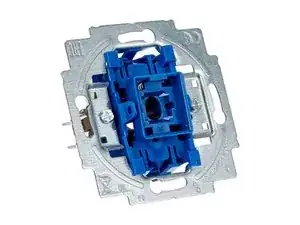
Ersatzteile
-
-
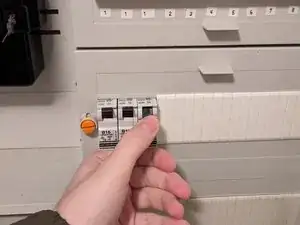
Press the switch to ensure that the power is actually off (p. ex. the lights don't turn on).
-
-
-
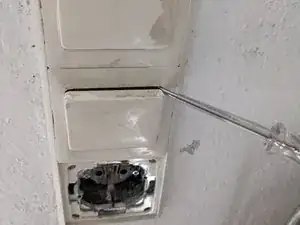
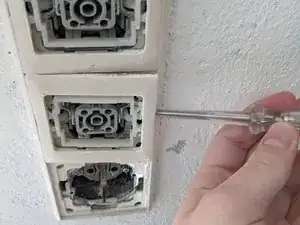
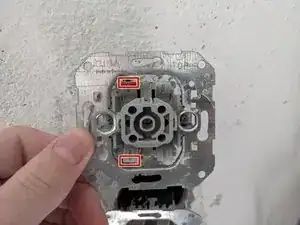
Remove the switch cover by jamming a flat head screwdriver, into the gap between the outer frame and the switch cover.
-
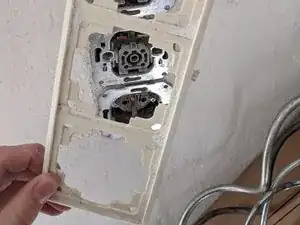
Remove the frame
-
-
-
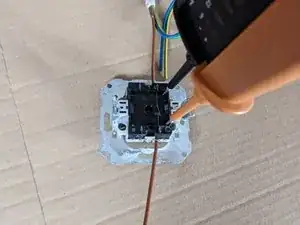
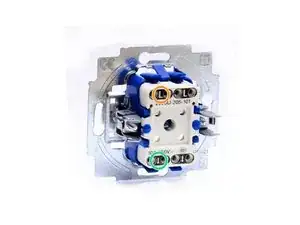
Connect the new switch. The new switch will typically mark where to connect which wire.
-
In (Phase Conductor/L)
-
Out
-
To reassemble your device, follow these instructions in reverse order.
