Einleitung

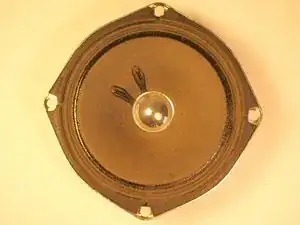
The subwoofer produces the lower frequencies of sounds being played. This guide will show you how to replace the subwoofer in case the cone of the speaker is damaged.

  1. 3jHfsZhlPZOBLati
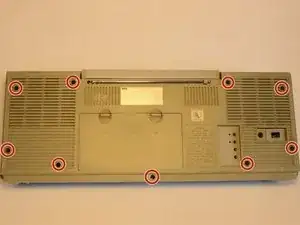
    • Remove the nine 35 mm Phillips screws securing the back cover of the case.

  2. 1hPmGNv2AqgpnPMt
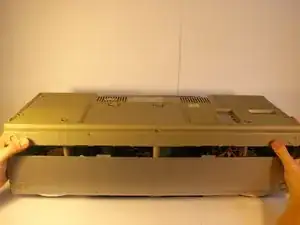
    • Carefully remove the back cover.

    • Soldered wires connect electronics on the back cover to the internal electronics. Be careful not to break any connections.

  3. NPwQSujrKxXRMwR5
    NPwQSujrKxXRMwR5
    6TPidkR6A5mMCJHE
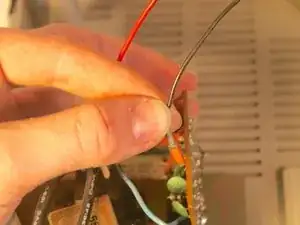
    • Unplug the black and yellow wires connecting the power supply unit to the rest of the electronics:

    • This is not necessarily required. This step is to allow the back cover more movement as you work on the inside of the unit.

  4. dsZEULcM2HtlIZxZ
    dsZEULcM2HtlIZxZ
    e5uAvrsSyaStAGTZ
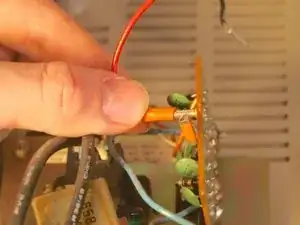
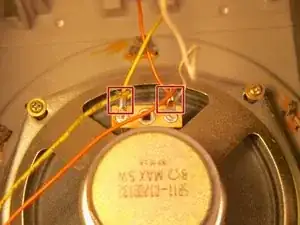
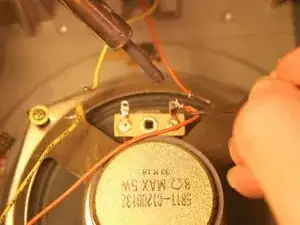
    • Unsolder the wires leading to and from the subwoofer.

  5. lHnZHBquYxCxSYLG
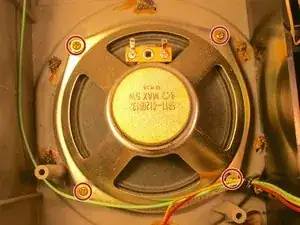
    • Unscrew the four 12.5 mm Phillips screws holding the subwoofer in place.

    • One of the screws holds down a metal cable organizer. For better cable organization after reassembly keep track of this organizer.

  6. QQyneQgCSWovGNxx
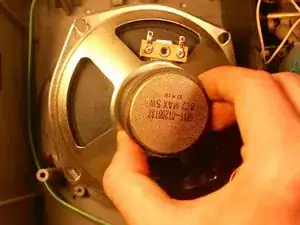
    • Remove the subwoofer.

    • The process is the same for both sides.

Abschluss

To reassemble your device, follow these instructions in reverse order.
Dustin Platt

Mitglied seit: 02/04/15

931 Reputation

0 Kommentare