Einleitung
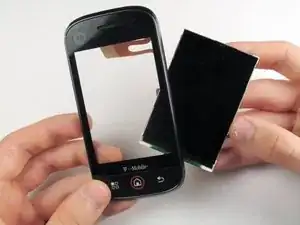
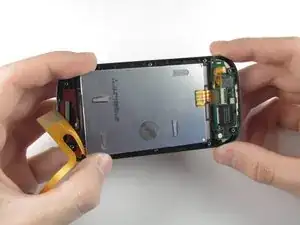
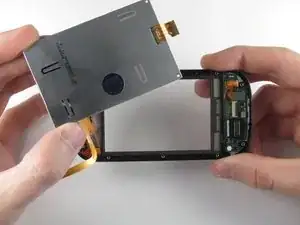
Does your screen have a case of the black blobs or rainbows? Use this guide to replace a damaged or broken LCD Screen on the Motorola Cliq. You will need to be ready to handle many small parts. This part is very intensive and requires the most work.
Werkzeuge
-
-
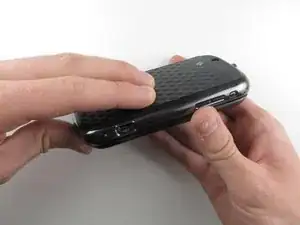
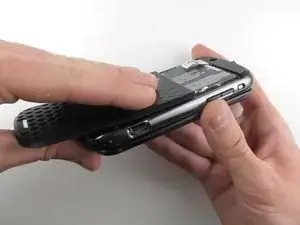
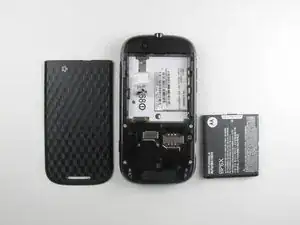
Turning over your phone, place two fingers on the back cover and apply pressure away from the camera to slide the back cover off.
-
-
-
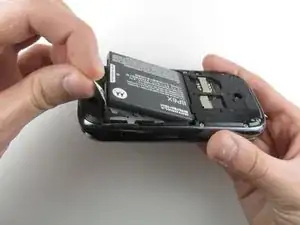
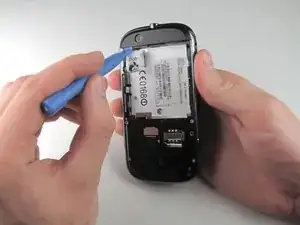
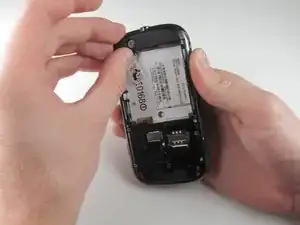
Pinch the battery pull tab located below the camera, pull it upwards, and remove the battery.
-
-
-
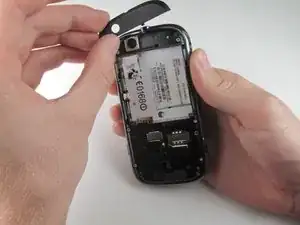
Wedge a plastic opening tool behind the panel covering the camera, pry it up, and remove it using your fingers.
-
-
-
Turn the phone over and slide out the keyboard.
-
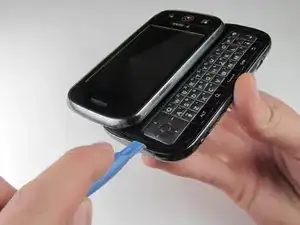
Wedge a plastic opening tool where the keyboard meets the back casing of the phone next to the headphone jack.
-
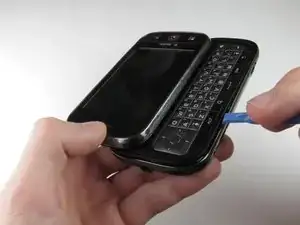
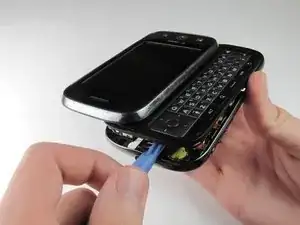
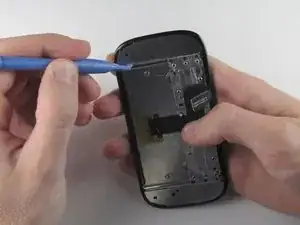
Carefully pry open the back casing along the keyboard's edge until at least two corners of the back casing are separated from the keyboard.
-
-
-
Press your thumb against the orange power cable and pull it down slowly to disconnect the power cable from the bottom of the keyboard.
-
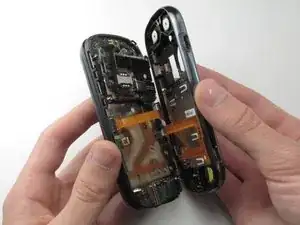
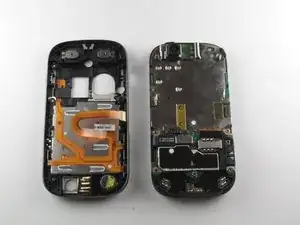
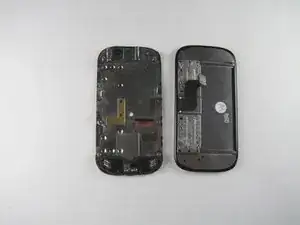
The rear casing and the rest of the phone should now be completely separated.
-
-
-
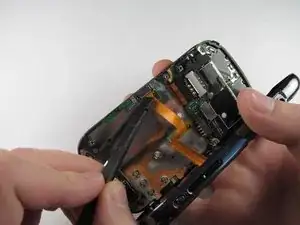
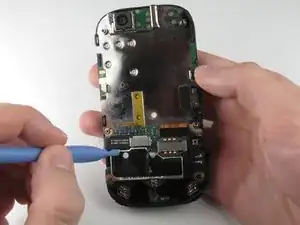
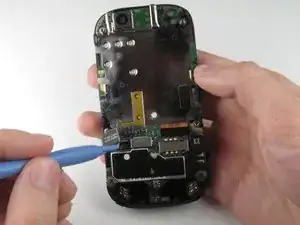
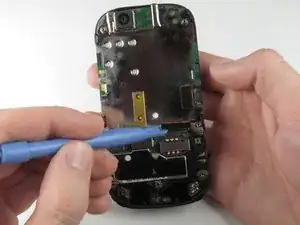
Wedge the plastic opening tool underneath the black display connector and pry it off its socket on the motherboard.
-
-
-
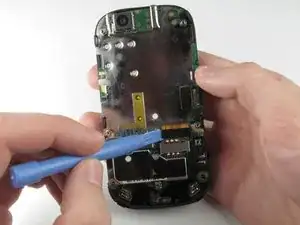
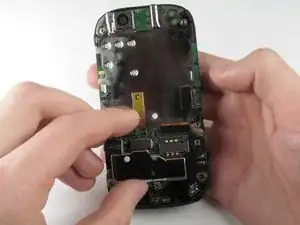
Pry the orange keyboard connector from its socket on the motherboard using the edge of the plastic opening tool.
-
-
-
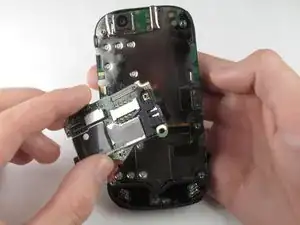
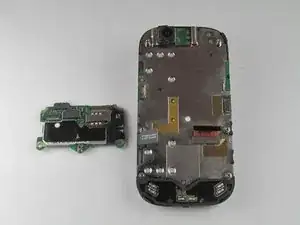
Carefully grab the sides of the motherboard with your fingers and remove it from the phone.
-
-
-
Orient the phone so that the edge closest to the camera points towards you and slide out the keyboard.
-
Wedge the tip of a spudger between the keyboard and the display assembly below the camera.
-
With steady pressure, pry the keyboard away from the display assembly.
-
-
-
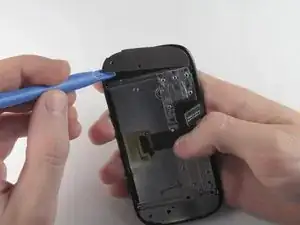
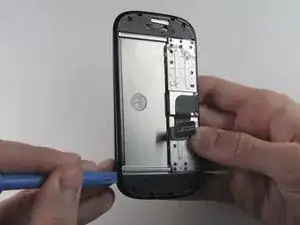
Wedge a plastic opening tool underneath one of the metal panels on the underside of the display assembly.
-
Pry upwards and remove the metal panel.
-
Repeat this step for the second metal panel located on the opposite side of the phone.
-
-
-
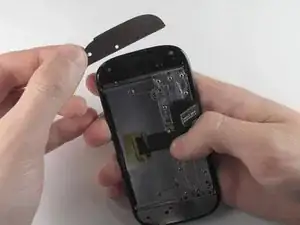
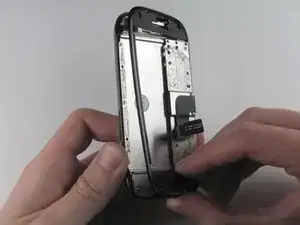
Wedge a plastic opening tool between the edge and the black pastic cover on the underside of the display assembly.
-
Run the plastic opening tool along the edges to separate the black plastic cover from the display assembly.
-
Remove the black plastic cover.
-
-
-
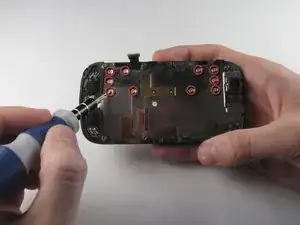
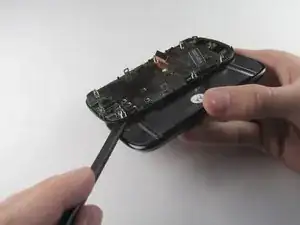
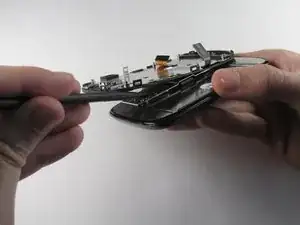
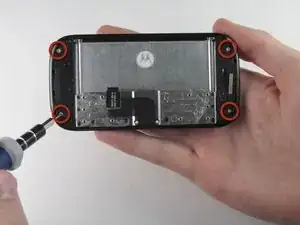
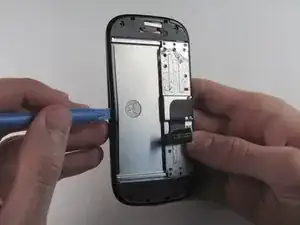
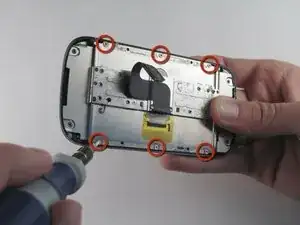
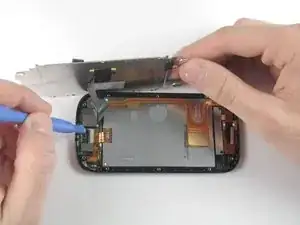
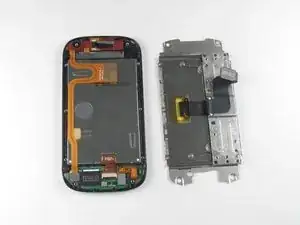
Insert a plastic opening tool between the LCD shield plate and a corner of the keyboard slider plate.
-
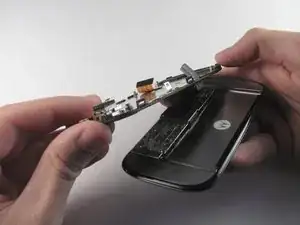
Pry apart the keyboard slider plate and LCD shield plate.
-
-
-
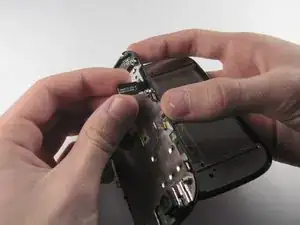
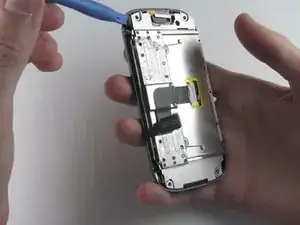
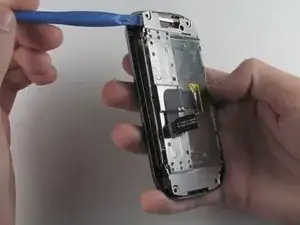
Pry the display flex cable from its connector on the LCD shield plate with a plastic opening tool.
-
Separate the display flex cable from the LCD cover plate.
-
-
-
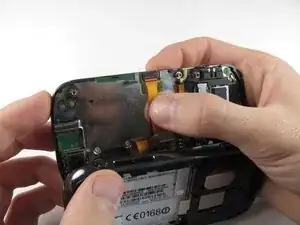
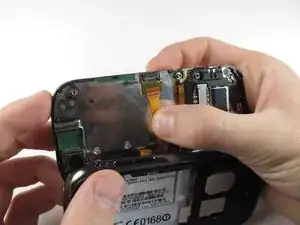
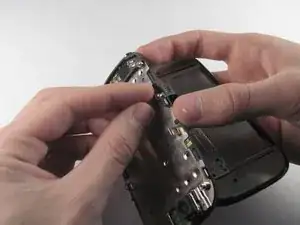
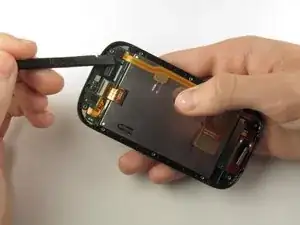
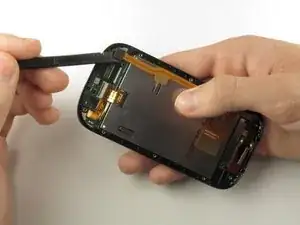
Pry off the flex cable located at the top right of the display assembly using the flat end of a spudger.
-
-
-
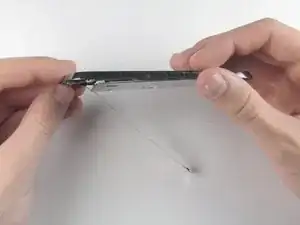
Turn the display on its side.
-
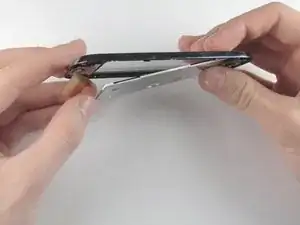
Carefully tilt the screen of the display until the digitizer starts to fall out.
-
-
-
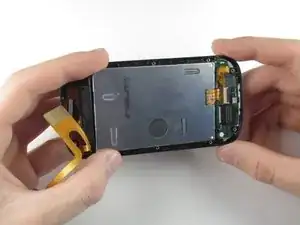
With the digitizer held between two fingers, gently pull it away from the bottom of the phone until the digitizer flex cable has been completely removed from its socket.
-
Remove the digitizer.
-
To reassemble your device, follow these instructions in reverse order.
