Einleitung

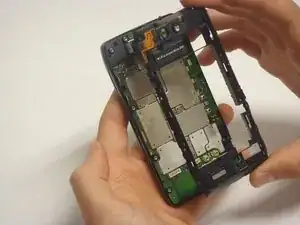
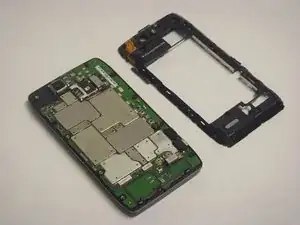
This guide is for the replacement of the motherboard housing. The Motherboard housing encompasses the motherboard and holds it safely. The motherboard is the brain of the phone and should be handled carefully.

You will need to remove several torx head screws. Make sure to use the correct type.

  1. qfr6JnCbGH1dAAgY
    qfr6JnCbGH1dAAgY
    vARiJG1VRWtMKgSo
    ISFTLF2JbILgLwWH
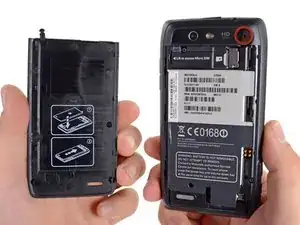
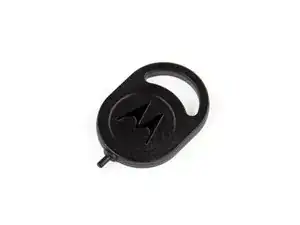
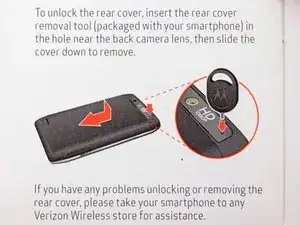
    • Insert the rear cover removal tool, or a paper clip, in the hole near the back camera lens.

    • Slide the cover down to remove.

  2. Fr14mJFVxfGG4J63
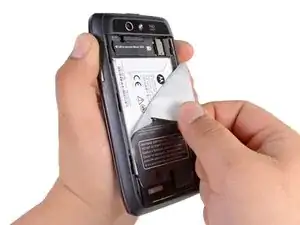
    • Remove the sticker on the rear compartment to reveal the battery.

    • Hold the battery with your thumb while removing the sticker or you might end up ripping the battery out of the phone, damaging the flex cable.

  3. xOENlRIWGsPBeOXv
    xOENlRIWGsPBeOXv
    mCVmrjAUCThqjBwk
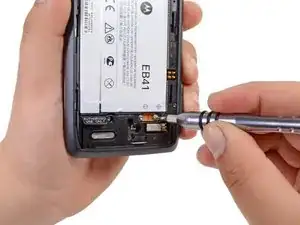
    • Use the T5 Torx Screwdriver to remove both 2.5 mm screws from the battery cable.

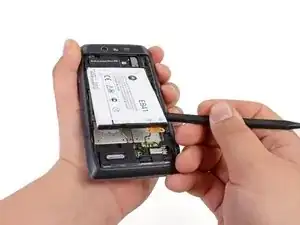
    • Use the Spudger to unstick the battery.

    • It's difficult to remove the battery without a pry tool like the spudger because of the strong adhesive. If you try removing it with just your fingers, the battery may bend.

  4. vKVtGQjWVKIyDEFu
    vKVtGQjWVKIyDEFu
    COqtWjCaEEVCgPF3
    cCXkF4jo6RLpww2l
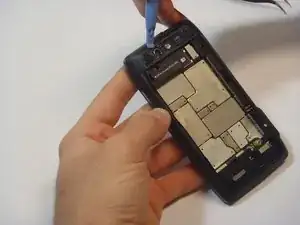
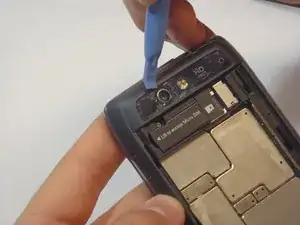
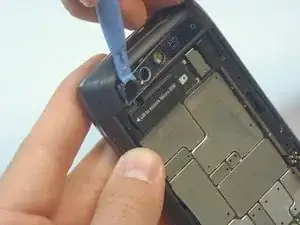
    • Using the blue plastic opening tool, pry off the thin plastic camera cover.

    • The plastic cover is fragile, so proceed carefully.

  5. nUgIjZVyFoXPeRrR
    nUgIjZVyFoXPeRrR
    hpoFeucDiAX3uuZU
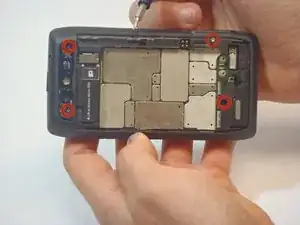
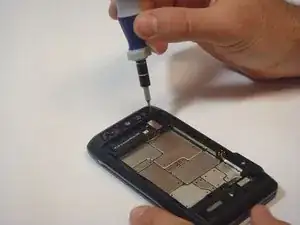
    • Remove the four screws, indicated by the red circles, with the screwdriver and T5 Torx bit.

    • The screws are philips 2.5mm. One screw is a different color (silver) from the others (black).

  6. QsGdacZYAoKasFHd
    QsGdacZYAoKasFHd
    4dAwDnLAcWN3rxLt
    DRB6ZCWIPqEovwCu
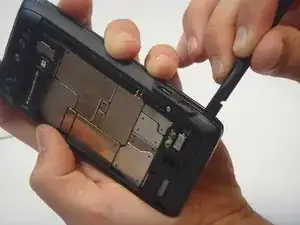
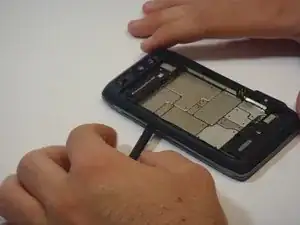
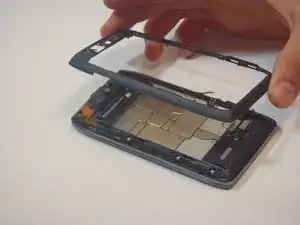
    • Insert the spudger between the rear bezel and the main housing.

    • The bezel is fragile, so proceed carefully.

    • Slide the spudger around all sides of the phone to separate the bezel from the housing.

    • Pry the bezel free.

    • Be careful of the adhesive that holds the bezel to the main housing. Prying too hard may damage your phone.

  7. g1UnkWcgXi5Vk1Lr
    g1UnkWcgXi5Vk1Lr
    tZ4PTHexJvfglmut
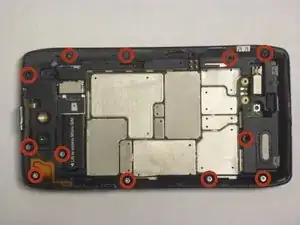
    • Remove the 12 screws holding the housing in place using a T5 Torx screwdriver.

    • Follow the red circles, indicated in the picture, to locate the screws.

    • The 12 screws are (silver) philips 2.5mm

  8. BWiCtqQr1FIVLe1H
    BWiCtqQr1FIVLe1H
    Yn2KRvWKKENq4HIm
    6I13ElBSE6ZssCht
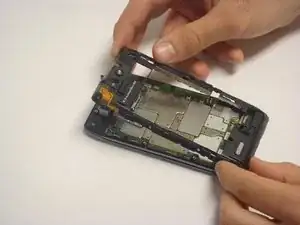
    • Separate the housing from the motherboard.

    • Be careful while separating the housing. The power and volume buttons are easily separated from the housing and can be damaged.

Abschluss

To reassemble your device, follow these instructions in reverse order.
Javier

Mitglied seit: 29/09/14

530 Reputation

0 Kommentare