Einleitung

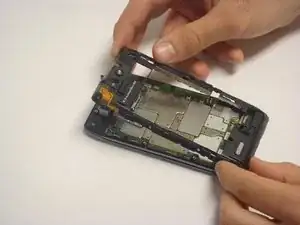
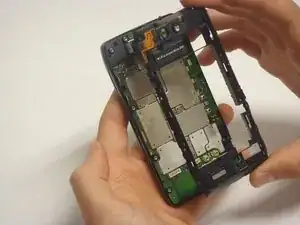
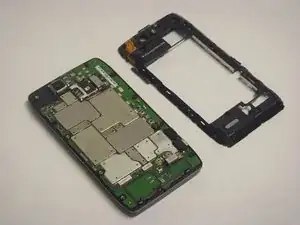
In this guide we provided the necessary information to help you remove the motherboard on your Droid 4. This will help if your phone have a defective motherboard or if there is a need to replace any component attached to the motherboard.

You will need to remove several torx head screws. Make sure to use the correct type.

  1. qfr6JnCbGH1dAAgY
    qfr6JnCbGH1dAAgY
    vARiJG1VRWtMKgSo
    ISFTLF2JbILgLwWH
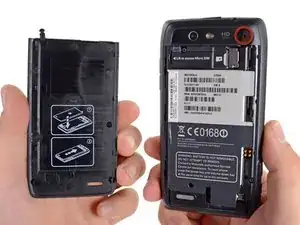
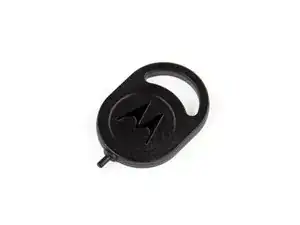
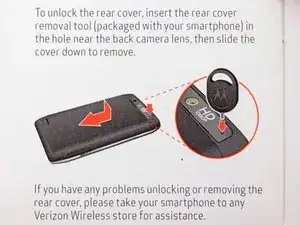
    • Insert the rear cover removal tool, or a paper clip, in the hole near the back camera lens.

    • Slide the cover down to remove.

  2. Fr14mJFVxfGG4J63
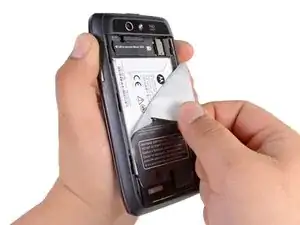
    • Remove the sticker on the rear compartment to reveal the battery.

    • Hold the battery with your thumb while removing the sticker or you might end up ripping the battery out of the phone, damaging the flex cable.

  3. xOENlRIWGsPBeOXv
    xOENlRIWGsPBeOXv
    mCVmrjAUCThqjBwk
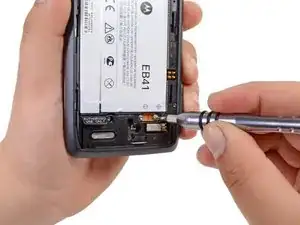
    • Use the T5 Torx Screwdriver to remove both 2.5 mm screws from the battery cable.

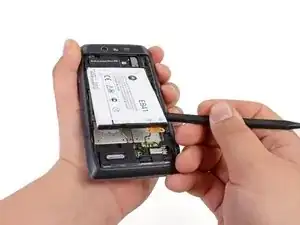
    • Use the Spudger to unstick the battery.

    • It's difficult to remove the battery without a pry tool like the spudger because of the strong adhesive. If you try removing it with just your fingers, the battery may bend.

  4. vKVtGQjWVKIyDEFu
    vKVtGQjWVKIyDEFu
    COqtWjCaEEVCgPF3
    cCXkF4jo6RLpww2l
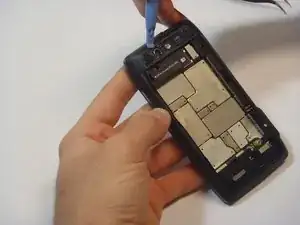
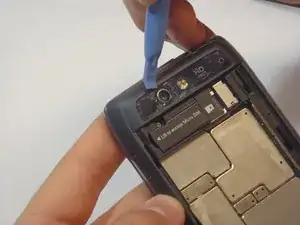
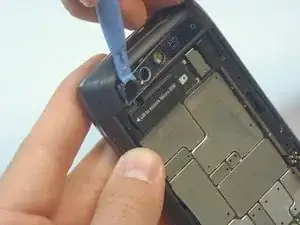
    • Using the blue plastic opening tool, pry off the thin plastic camera cover.

    • The plastic cover is fragile, so proceed carefully.

  5. nUgIjZVyFoXPeRrR
    nUgIjZVyFoXPeRrR
    hpoFeucDiAX3uuZU
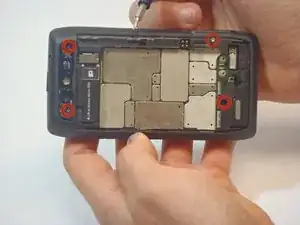
    • Remove the four screws, indicated by the red circles, with the screwdriver and T5 Torx bit.

    • The screws are philips 2.5mm. One screw is a different color (silver) from the others (black).

  6. QsGdacZYAoKasFHd
    QsGdacZYAoKasFHd
    4dAwDnLAcWN3rxLt
    DRB6ZCWIPqEovwCu
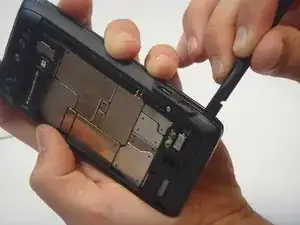
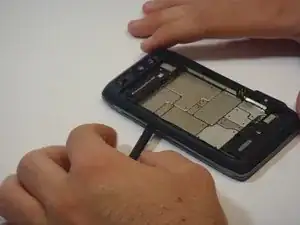
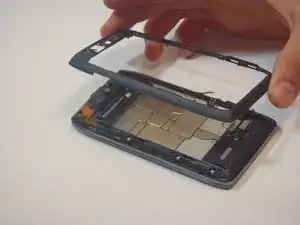
    • Insert the spudger between the rear bezel and the main housing.

    • The bezel is fragile, so proceed carefully.

    • Slide the spudger around all sides of the phone to separate the bezel from the housing.

    • Pry the bezel free.

    • Be careful of the adhesive that holds the bezel to the main housing. Prying too hard may damage your phone.

  7. g1UnkWcgXi5Vk1Lr
    g1UnkWcgXi5Vk1Lr
    tZ4PTHexJvfglmut
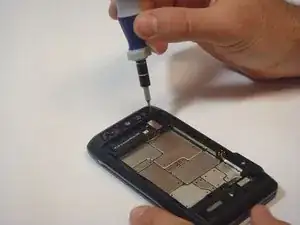
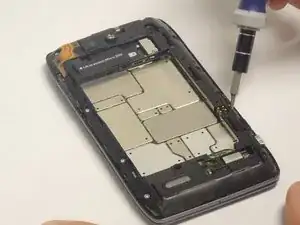
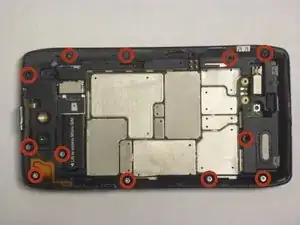
    • Remove the 12 screws holding the housing in place using a T5 Torx screwdriver.

    • Follow the red circles, indicated in the picture, to locate the screws.

    • The 12 screws are (silver) philips 2.5mm

  8. BWiCtqQr1FIVLe1H
    BWiCtqQr1FIVLe1H
    Yn2KRvWKKENq4HIm
    6I13ElBSE6ZssCht
    • Separate the housing from the motherboard.

    • Be careful while separating the housing. The power and volume buttons are easily separated from the housing and can be damaged.

  9. EvB3mQaRuFnAFr2j
    EvB3mQaRuFnAFr2j
    IAS6HbXIoakUd54F
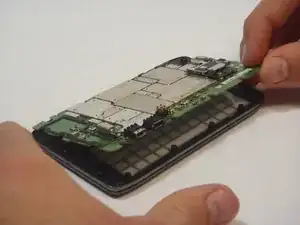
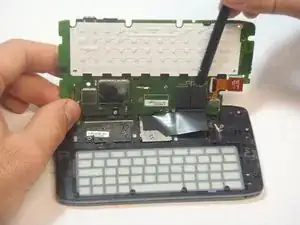
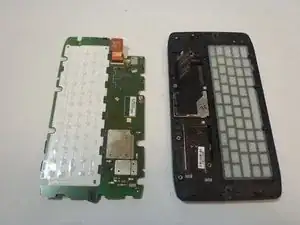
    • The Motherboard is the brain of the phone, handle with care.

    • Using the spudger, separate the motherboard from the keyboard frame.

    • Tilt the motherboard upward from the side of the charger connection as shown in the picture.

  10. BVOBVVlIJmQPRCmA
    BVOBVVlIJmQPRCmA
    6wnBUFT6LvCUSIL5
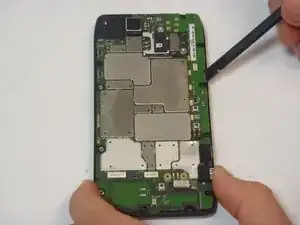
    • Using the spudger, gently disconnect the two motherboard connections.

    • Once the motherboard is separated from the phone place it in a safe place.

Abschluss

To reassemble your device, follow these instructions in reverse order.
Javier

Mitglied seit: 29/09/14

530 Reputation

0 Kommentare