Einleitung

If you are experiencing having a problem with your LCD or digitizer, follow this installation guide. This is a challenging tutorial, that requires a complete deconstruction of the Droid X. Proceed with caution.

  1. JjG5BuGWdJuRvysw
    JjG5BuGWdJuRvysw
    fbNCCNfcGh4lhjbk
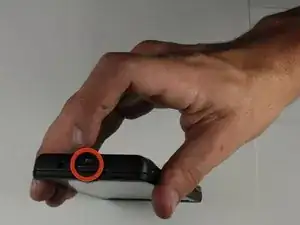
    • Locate the power button at the top of the phone. Depress power button for 2 seconds until a menu appears.

  2. SsKSUHbpVJUMR2VO
    SsKSUHbpVJUMR2VO
    kngkLWYQptb2MYAV
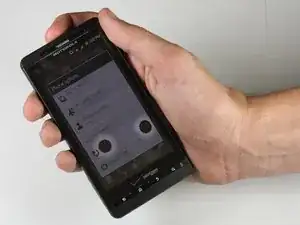
    • Once the menu appears, select the "power off" option. Wait until the phone is completely off.

  3. Srnnwl6BG6oAKLlG
    Srnnwl6BG6oAKLlG
    tyJd3UelLdA4X3AH
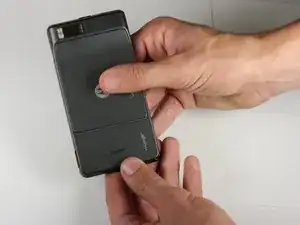
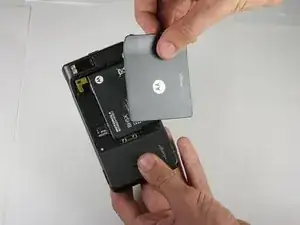
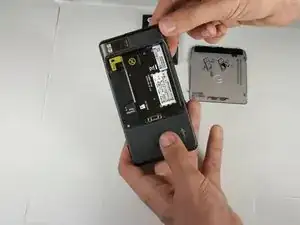
    • Place thumb on the back cover, and push down towards the bottom of the device. Once the cover releases, pull it away from the phone and set it aside.

  4. K3yBHZdIIxPe2eb5
    K3yBHZdIIxPe2eb5
    HuVxQQDRXNIWpasB
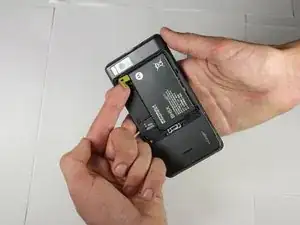
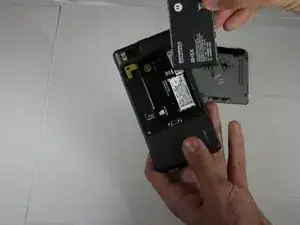
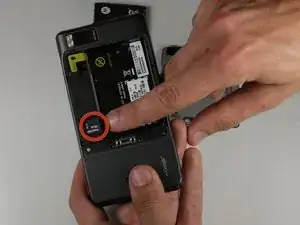
    • Find the yellow pull tab located in the upper left corner. Pull the tab until the battery dislodges. Grab the battery by the raised edge, and remove it from the case.

  5. MgldFOGagvHE5qjL
    • The battery has been successfully removed.

  6. uavnkK21IVjxmVye
    • Remove the micro SD card from its connector.

  7. nplFWhL4xkSUpaGw
    nplFWhL4xkSUpaGw
    e3qtFfEdfAbMQu2f
    5TfZQNbtYaYZZYXD
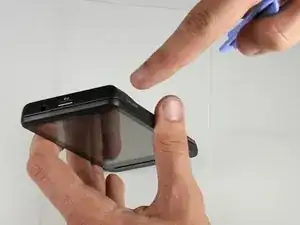
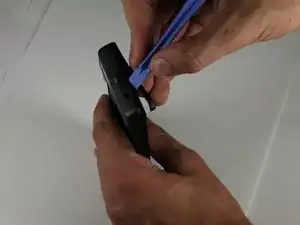
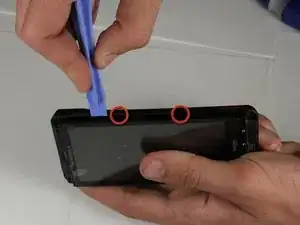
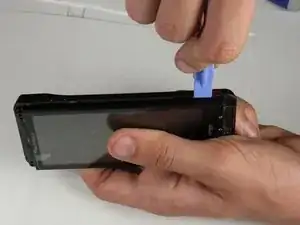
    • Locate the seam between the back case and the end cover on the top edge of the phone.

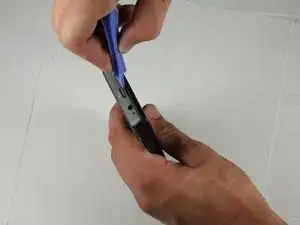
    • Use the plastic opening tool to detach the two clips by wedging the tool into the right side of the seam and moving right to left. Once the cover comes off set it aside

  8. 4YlMZcw1JtjC2Ogi
    4YlMZcw1JtjC2Ogi
    VLrZeu5Y5DiTuXft
    IaZpNQeDtWcsrBYB
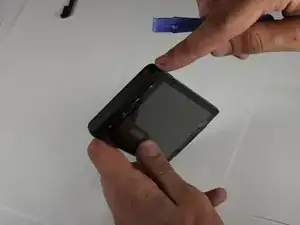
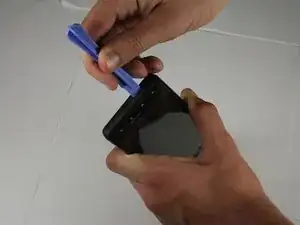
    • Repeat step 2 on the bottom cover.

  9. rRWuS45QvF6YoRyG
    rRWuS45QvF6YoRyG
    cg3FbUFELvmAvaZm
    26cdEbMAJGsbIlZX
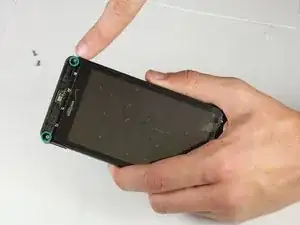
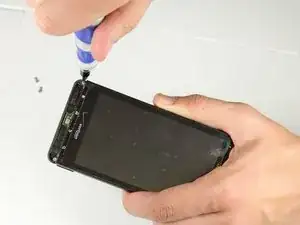
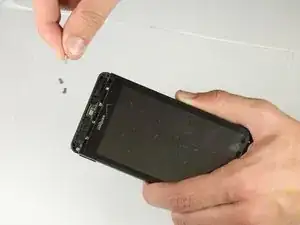
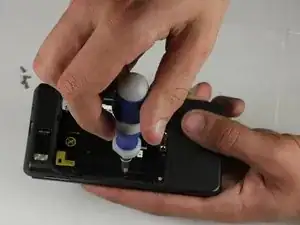
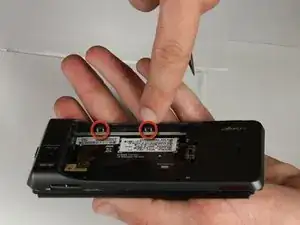
    • Use a T5 Torx screwdriver to remove the screws in each corner of the phone.

    • The screws are very small so make sure not to lose them.

  10. 6pSa4G2jmPkR4NZJ
    6pSa4G2jmPkR4NZJ
    YXVNuY5oPfpsP1qY
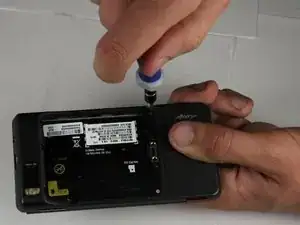
    • Flip the phone over and locate the screw on the middle of the left side. Unscrew it using the T5 Torx screwdriver and set it aside.

  11. VhFKElAKGOCRMUdD
    VhFKElAKGOCRMUdD
    X4nfXBGlgJycIQHl
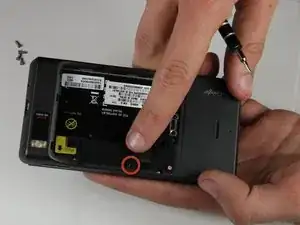
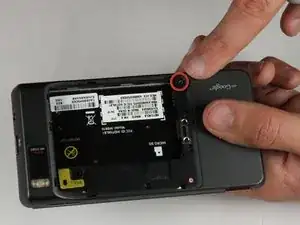
    • Identify the screw located in the bottom right corner of the battery case. Remove the screw with a T5 (or in some cases T6) torx screwdriver and set it aside.

  12. PreE2xtjAqpUQTwJ
    PreE2xtjAqpUQTwJ
    Sn2YyPWnuNr4bxS5
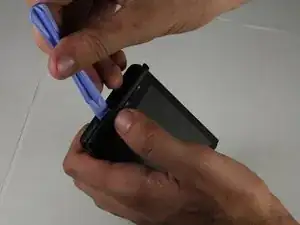
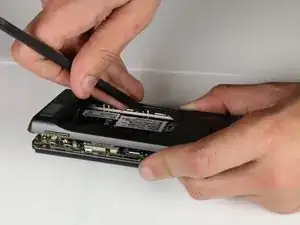
    • Locate the seam along the right edge of the phone. Use the prying tool to disconnect the two clips along the edge.

  13. F4T1kXuMdPSjamIq
    F4T1kXuMdPSjamIq
    qdMDMWtRl1BvhWuV
    MxaxAED1UYiUISbO
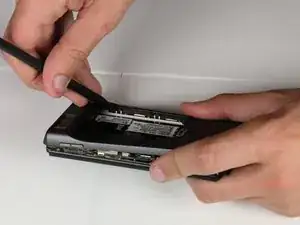
    • Locate the two clips on the inside of the case and use the spudger tool to detach them from the case. To detach each clip, use the sharp end to press the small, black plastic in the center of the clip.

  14. jIWoT2c6PYrMFP1e
    jIWoT2c6PYrMFP1e
    xPQBUVF21LRUog1J
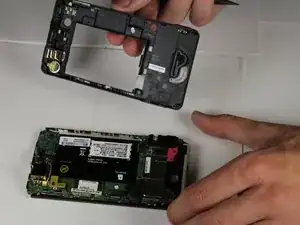
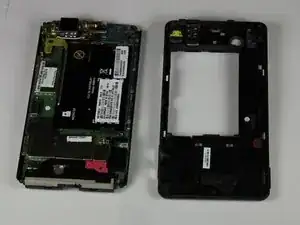
    • After the clips are detached, remove the back case and set it aside.

  15. QKf1xuNCX2XdQ2uV
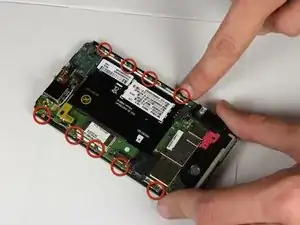
    • Remove the screws along both sides of the motherboard using a T3 Torx screwdriver. On some phones this may require a #1 Phillips Screw Driver.

    These are T3 screws. I have taken apart about 15 of them in the past week, T4 is too big to fit. Had to use a T3 bit to remove them.

    Christopher Moody -

    These screws are T4 on my phone, not T3. I stripped 2 screws trying to remove them with T3. Maybe it could be either.

    Jim Cooper -

    On my phone all screws from Step 15 - 29 were actually #0 Phillip head.

    Peter Merl -

  16. TFctMFSNtLQYYQUN
    TFctMFSNtLQYYQUN
    6QiQAsxCdkjO1IpN
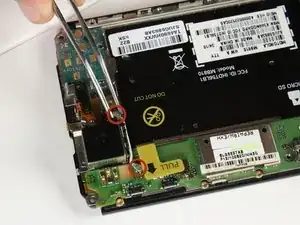
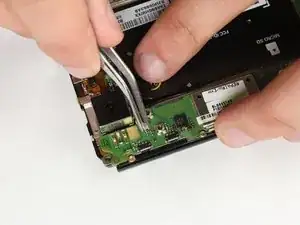
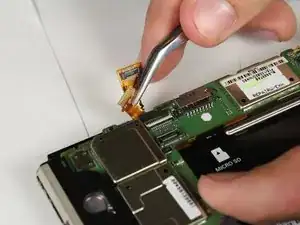
    • Carefully remove the white connecting wire from the motherboard using tweezers.

    • Use caution, this wire is delicate.

  17. PkeXAVHlyNdCXGHb
    PkeXAVHlyNdCXGHb
    KIJnfRGqWbKCfrUg
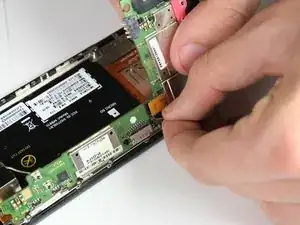
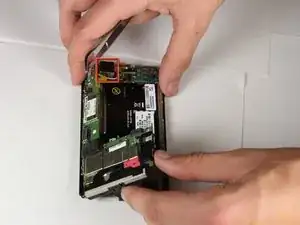
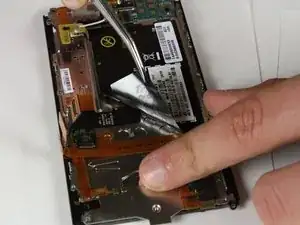
    • Scrape away the electrical tape that covers the LCD and digitizer cable using the spudger tool or a fingernail.

  18. ioglvJkmlG5crFBO
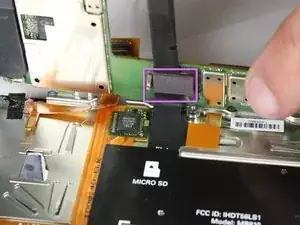
    • Use the spudger tool to pop the Digitizer cable off of the motherboard.

  19. Mh4C5PfVx2TNpksH
    • Carefully flip the small white connector up and away from the motherboard.

  20. acQsvUUlAAPSNDWI
    • Gently pull the flat gold cable out from the connector.

  21. wBXTYPUhIUxDHEh4
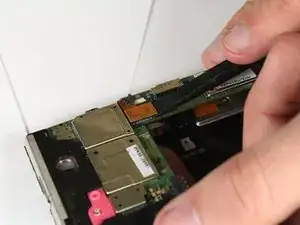
    • Carefully lift the motherboard and camera module up. Do not remove it from the phone!

  22. OFQ4UwrurHNhZLYE
    • Using the spudger tool, pop the black cable connector off of the motherboard.

  23. yYOQ6kFMdJ1uPpVD
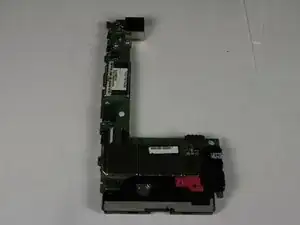
    • It is to safe remove the motherboard from the phone.

  24. GZTjsrHgHvMUCXQT
    GZTjsrHgHvMUCXQT
    MRpH3oER1oU3eNCU
    • Using tweezers, peel back the black safety information sticker.

  25. L31JgHSAL5DhQdVi
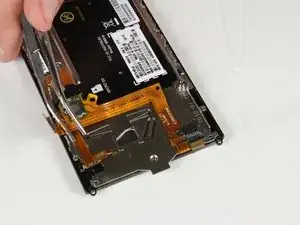
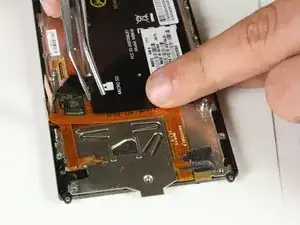
    • Using tweezers, peel the orange and black cable away from the device, stopping before reaching the electrical tape at the near the edge of the screen.

  26. 4QnZHP21t4trNAx3
    • Peel black the black electrical tape located near the bottom of the device.

  27. XQdYiLJNKiOIFqdn
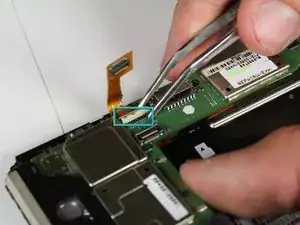
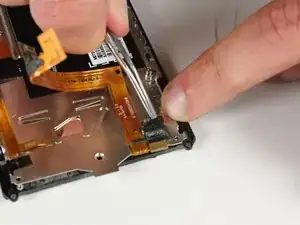
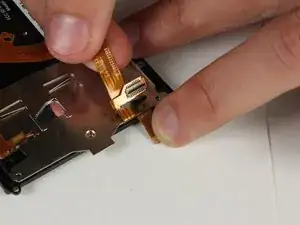
    • Flip up the cable connector and pull out the small flat cable.

  28. ljS6VIbyUhRZc43G
    ljS6VIbyUhRZc43G
    X1hyhgNSZGNRhBCG
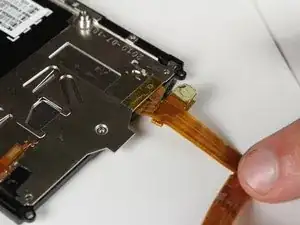
    • Carefully pull the long orange cable away from the device.

  29. DgkuXCBZRQScGhQs
    DgkuXCBZRQScGhQs
    OEVsy3VKJysYVvGh
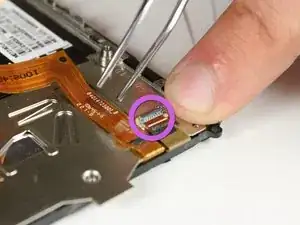
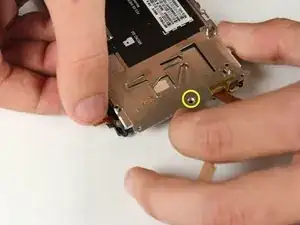
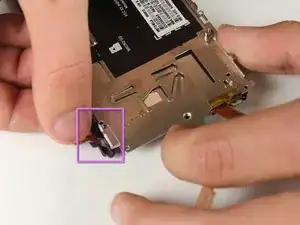
    • Unscrew the screw at the base of the screen using the T4 torx screwdriver .

    I had to remove 4 screws in total here. Only one is circled on this image.

    Jim Cooper -

  30. ADJwZVXXqvhTMUoh
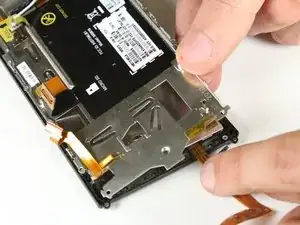
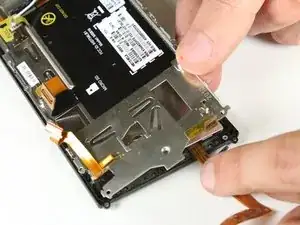
    • Peel back the orange and gold connector from the left side of the phone.

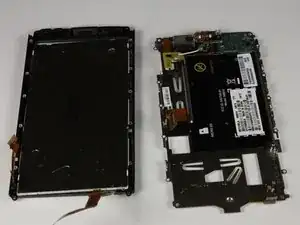
  31. JMwItsed4mQpvK4h
    • Carefully separate the metal plate from the LCD and front housing.

  32. axNanPBavngHJkr3
    axNanPBavngHJkr3
    2OS4nVOJ2aY63WUM
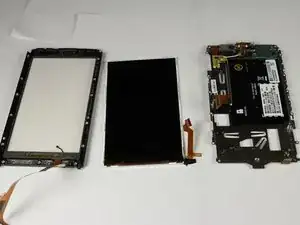
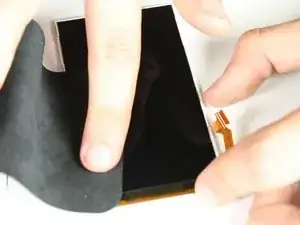
    • Lift the LCD out of the front housing.

  33. mgNwkoqIqydJWKps
    • Remove all dust and smudges from the LCD and front housing before installing the screen.

Abschluss

To reassemble your device, follow these instructions in reverse order.

Sam Johnston

Mitglied seit: 03/10/12

555 Reputation

2 Kommentare

How much does it cost to get what I need and where can I get it

jacob -

Thank you. This is very helpful.
Albert Einstine -