Einleitung
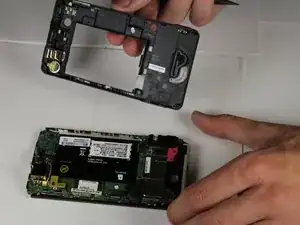
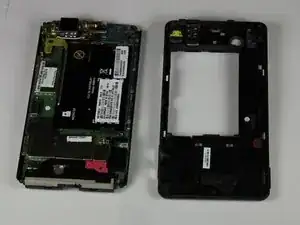
If one needs access to the inner components of the Droid X or they are needing to replace the rear plastic of the device, this guide will walk a reader through the necessary steps.
Werkzeuge
-
-
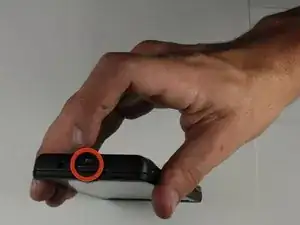
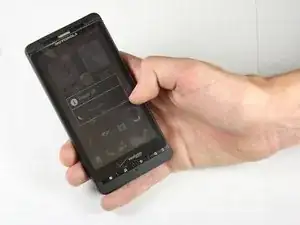
Locate the power button at the top of the phone. Depress power button for 2 seconds until a menu appears.
-
-
-
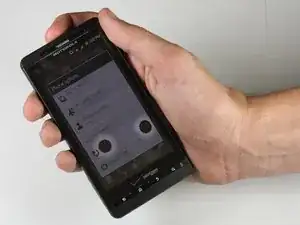
Once the menu appears, select the "power off" option. Wait until the phone is completely off.
-
-
-
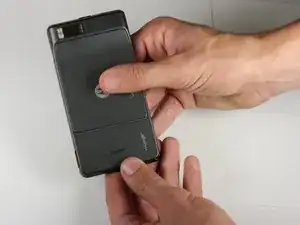
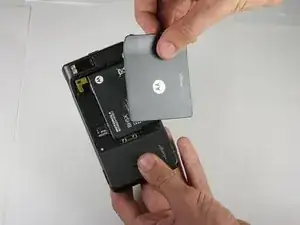
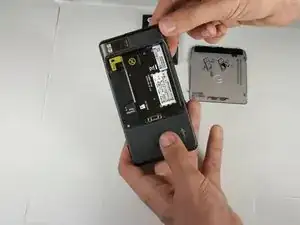
Place thumb on the back cover, and push down towards the bottom of the device. Once the cover releases, pull it away from the phone and set it aside.
-
-
-
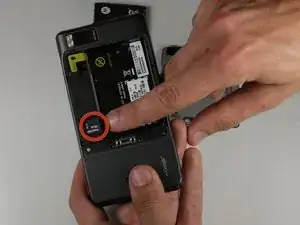
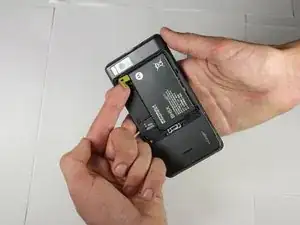
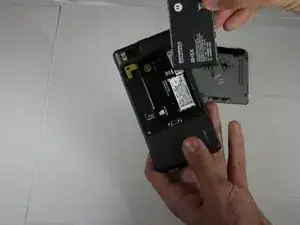
Find the yellow pull tab located in the upper left corner. Pull the tab until the battery dislodges. Grab the battery by the raised edge, and remove it from the case.
-
-
-
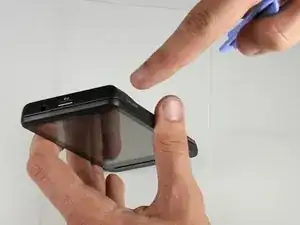
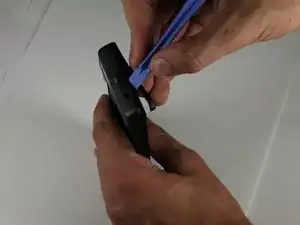
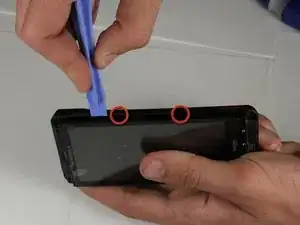
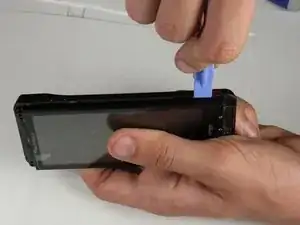
Locate the seam between the back case and the end cover on the top edge of the phone.
-
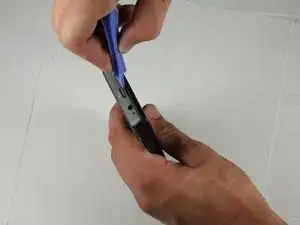
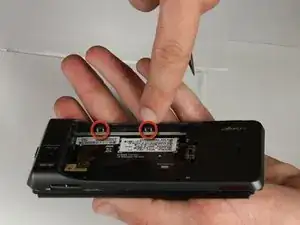
Use the plastic opening tool to detach the two clips by wedging the tool into the right side of the seam and moving right to left. Once the cover comes off set it aside
-
-
-
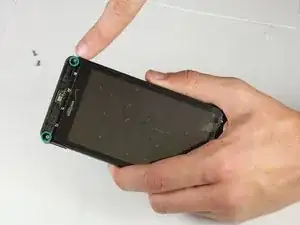
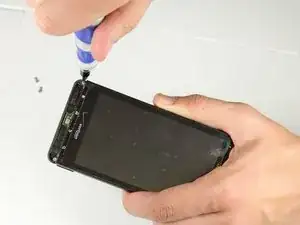
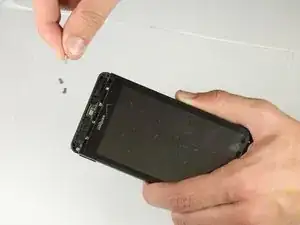
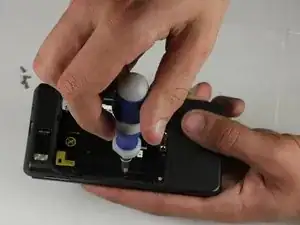
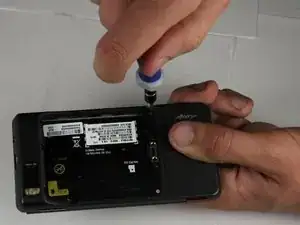
Flip the phone over and locate the screw on the middle of the left side. Unscrew it using the T5 Torx screwdriver and set it aside.
-
-
-
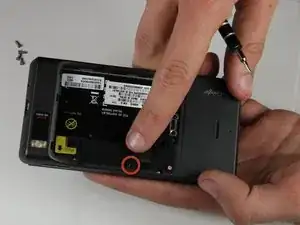
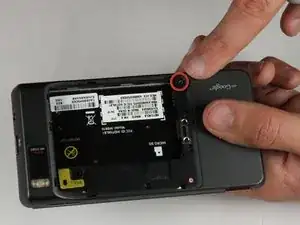
Identify the screw located in the bottom right corner of the battery case. Remove the screw with a T5 (or in some cases T6) torx screwdriver and set it aside.
-
-
-
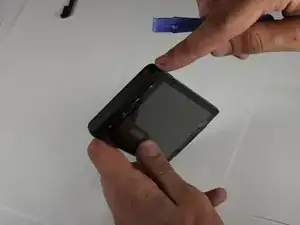
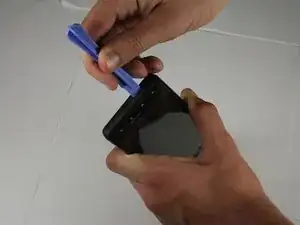
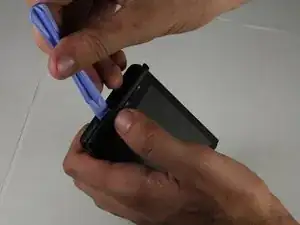
Locate the seam along the right edge of the phone. Use the prying tool to disconnect the two clips along the edge.
-
-
-
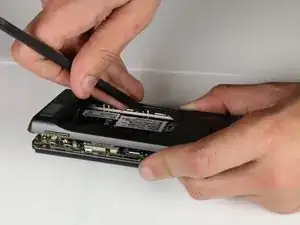
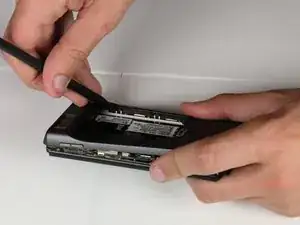
Locate the two clips on the inside of the case and use the spudger tool to detach them from the case. To detach each clip, use the sharp end to press the small, black plastic in the center of the clip.
-
To reassemble your device, follow these instructions in reverse order.
