Einleitung
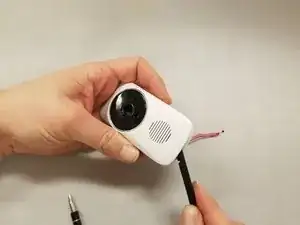
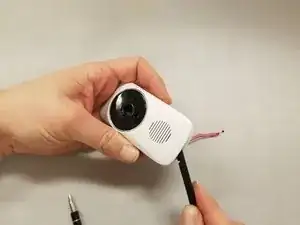
In the case of damage or a non-functioning camera on the baby monitor, this guide will show users how to disassemble their camera in order to replace the circuit board.
Werkzeuge
-
-
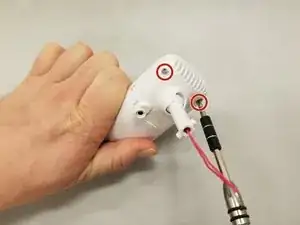
Remove the two 5 mm Phillips #1 screws on the back of the camera.
-
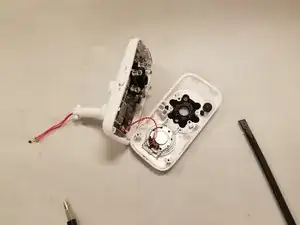
Use a nylon spudger to remove the casing.
-
-
-
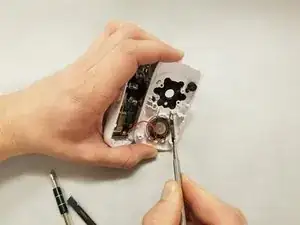
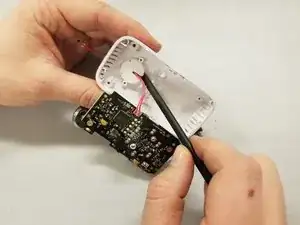
Remove the brackets by the speaker on the front side of the camera using the metal spudger.
-
Continue to use the metal spudger to carefully disconnect remaining brackets from casing.
-
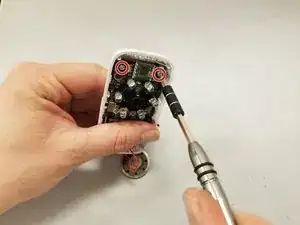
Remove the two 5mm Phillips #1 screws on the backside of the camera.
-
-
-
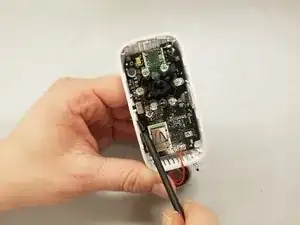
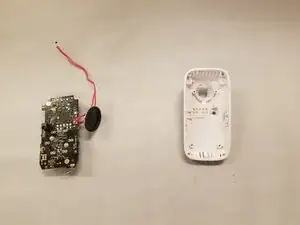
Use the nylon spudger to remove the circuit board from the plastic casing for the backside of the camera.
-
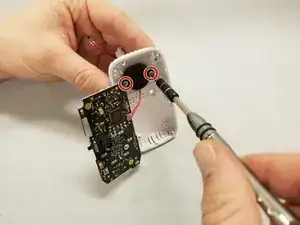
Remove the two 5 mm Phillips #1 screws on the black circle receiver housing.
-
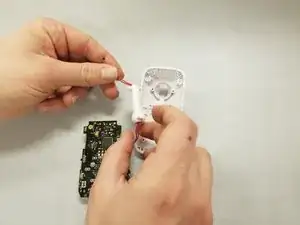
Now that the black circle is detached, use a nylon spudger to remove the white plastic circle from the casing.
-
To reassemble your device, follow these instructions in reverse order.
