Einleitung

This guide will show users how to take apart the camera housing in order to replace the speaker.

  1. AQgQPOuj5MviQVZH
    AQgQPOuj5MviQVZH
    SJ1AMghuCbXCjJQB
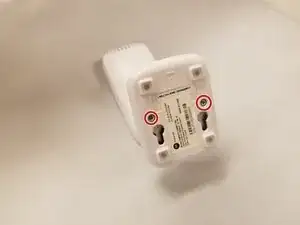
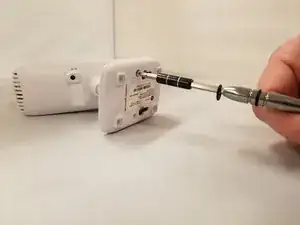
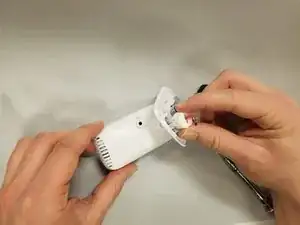
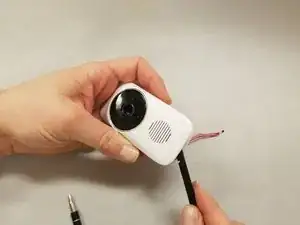
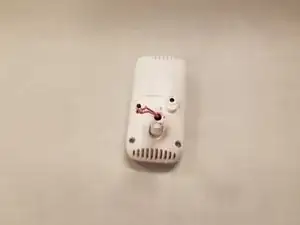
    • Remove two 5 mm Phillips #1 screws from the bottom of the camera stand.

  2. OsMt4WxfpDpZWQlc
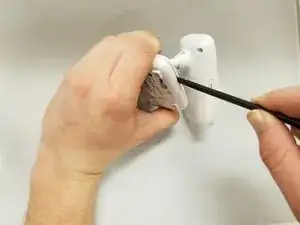
    • Use a nylon spudger to remove the casing.

  3. Jix64hgPaaDpnEWq
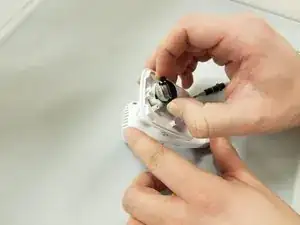
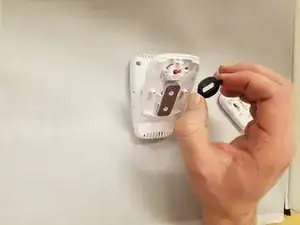
    • Remove the two 5 mm Phillips #1 screws attached to the black plastic under the casing.

  4. yeOTYc1yfcUZQrRv
    yeOTYc1yfcUZQrRv
    vUqOXEoKJD1QVWsp
    • Remove the black circular plastic part.

  5. j26KgV4XBUcBMREh
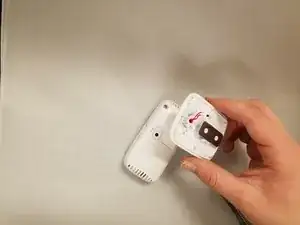
    • Remove the white plastic wire housing beneath the black plastic.

  6. M4T2CUuDiHQJXrGy
    M4T2CUuDiHQJXrGy
    eNFBQhLpUFAwnVBh
    • Now, remove the bottom of the stand by pulling it from the camera.

  7. 3oSwU2u6vL6sXII6
    3oSwU2u6vL6sXII6
    e6HPKwBLH4FJORuD
    sCssvbTlrQhA3bcY
    • Remove the Phillips #1 screws on the back of the device.

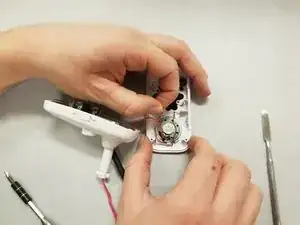
    • Use a nylon spudger to remove the casing. This will separate the frontside of the camera from the backside.

  8. hTQnLWPvmRlP6AVd
    hTQnLWPvmRlP6AVd
    NGoUjiHvFqVmRFsZ
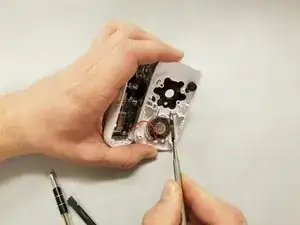
    • Now locate the brackets by the speaker on the frontside of the camera and use the metal spudger to carefully disconnect from casing.

    • Continue to use the metal spudger to carefully disconnect the remaining brackets from the casing.

  9. gymMjPEgLSnWYByF
    gymMjPEgLSnWYByF
    Iqpr2UNTB2PcuYxv
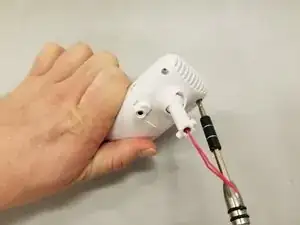
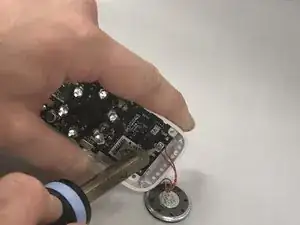
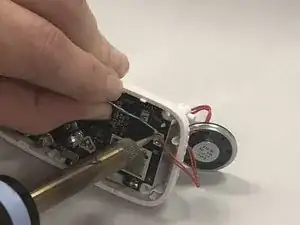
    • Using the soldering iron, desolder the speaker wires that are attached to the circuit board.

    • Use caution while handling the soldering iron. This tool gets very hot!

    • After desoldering the speaker wires, remove the wires from the circuit board.

    • Thread the wires from the new speaker wires through the holes in the circuit board. Using the soldering iron, re-solder the wires to the circuit board.

Abschluss

To reassemble your device, follow these instructions in reverse order.
Kyle Kramer

Mitglied seit: 16/01/19

255 Reputation

0 Kommentare