Einleitung
Replace the camera for your Motorola MOTO phone.
Werkzeuge
-
-
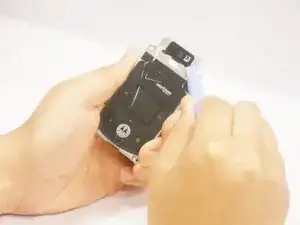
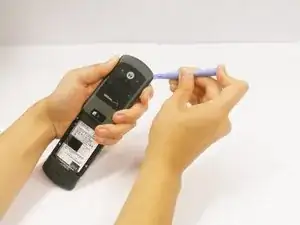
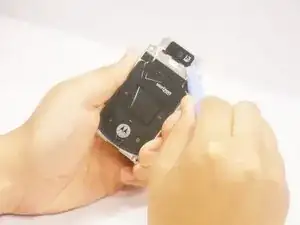
Using your finger, press down on the clip holding the back cover on
-
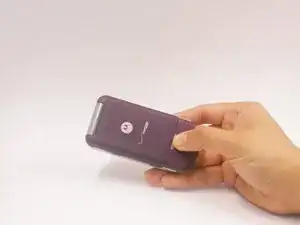
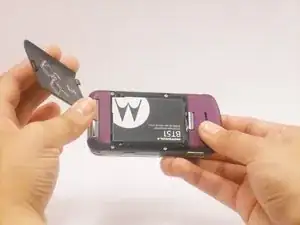
Pull the back cover off.
-
-
-
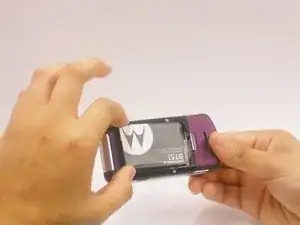
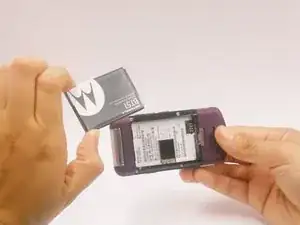
Place thumb and index finger in the spaces on either side of the battery.
-
Pull battery out.
-
-
-
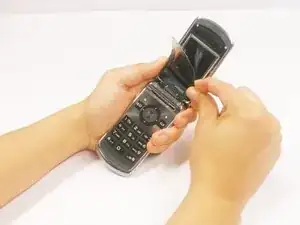
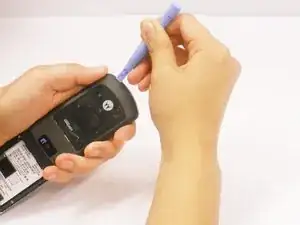
Use the plastic opening tool to pull peel back screen cover.
-
Gently peel back the screen cover from the speaker slit.
-
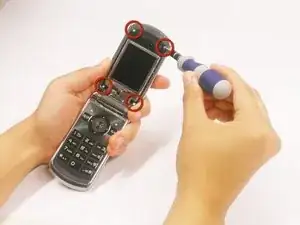
Using the T6 Torx-screwdriver, remove the four 4.3 mm screws from the top panel.
-
-
-
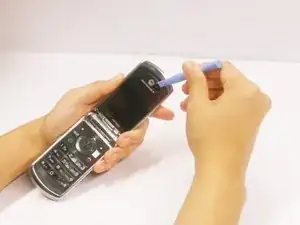
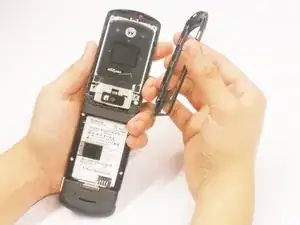
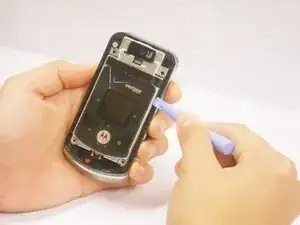
Using the flat end of the plastic opening tool, insert it underneath the plastic cover on the top right corner.
-
Move the opening tool around the phone counter clockwise.
-
Pop the plastic cover off by twisting the plastic covering tool.
-
-
-
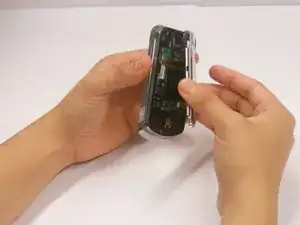
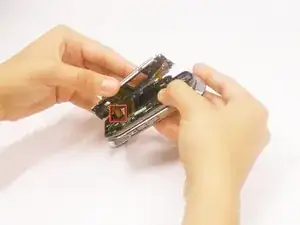
Using a flat head screwdriver, insert it between the metal logic board casing and the top portion of the phone
-
Move the plastic opening tool around the phone until part of the casting is popped off.
-
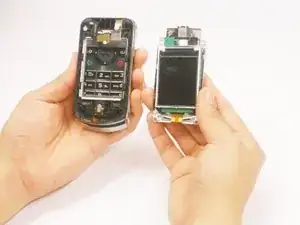
You will need to pop in the four plastic fasteners individually from the metal casing to remove it
-
Be careful not to rip the cable ribbons that are attached to the logic board and casing
-
-
-
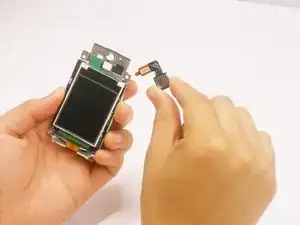
Use the flat end of the plastic opening tool to unclip the cable ribbon from the logic board
-
-
-
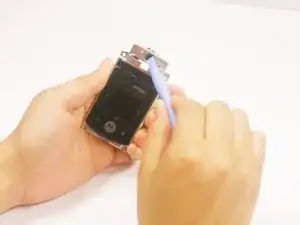
Using the plastic opening tool, peel back the plastic cover that is glued on top of the camera lens.
-
-
-
Using the plastic opening tool, gently push the camera out from the front.
-
Part of the foam holding the camera will rip from the adhesive.
-
To reassemble your device, follow these instructions in reverse order.
