Einleitung

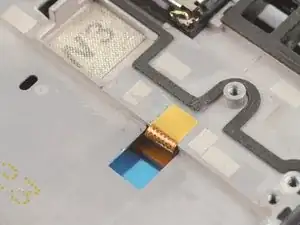
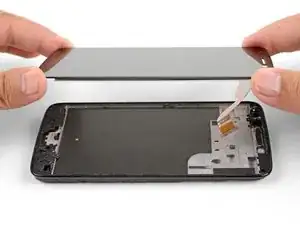
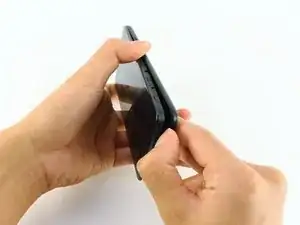
Follow this guide to remove and replace a cracked screen for the Moto E4. This replaces the front glass as well as the LCD panel.

This guide is specifically for the Moto E4 that does not have a fingerprint sensor. If your phone has a fingerprint sensor at the bottom of the screen, do not follow this guide.

  1. YdNyF2oFPaL3Wr1S
    YdNyF2oFPaL3Wr1S
    cJNQSWBQwklAtRgK
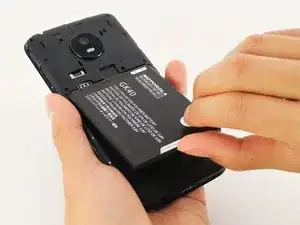
    • Before removing the battery, power off your Moto E4.

    • Remove the plastic cover by gently prying it up from the notch at the bottom right corner of the phone.

    • With the phone face down, lift the battery up by the labeled tab and remove it from the device.

  2. QLW3kk4OmnKO2RR4
    QLW3kk4OmnKO2RR4
    sERdBXGiFR2MNtWk
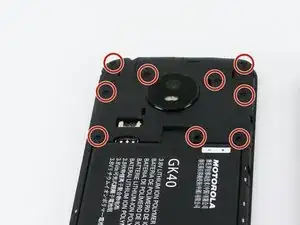
    • The battery is shown inserted in the Moto E4, but it should be removed before performing the following step.

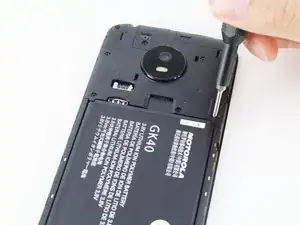
    • Remove all nine 4 mm Phillips screws from the top plastic cover.

  3. EHxsPeKxgLbB1jQY
    EHxsPeKxgLbB1jQY
    FULZuhDtXjjMqbO5
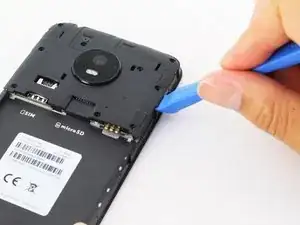
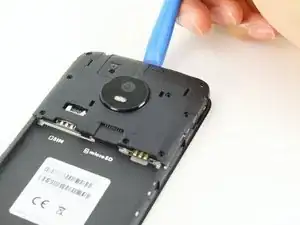
    • Gently pry up the plastic cover using a plastic opening tool.

    • Start by inserting the tool under the cover's right edge, as indicated by the first picture.

    • Pry up, and continue prying around the rest of the cover in a counter clockwise path.

    • Once loose, remove the plastic cover from the phone.

  4. JJ4MNQgJEKCOVlAK
    JJ4MNQgJEKCOVlAK
    oggH14qkCPSNTUGH
    PxRCRMTuhMkqlXsM
    • This step can be skipped if you are only removing the front-facing camera. For all other repairs, continue as follows.

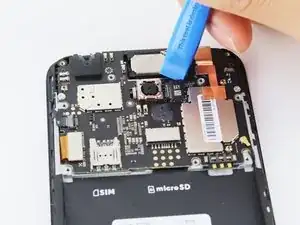
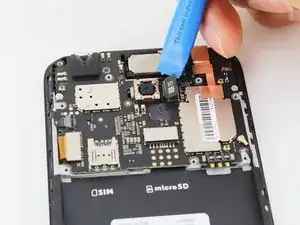
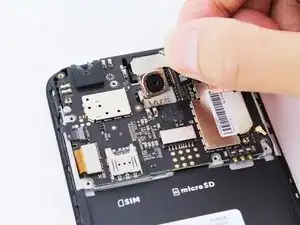
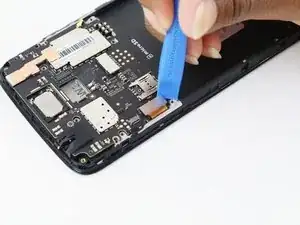
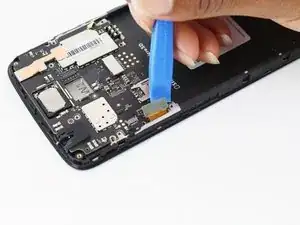
    • Disconnect the rear-facing camera by prying straight up on the connector on its right side.

    • Remove the rear-facing camera from the Moto E4.

  5. V31wtaLjLRsFlPWW
    V31wtaLjLRsFlPWW
    1HKtEvMypmWHQVjf
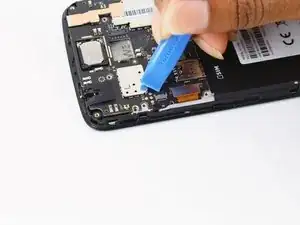
    • Disconnect the display cable by prying it straight up from the motherboard.

  6. CyUGeQSlsxcCqcYZ
    CyUGeQSlsxcCqcYZ
    CyqFV3EW1JMdrIDN
    • Unlock the ZIF connector for the side buttons by prying up the black locking flap opposite the cable.

    • Pull the cable carefully toward the edge of the phone to slide it from its socket.

  7. TUBMLioFQZUxwDQR
    TUBMLioFQZUxwDQR
    4PuZH6gA66yVa1Hg
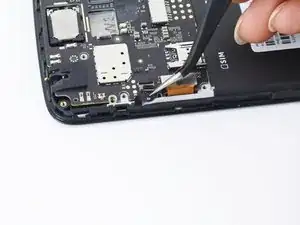
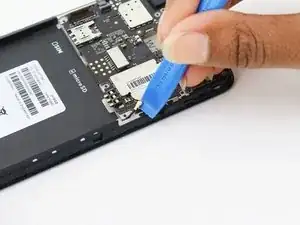
    • Disconnect the antenna cable by sliding a plastic pry tool or fine tweezers under the wire close to its socket, and then prying straight up.

  8. QQHWkiNpWOBPpCkM
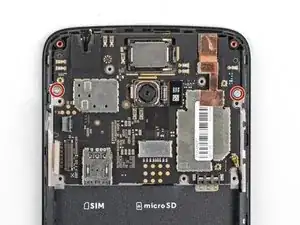
    • Remove the two 3.1 mm long Phillips screws securing the motherboard.

  9. KfyXBun1ywCWRkxd
    KfyXBun1ywCWRkxd
    Yqk5CChg3XlNPswK
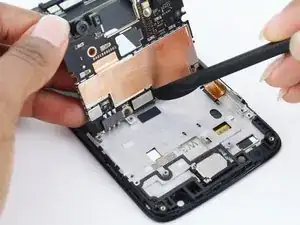
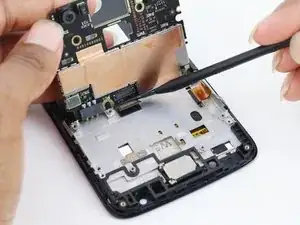
    • Grab the top edge of the motherboard and lift to hinge it upward (but don't try to fully remove it). While doing so, keep all other cables clear of the motherboard.

    • Use a spudger or other fine-tip pry tool to pry off and disconnect the last remaining ribbon cable on the underside of the motherboard.

    • Remove the Moto E4 motherboard.

    Moto e4 xt1760 battery connector +point remove you can help me find +point use jumper

    Tayyab Jutt -

  10. AuCFsysqYwqRSbuS
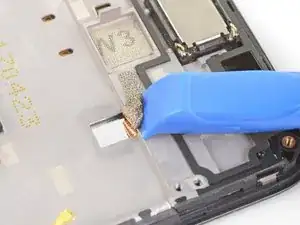
    • The screen's grounding cable is adhered to the frame near the top of the phone.

    • Use a plastic opening tool to carefully separate the cable until it detaches.

  11. omr5OUcBiGarVrBG
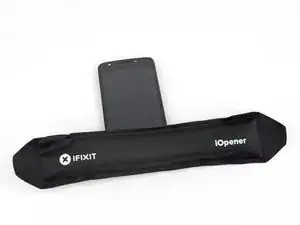
    • Heat an iOpener and apply it to the left edge of the screen for one minute to help soften the adhesive securing the screen.

    • A hair dryer, heat gun, or hot plate may also be used.

    • If your display is badly cracked, covering it with a layer of clear packing tape may allow the suction cup to adhere. Alternatively, very strong tape may be used instead of the suction cup. If all else fails, you can superglue the suction cup to the broken screen.

  12. nppkQhRAjcI1TUQS
    nppkQhRAjcI1TUQS
    QjoSpx6MrUjGTYuu
    yK1rW2qVLm1wihUJ
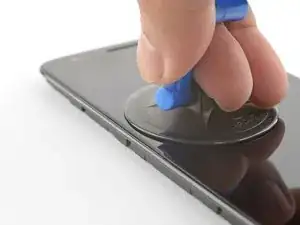
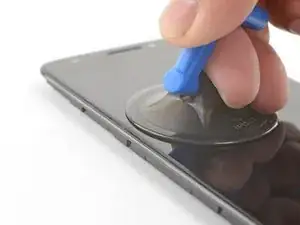
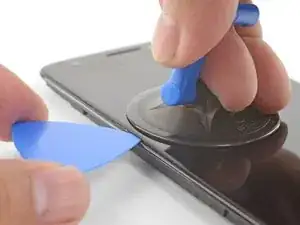
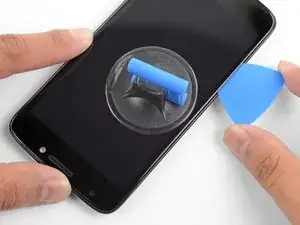
    • Apply a suction cup to the screen, near the heated edge of the phone.

    • Pull on the suction cup with strong, steady force to create a gap between the screen and frame.

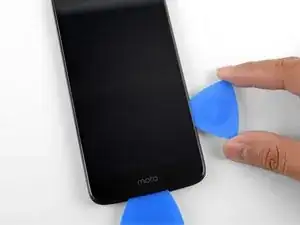
    • Insert the point of an opening pick into the gap.

    • Due to the strong adhesive, this may take multiple attempts. If you have trouble, heat the edge for another minute and try again.

  13. Gvt22FUobTJBIiK1
    Gvt22FUobTJBIiK1
    KojMRjtD1jbbSDtx
    DyrGHRDCQoylqZxQ
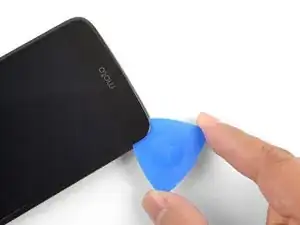
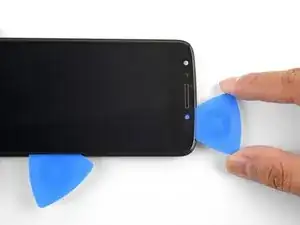
    • Slide the opening pick along the left edge to slice through the adhesive.

    • As you push the pick into the phone, you may feel it press against the edge of the LCD underneath the glass. If you angle the point of the pick downwards, you can slide the pick underneath the edge of the LCD.

  14. GIPHhJ5S2EbipgR2
    GIPHhJ5S2EbipgR2
    WDifyLFjWgY4n26Q
    V1tI511TFpbTbiEL
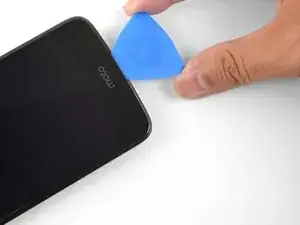
    • Apply a heated iOpener to the bottom edge of the phone for a minute to soften the adhesive.

    • Use an opening pick to slice through the adhesive at the bottom edge of the phone.

    • The adhesive here is as thick as the bezel. Be sure to slice deep enough to cut through all of the adhesive.

  15. w5nm5SUyd6YPIaGQ
    w5nm5SUyd6YPIaGQ
    tskgxUwPhMAETNvY
    • Continue heating and slicing along the right and top edges of the phone.

    • Leave an opening pick in the seam to prevent the adhesive from resealing.

  16. VoiEEYNGCNcAiDiL
    VoiEEYNGCNcAiDiL
    rSsIbNBTEY1owoMh
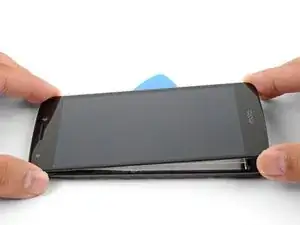
    • Lift up the bottom edge of the screen by a few degrees and slice any remaining adhesive.

  17. esMNRgLsKt2RHHmP
    esMNRgLsKt2RHHmP
    3LmPBCtkFhOFt6ht
    FdQXsGWbjecslXBb
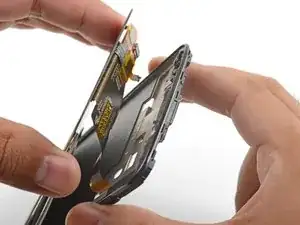
    • The screen cable is still adhered to the frame.

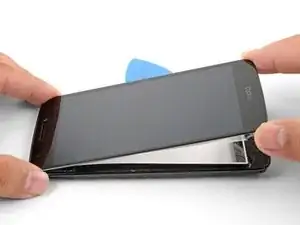
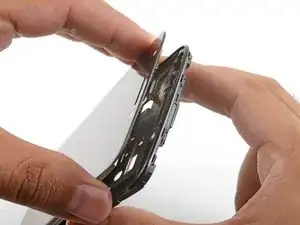
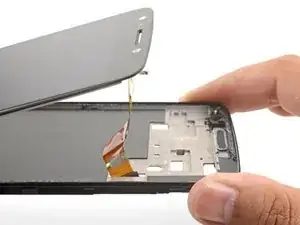
    • Grasp the phone near the top edge and slowly separate the screen and the display cable from the frame.

    • As you lift the screen away, thread the grounding cable and the screen cable through their respective cutouts.

  18. qRIVjWETX1jJYS5K
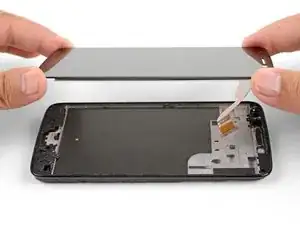
    • Remove the screen.

    • Compare your screen with the replacement part. You may need to transfer certain components such as the earpiece bezel to your replacement part.

  19. L22SNe1jScPMSbNT
    L22SNe1jScPMSbNT
    kIjV4nGE1QMX4DS1
    eDDudIiaQxaQKC6g
    • This step shows how to prepare your replacement screen for installation.

    • If your replacement screen came with the digitizer cable disconnected, be sure to connect it before installation:

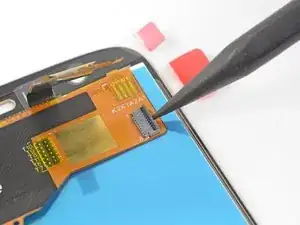
    • Use a spudger to flip up the digitizer cable ZIF socket's locking bar, located on the back of the screen near the top right corner.

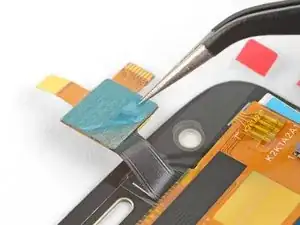
    • Peel off the small square plastic liner under the digitizer cable to expose the adhesive.

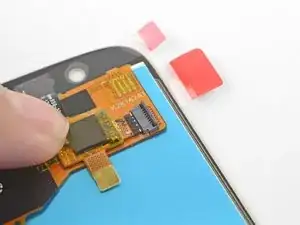
    • Press the cable down against the back of the screen.

    • Carefully feed the cable into the digitizer cable socket until the white bar printed on the cable is barely visible.

    • Flip the socket's locking bar down to secure the cable in place.

    • Peel all plastic liners from the replacement screen.

  20. 6tKb65T5GWkWUcR3
    6tKb65T5GWkWUcR3
    Jbf1eSXMHWibvWjE
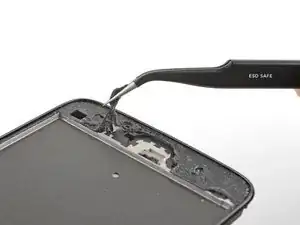
    • Before you install a replacement screen, be sure to remove all traces of adhesive from the phone frame. Use high concentration (>90%) isopropyl alcohol to help remove stubborn adhesive.

    • For best results, reassemble your phone and test your repair before sealing the new display in place.

    • Be sure to guide both the display cable and the grounding cable through their respective frame cutouts.

    • To attach your replacement screen, apply a custom-cut adhesive strip to the frame, or use a strong double-sided tape such as Tesa 61395.

Abschluss

To reassemble your device, follow these instructions in reverse order.

Take your e-waste to an R2 or e-Stewards certified recycler.

Repair didn’t go as planned? Try some basic troubleshooting, or ask our Motorola E4 Answers community for help.
Arthur Shi

Mitglied seit: 03/01/18

218620 Reputation

0 Kommentare