Einleitung
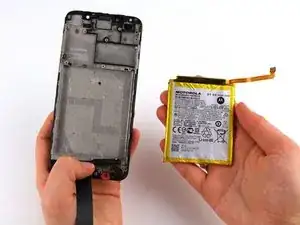
The Motorola Moto E6 Play phone runs on a 3000 mAh rechargeable battery. If the phone will not power on, there may be an issue with the battery. Before attempting this guide, click here for troubleshooting issues with the device not powering on. Before beginning any repairs, remember to completely turn off the phone, and check for signs of a swollen battery, which is chemically hazardous and can cause fires if improperly dealt with.
Werkzeuge
-
-
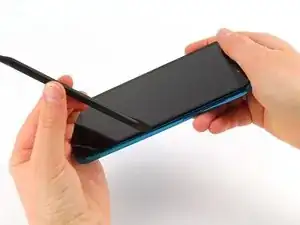
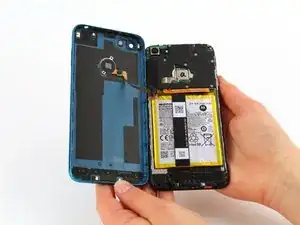
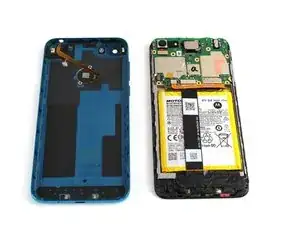
Run the halberd spudger along the edges of the device. The back cover should easily pop off.
-
-
-
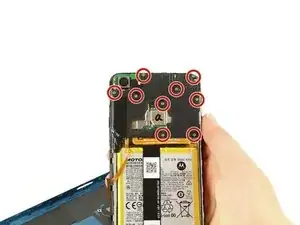
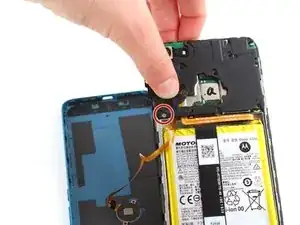
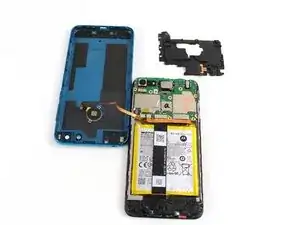
To remove the cover on the motherboard, remove the 10 silver 3.90 mm Phillips screws attaching the cover to the board using the Phillips #0 screwdriver.
-
-
-
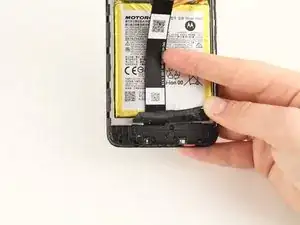
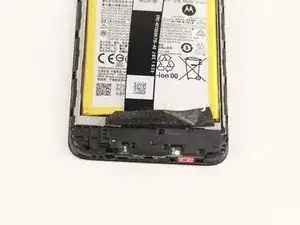
The bottom plastic piece covering the daughterboard can be seen by peeling back the tape covering the bottom section of the phone below the battery.
-
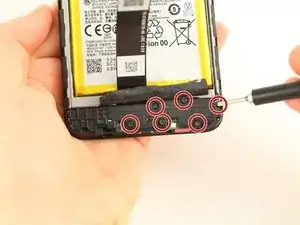
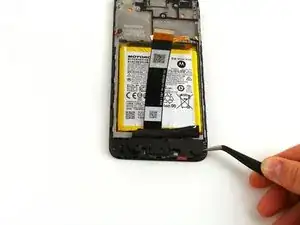
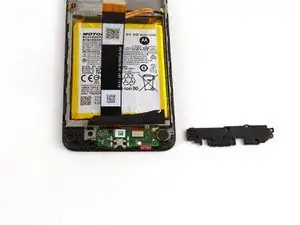
To remove the cover, unscrew the six black 3.45 mm Phillips screws holding the cover in place using the Phillips #0 screwdriver.
-
-
-
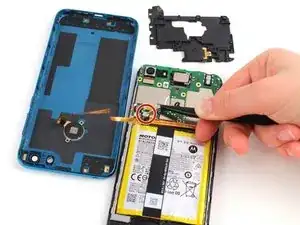
With the angled tweezers, detach the fingerprint scanner connector from the motherboard by pulling the metal head up and away from the phone.
-
-
-
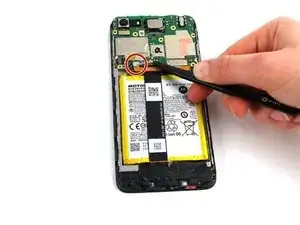
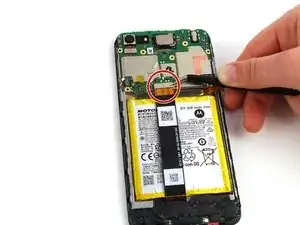
With the angled tweezers, remove the horizontal and vertical connectors that link the battery to the motherboard together by pulling the metal heads on the connectors.
-
-
-
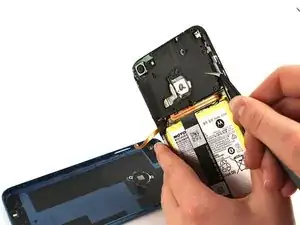
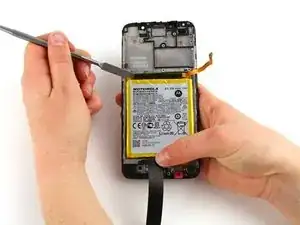
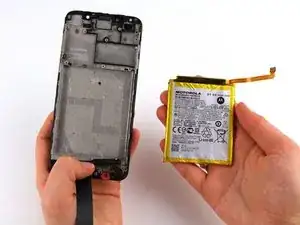
Remove the battery by inserting the spudger under the battery and gently pulling it up from the device.
-
Continue to push the spudger towards the center of the compartment holding the battery, and gently pry the battery away from the device.
-
To reassemble your device, follow these instructions in reverse order.
