Einleitung

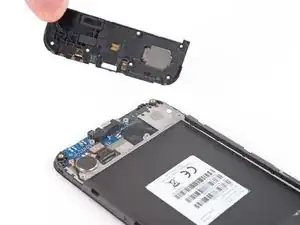
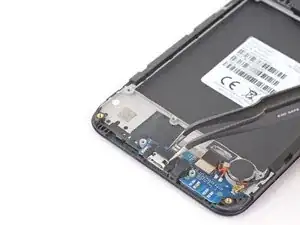
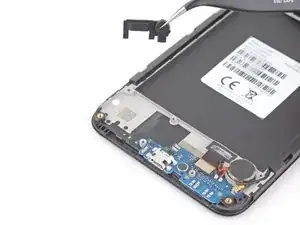
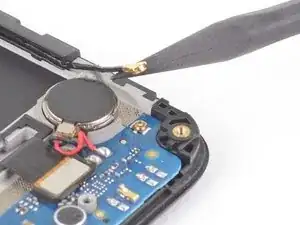
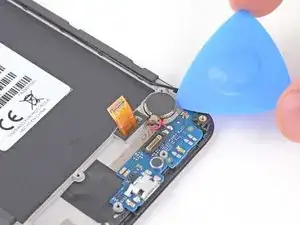
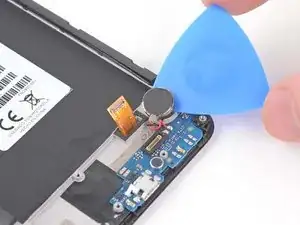
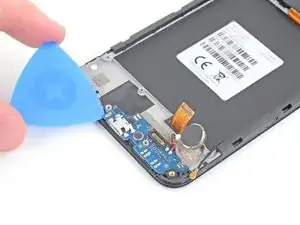
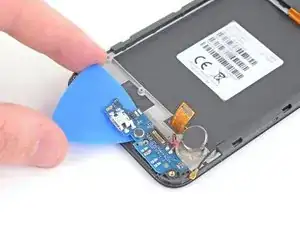
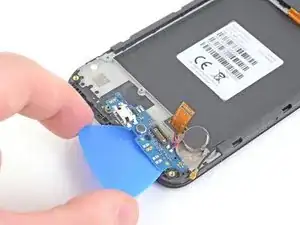
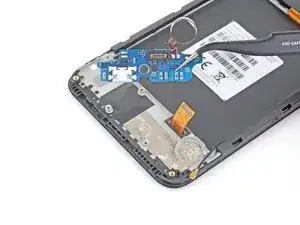
Follow this guide to remove or replace the daughterboard in a Motorola Moto E6 Plus. The daughterboard assembly includes both the charging port and the vibration motor which is soldered on.

  1. DV5tZdENiPJTQAHr
    DV5tZdENiPJTQAHr
    ZLVwPhhuVLkUM2so
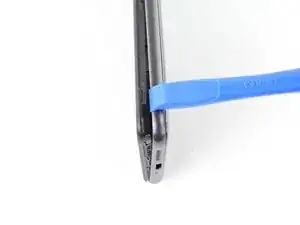
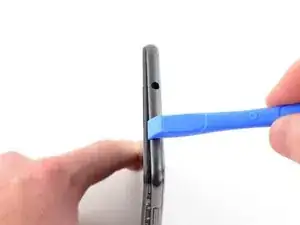
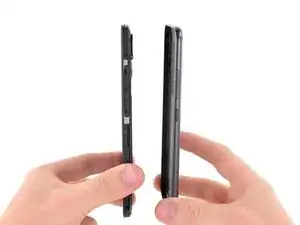
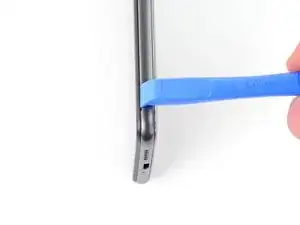
    • Use an opening tool or your fingernail to pry the back cover away from the frame using the notch at the bottom right corner.

  2. J1BapQcYH4yMlOdj
    J1BapQcYH4yMlOdj
    mxJsqtHuwRJjNBR6
    l52kFOQjHdakutLa
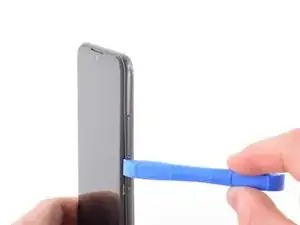
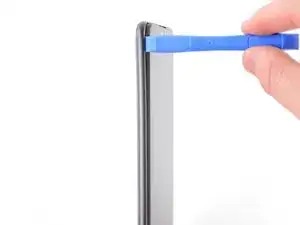
    • Use an opening tool or your fingernail to release the clips on the right edge by sliding up and around the top right corner.

  3. P5IvPvDtn3JNoxHK
    P5IvPvDtn3JNoxHK
    EYwJhkTXPJ3MbcVO
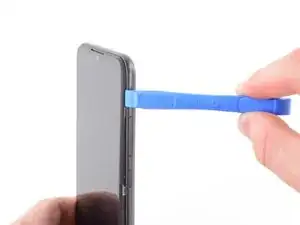
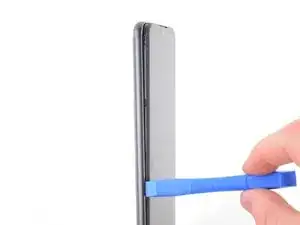
    • Continue to slide the opening tool or your fingernail across the top edge to release the clips securing the back cover to the frame.

  4. NTONYYaIPIFSexev
    NTONYYaIPIFSexev
    UkfubXkAXUxqBxaZ
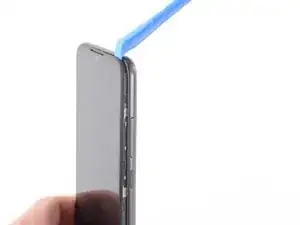
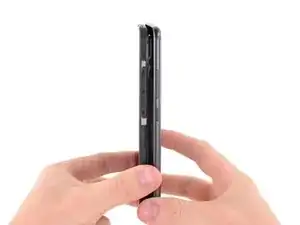
    • Continue to slide the opening tool or your fingernail down the left edge to release the clips.

  5. vgbAQyZt4TIpUmH5
    vgbAQyZt4TIpUmH5
    thBYeufEmQbjUgPt
    GBiAVjADV4gXNKQY
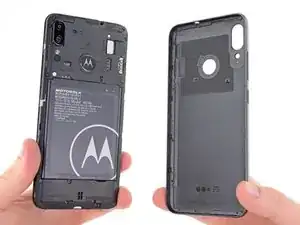
    • Remove the back cover.

  6. 44RTHNyrK1FuSSft
    44RTHNyrK1FuSSft
    pnhYD23GC4DxXqt5
    rLBa4dEMSKgI5ybt
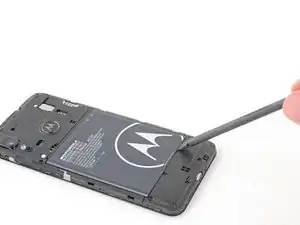
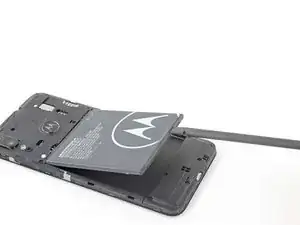
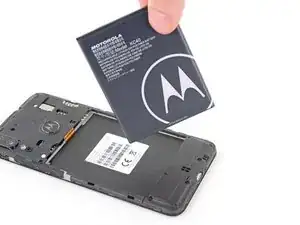
    • Use a spudger or your fingernail to pry the battery up using the notch near the bottom right corner.

    • Take care not to puncture or bend the battery with your tool—a punctured or bent battery may leak dangerous chemicals or cause a thermal event.

    • Remove the battery.

    This is the best and most easily explained step by step procedure I have ever come across, usually author assumes that one does not need some of the steps, believe me “the more details the better “ this guy certainly knows how to explain things. Well done, excellent.

    Ken Mills -

  7. SCQSb22VXNPBBXUU
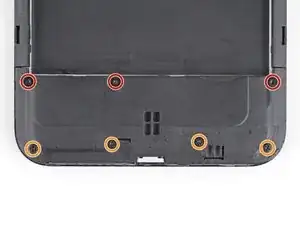
    • Use a Torx T3 driver to remove the three 3.6 mm-long screws securing the loudspeaker to the frame.

    • Use a Phillips screwdriver to remove the four 3.1 mm-long screws.

  8. nwFC5YbPlwNwpgiY
    nwFC5YbPlwNwpgiY
    CwI6rxNQVwEHCF5A
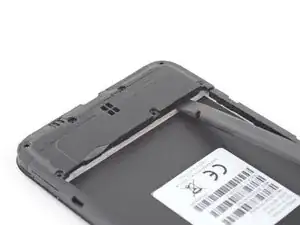
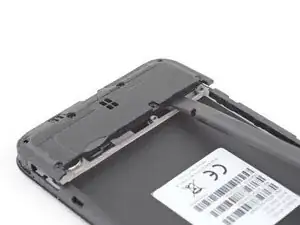
    • Use a spudger to pry up the loudspeaker from the frame.

    • If you are having trouble releasing the clips securing the loudspeaker to the frame, use a spudger to pry around the loudspeaker to loosen it.

  9. ABKbxAPLIRRHyxwY
    • Remove the loudspeaker.

  10. SFdcLi4ZLUwnoR1L
    SFdcLi4ZLUwnoR1L
    BquOEEDXJoFNxWAu
    • Use a pair of tweezers or your fingers to remove the charging port insulator.

    • The charging port insulator may have come off with the loudspeaker.

    Not necessary on my phone.

    Peter Merchant -

  11. oWU1HGUGQcKtM6AU
    oWU1HGUGQcKtM6AU
    GYkkRB4hO2prBQHr
    • Use the pointed end of a spudger to disconnect the coaxial cable by lifting straight up as close to the connector as possible.

  12. TCYqfjckyqJG3JoC
    TCYqfjckyqJG3JoC
    sqr51WsaxY1wutHb
    • Use the flat end of a spudger to disconnect the motherboard flex cable by lifting straight up on the press connector.

  13. VTBIkKtrAPQesHYU
    VTBIkKtrAPQesHYU
    FivSllfTW2dqaYFe
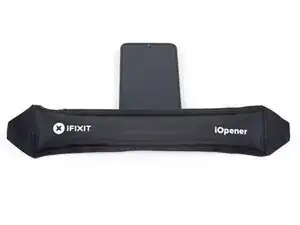
    • Heat an iOpener and apply it to the bottom edge of the screen for 30 seconds.

    • A hair dryer, heat gun, or hot plate may also be used, but be careful not to overheat the phone—the display and internal battery are both susceptible to heat damage.

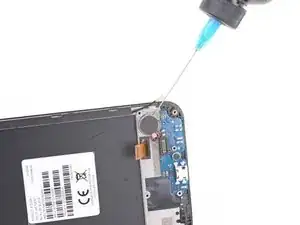
    • Apply a few drops of high concentration (over 90%) isopropyl alcohol underneath the vibration motor to loosen the adhesive securing it to the frame.

    • Tilt your phone to allow the isopropyl alcohol to flow underneath the vibration motor.

  14. dRMeevEUJ1DHv4kU
    dRMeevEUJ1DHv4kU
    lVpQ6iTMiF6FtST1
    • Use an opening pick to peel the vibration motor off the frame.

  15. PxQheLyRkqdBEhSG
    PxQheLyRkqdBEhSG
    fH5qjQoaJwnLsvqi
    dHBGMg6mkHGAaL1w
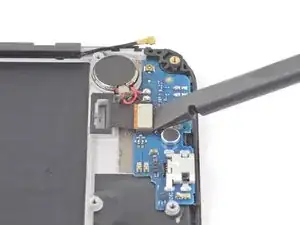
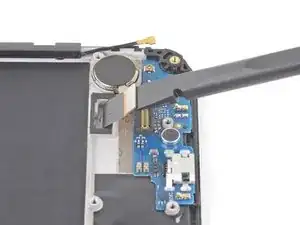
    • Use an opening pick to peel the daughterboard assembly off the frame starting from the left edge.

    • Insert an opening pick under the bottom right edge to cut the remaining adhesive.

  16. yf2GQAgllgY6bZTc
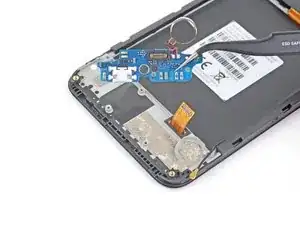
    • Remove the daughterboard assembly which includes the vibration motor and the charging port.

Abschluss

To reassemble your device, follow these instructions in reverse order.

Take your e-waste to an R2 or e-Stewards certified recycler.

Repair didn’t go as planned? Try some basic troubleshooting, or ask our Motorola Moto E6 Plus Answers community for help.
Robert Boyd

Mitglied seit: 01/02/21

22262 Reputation

0 Kommentare