Einleitung
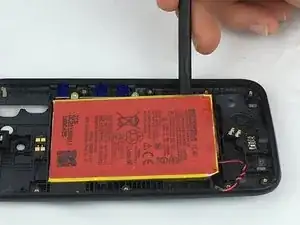
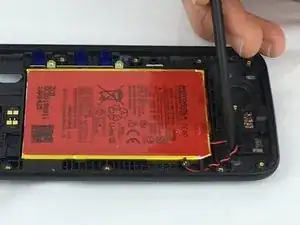
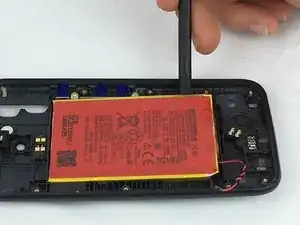
Diese Anleitung zeigt, wie man den Akku tauscht. Dazu muss der Großteil des Gerätes demontiert werden.
Wenn dein Akku aufgebläht ist, dann treffe geeignete Vorsichtsmaßnahmen.
Werkzeuge
Ersatzteile
-
-
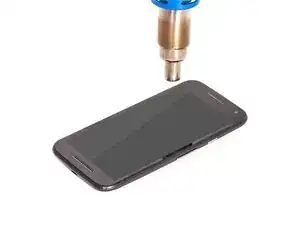
Erwärme die Kanten gleichmäßig, am die Klebestellen zu lösen. Fahre mit Schritt 3 fort, wenn sich die Kante warm anfühlt.
-
-
-
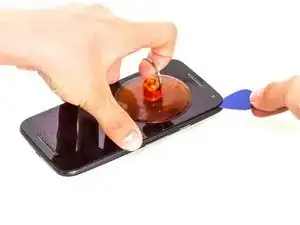
Wenn sich der Kleber löst heble vorsichtig mit einen Plastic Opening Tool oder einem Pick den Spalt auf. Ein Saugnapf könnte hier auch nützlich sein.
-
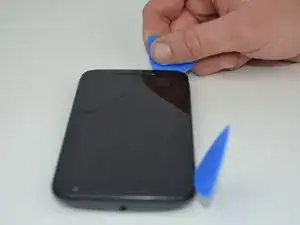
Schiebe den Pick in den Spalt und führe das ringsum weiter durch. Wende dazu gerade soviel Wärme an, wie nötig.
-
-
-
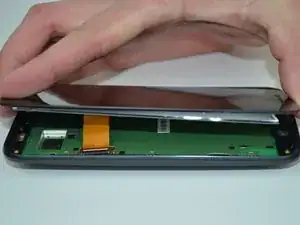
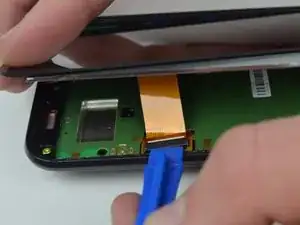
Benutze ein Plastic Opening Tool um die Sicherung am ZIF Verbinder am Flachband zum Display zu lösen.
-
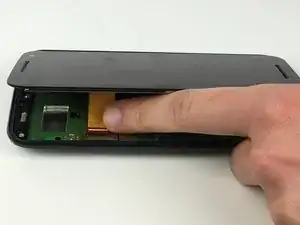
Ziehe das Displaykabel aus dem Sockel von der Hauptplatine.
-
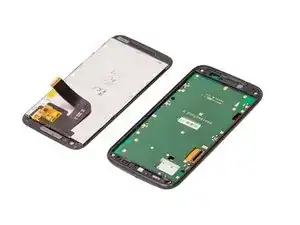
Vor dem Einbau eines neuen Displays, musst du erst alle Kleberreste entfernen. Reinige alle Klebeflächen mit Isopropylalkohol (mindestens 90%ig) und einem fusselfreien Tuch. Verwende vorgestanzte Klebestreifen oder starkes doppelseitiges Klebeband, wie z.B. Tesa 61395. Schalte dein Smartphone ein und teste es, bevor du das Display festklebst.
-
-
-
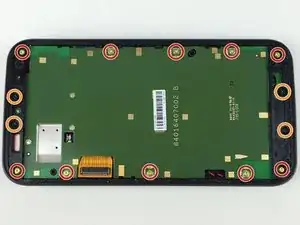
Entferne zehn 2,4 mm T4 Schrauben am Rand der Platine.
-
Entferne vier 4,5 mm T4 Schrauben oben und unten an der Platine.
-
-
-
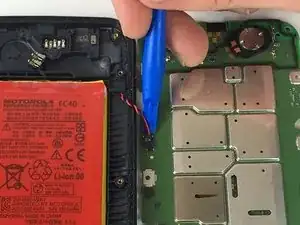
Wenn die Platine mit Klebeband befestigt entferne den Kleber zwischen ihr und der Rückseite mit einem Jimmy.
-
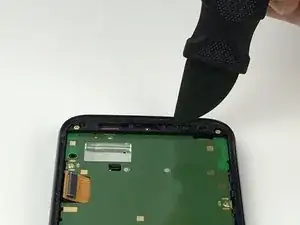
Hebe vorsichtig die rechte Kante der Platine an.
-
Um das Gerät wieder zusammenzusetzen, folge den Schritten in umgekehrter Reihenfolge.
23 Kommentare
Thanks a lot, it has been very useful! .. Unfortunately my device is still not working ...
No audio sound and ring tone is not working of my Moto G3 set. pl help me what can i do
J. Sarkar
jayanta -
Same here, did you solve it?
Lost all sounds on mine too. But the battery replacement went very smooth.
I've extracted the battery and am awaiting a replacement. It holds a charge OK but has bulged to 10mm thick plus some gaseous inflation. This caused the motherboard to bulge in response and popped the screen out of the housing. I suspect that it was, before the "pop" made it obvous, the cause of the failure of the torch/flash. This is because the connection is just by contact pressure between back and motherboard and in the rough centre of the device where the bulge pressure would be most noticeable. So I am hoping for a double cure...
Hey Mike Coon, Have you found any solution of the problem you shared? If so, kindly share with me also as i am also having the same issue. Thanks.
The same problem here. The battery size a few little big then the original, the screen don’t close and the flash dont’ work. Buy another battery with a best size, solve the problem!
Stukdev -
This repair is much, much more difficult than it appears. The LCD connection and the battery connection are borderline impossible. Everything else is simple or nearly simple. The glue is about a tenth as tough as Samsung phones.
Thomas Hayes -