Einleitung

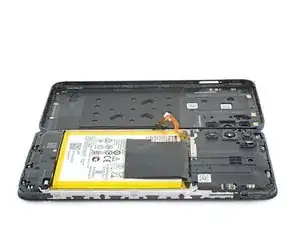
This guide demonstrates how to replace the back cover on your 2022 Motorola Moto G.

  1. NKjoEComdv2MdJmd
    NKjoEComdv2MdJmd
    dBPHOnZgJb6xpqGO
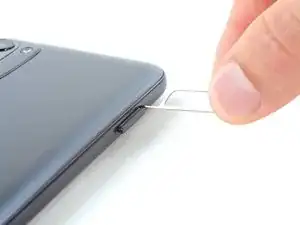
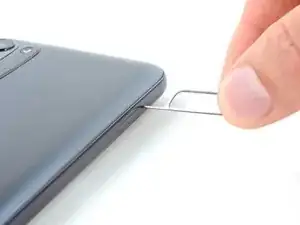
    • Insert a SIM card eject tool or a straightened paperclip into the hole adjacent to the SIM card tray.

    • Press firmly to eject the tray.

  2. D4RxQbF1fTB33daD
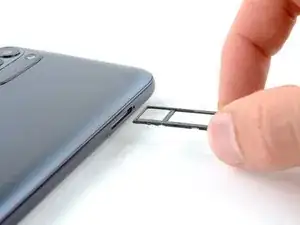
    • Remove the SIM card tray from the phone.

    • When reinserting the SIM card, make sure it's in the proper orientation inside the tray.

  3. pnJcQsI5eCb34MMJ
    pnJcQsI5eCb34MMJ
    dqgqbFkoZEnrdw5i
    • Discharge your battery to 25% or less and completely power off your phone before you begin.

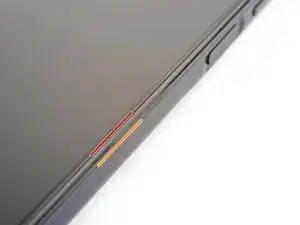
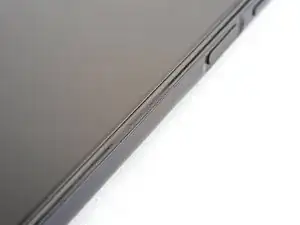
    • Take note of the following seams along the edge of the phone:

    • Screen seam: This seam separates the display panel from the frame. Don't pry at this seam.

    • Bezel seam: This is where the plastic back cover meets the rest of the phone. It's held in place by plastic clips. This is where you should pry.

  4. p2QPjU1W5ZFUHbaC
    p2QPjU1W5ZFUHbaC
    emVYA3ZFqdlpm3wf
    VTaSCciLcUlM4fNM
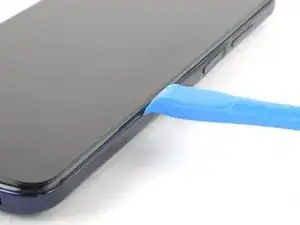
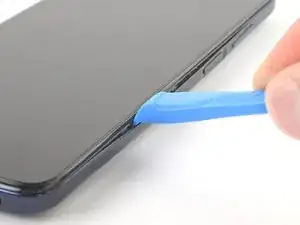
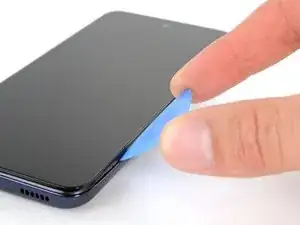
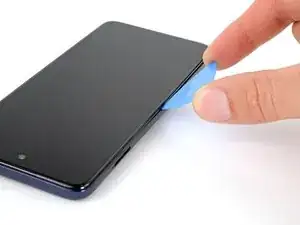
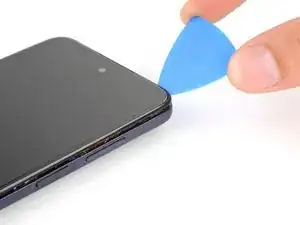
    • Insert an opening tool in the bezel seam halfway between the bottom-right corner of the phone and the power button.

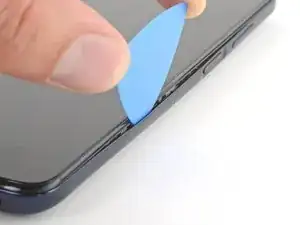
    • Insert an opening pick in the gap you just created.

  5. sdMquhqj1vHiXeHH
    sdMquhqj1vHiXeHH
    F1ZppJrCsJrqdrST
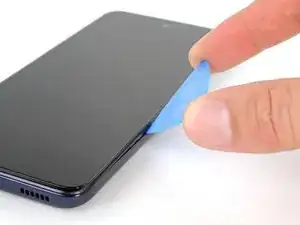
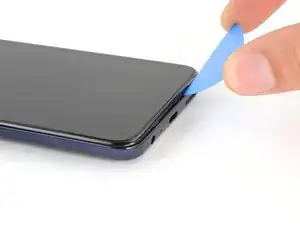
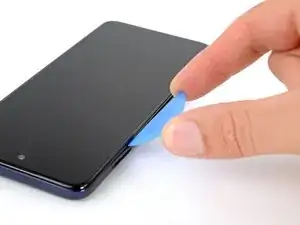
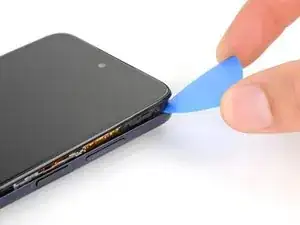
    • Slide your opening pick toward the bottom-right corner of the back cover and release the clips.

    • As each clip releases, you will hear and feel a pop.

    • Don't slide the opening pick near the power or volume buttons.

  6. rLMBJWOYEonqdUWp
    rLMBJWOYEonqdUWp
    CEDDSfjrL3dJhTeb
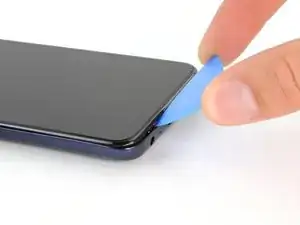
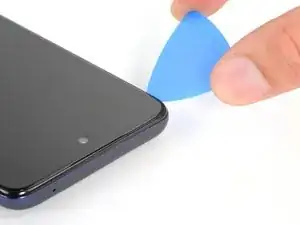
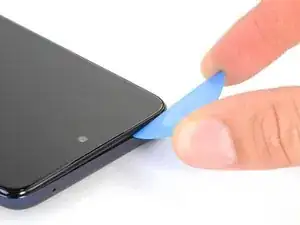
    • Continue sliding your opening pick towards the bottom left corner to unclip the bottom edge of the back cover.

  7. MqjGiZmgocCFNZoD
    MqjGiZmgocCFNZoD
    IdTOPPFl1bcp2t5g
    gfeeOoudV4eHjSHP
    • Slide your opening pick toward the top left corner to unclip the left side of the back cover.

  8. VSev2IPQuS3iOIen
    VSev2IPQuS3iOIen
    JCNkNPmYbrobeGjc
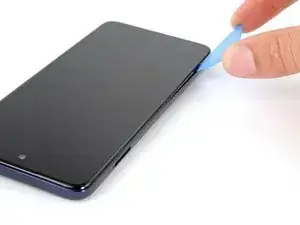
    • Slide your pick around the top left corner and along the top edge to release the clips.

  9. JZrk5GTAVKBOmivU
    JZrk5GTAVKBOmivU
    P21AXlpOYSnVIiJc
    • Slide your pick around the top right corner to release the last clips securing the back cover.

    • Stop before reaching the volume buttons. Your pick may damage their cables.

  10. UdOZASCloZKTlXWy
    UdOZASCloZKTlXWy
    NgVMITKQUHXMkGYf
    INcuBZqA2CdniQEE
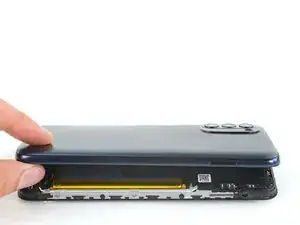
    • Don't try to remove the back cover all the way yet, as it's still connected to the frame by the power button cable.

    • With SIM card slot facing you, swing the back cover open and away from you like you're opening a book.

    • Rest the cover parallel to the frame.

    • Don't twist the screen or move it too far away from the frame to avoid damaging the power button cable.

  11. W4wktAxoXvaC1f5T
    W4wktAxoXvaC1f5T
    uCcOncYVTIBFvoWf
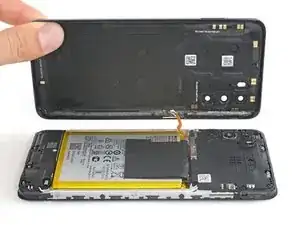
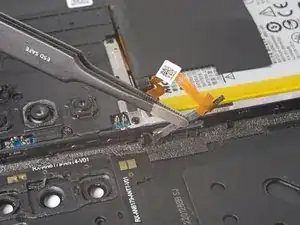
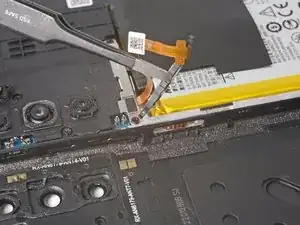
    • A small rubber arm connects the power button to its recess. Use caution to avoid tearing this piece.

    • Use tweezers or your fingers to unhook the power button's rubber arm from its recess and remove it.

  12. JoV3ShXgFTByJEoU
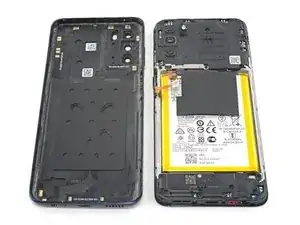
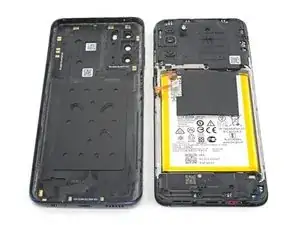
    • You're now left with the back cover.

    • This is a good point to test your phone before sealing it up. Follow this guide to perform a hardware test. Be sure to power your phone back down completely before you continue working.

Abschluss

Compare your new replacement part to the original part—you may need to transfer remaining components or remove adhesive backings from the new part before you install it.

To reassemble your device, follow these instructions in reverse order. Apply new adhesive where necessary after cleaning the relevant areas with isopropyl alcohol (>90%).

Take your e-waste to an R2 or e-Stewards certified recycler.

Repair didn’t go as planned? Try some basic troubleshooting, or ask our Answers community for help.
Clay Eickemeyer

Mitglied seit: 19/09/22

23447 Reputation

0 Kommentare