Einleitung
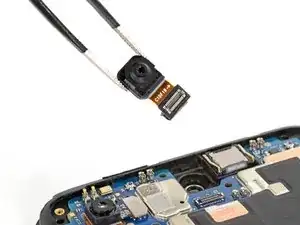
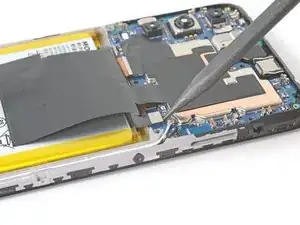
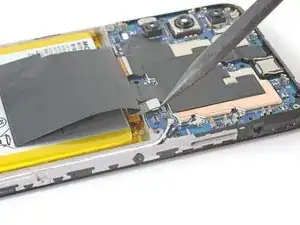
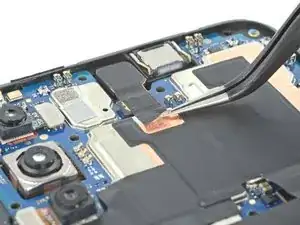
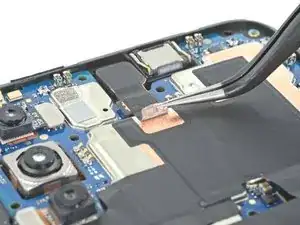
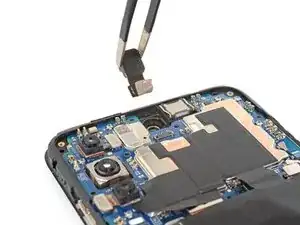
This guide demonstrates how to remove and replace the front-facing (selfie) camera in your 2022 Motorola Moto G.
Werkzeuge
-
-
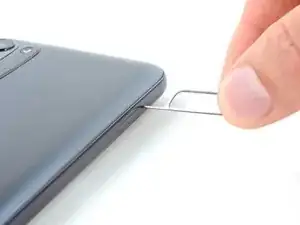
Insert a SIM card eject tool or a straightened paperclip into the hole adjacent to the SIM card tray.
-
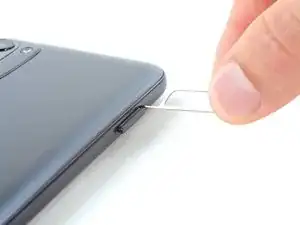
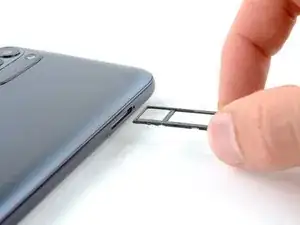
Press firmly to eject the tray.
-
-
-
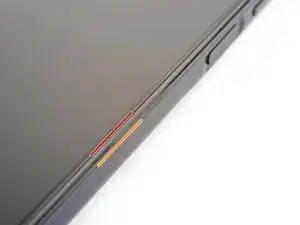
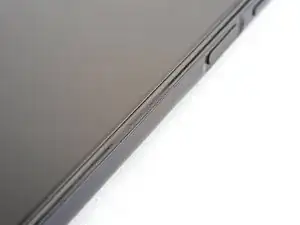
Take note of the following seams along the edge of the phone:
-
Screen seam: This seam separates the display panel from the frame. Don't pry at this seam.
-
Bezel seam: This is where the plastic back cover meets the rest of the phone. It's held in place by plastic clips. This is where you should pry.
-
-
-
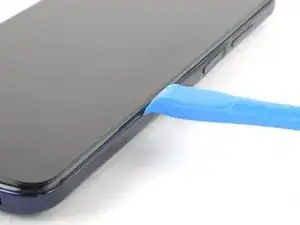
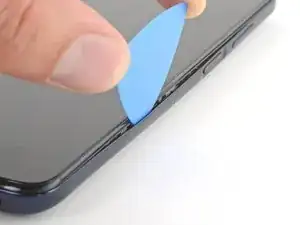
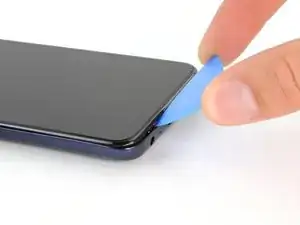
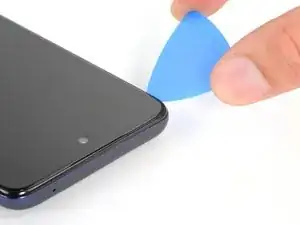
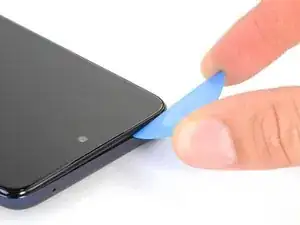
Insert an opening tool in the bezel seam halfway between the bottom-right corner of the phone and the power button.
-
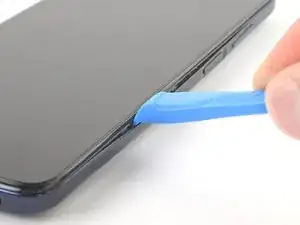
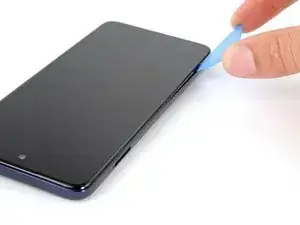
Insert an opening pick in the gap you just created.
-
-
-
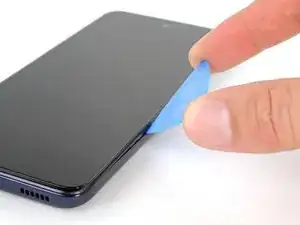
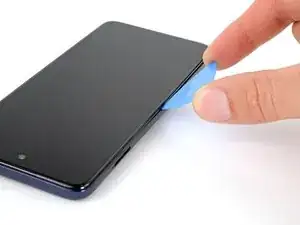
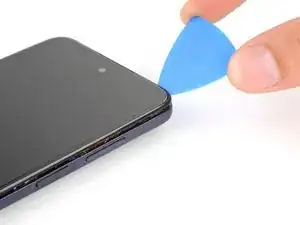
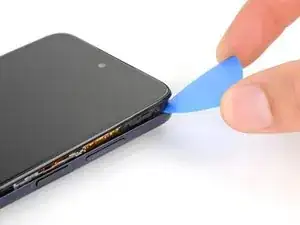
Slide your opening pick toward the bottom-right corner of the back cover and release the clips.
-
-
-
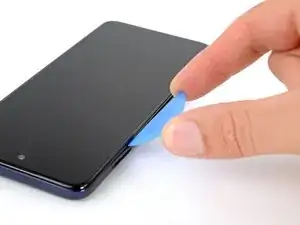
Continue sliding your opening pick towards the bottom left corner to unclip the bottom edge of the back cover.
-
-
-
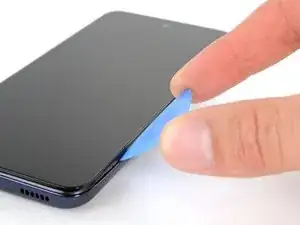
Slide your opening pick toward the top left corner to unclip the left side of the back cover.
-
-
-
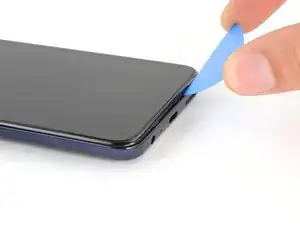
Slide your pick around the top right corner to release the last clips securing the back cover.
-
-
-
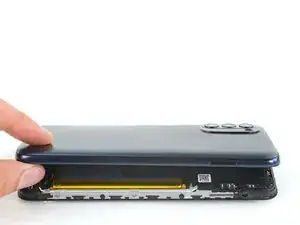
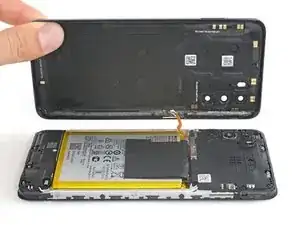
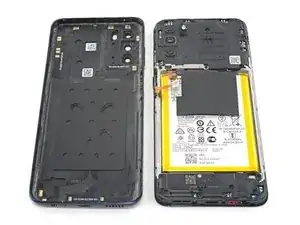
With SIM card slot facing you, swing the back cover open and away from you like you're opening a book.
-
Rest the cover parallel to the frame.
-
-
-
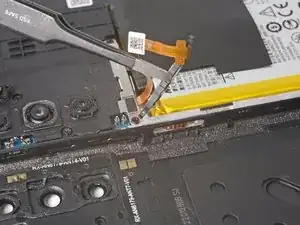
Use tweezers or your fingers to unhook the power button's rubber arm from its recess and remove it.
-
-
-
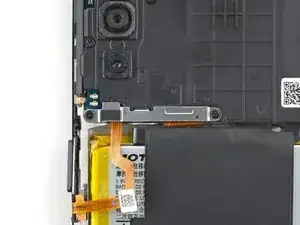
Use a PH00 screwdriver to remove the two 3.9 mm-long screws securing the power button cable bracket.
-
-
-
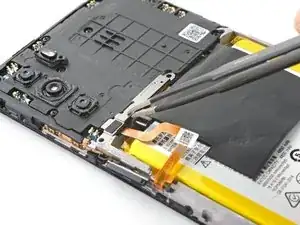
Use your fingers or a pair of blunt nose tweezers to grab and remove the bracket from the power button cable.
-
-
-
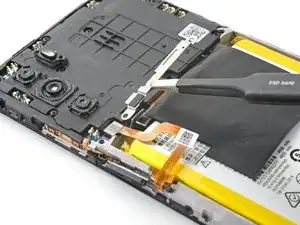
Use the pointed end of a spudger to pry up and disconnect the power button's press connector.
-
-
-
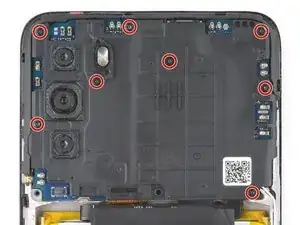
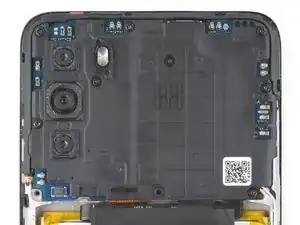
Use your Phillips screwdriver to remove the eight 3.9 mm-long screws securing the motherboard cover.
-
-
-
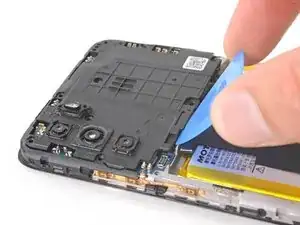
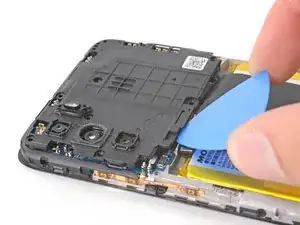
Insert an opening pick between the bottom-left corner of the cover and the motherboard.
-
Pry up to release the cover's small clips securing it to the frame.
-
-
-
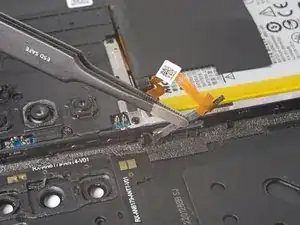
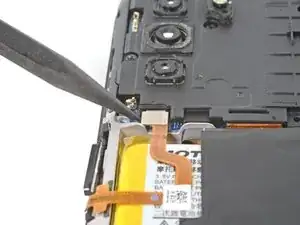
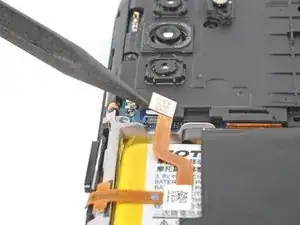
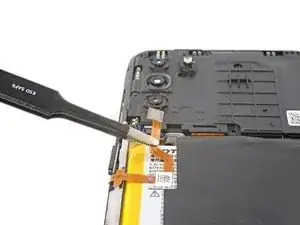
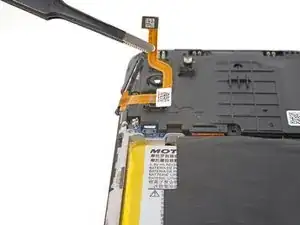
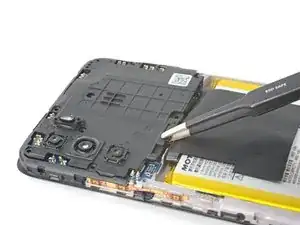
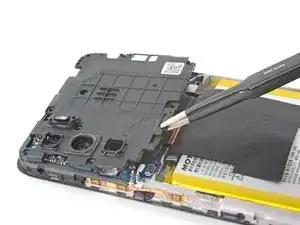
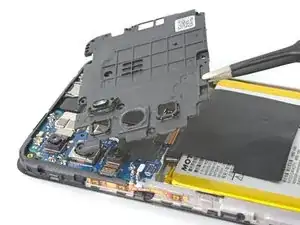
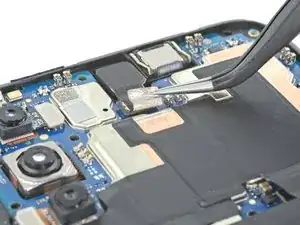
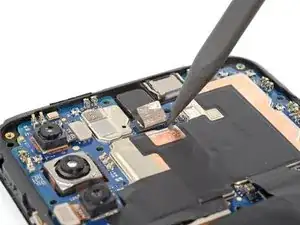
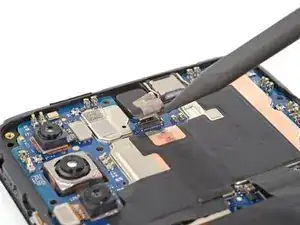
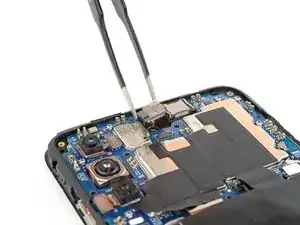
Use the point of a spudger to pry and disconnect the front-facing camera's press connector.
-
To reassemble your device, follow these instructions in reverse order.
Take your e-waste to an R2 or e-Stewards certified recycler.
Repair didn’t go as planned? Try some basic troubleshooting, or ask our Answers community for help.
