Einleitung

This guide will show you step-by-step how to replace your worn out keyboard buttons.

  1. AoyXuJrx1WBpZBfZ
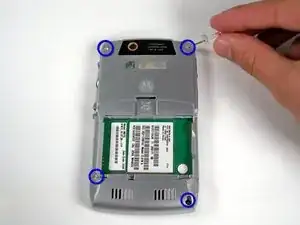
    • Use the Push Pin to remove the rubber screw covers by pushing the needle into the rubber and pulling up.

    • Be careful not to poke yourself when handling the push pin because it is very sharp.

  2. tNDYfoiMFBQhTMfi
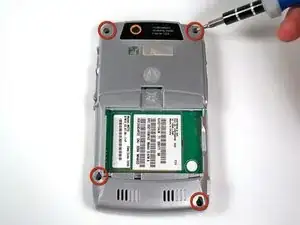
    • Use the T6 screwdriver to remove the four screws holding the casing together.

    • Note: they are in the same place where you removed the four rubber coverings

  3. 6BS1tNmJMn2bwMqJ
    6BS1tNmJMn2bwMqJ
    WbelrbSkk225OVd2
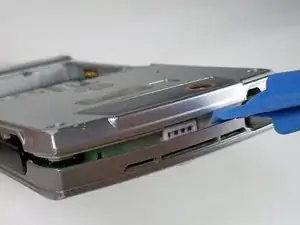
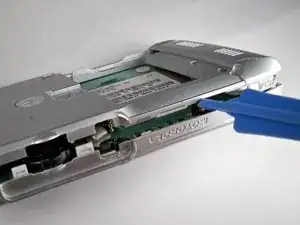
    • Wedge the plastic opening tool in between the top and bottom cases. This may require a little or a lot of force so be careful.

    • Note: the phone should be face up and the plastic opening tool should be face downwards

    • Once you get the plastic opening tool in, slide it across the side of the phone, making sure to keep the plastic opening tool wedged in between the two casings.

    • Repeat the 3 steps above for the top, bottom, and opposite side.

  4. BDFNHyXKyQAJNq4x
    BDFNHyXKyQAJNq4x
    sVnNnJvRTnDmuS3J
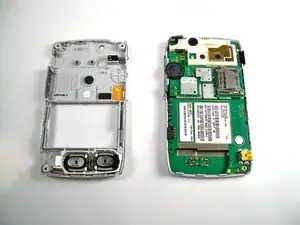
    • Gently lift and remove the back casing.

  5. DiEVoQZj6CVmavyO
    DiEVoQZj6CVmavyO
    okusH5lXD1BkxVQt
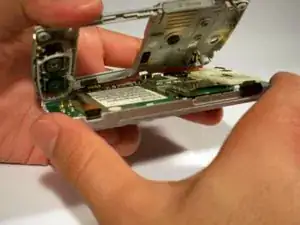
    • Remove the plastic inner cover by placing the spudger under the left-most side and pry to the left and upwards.

    • Gently rotate/wiggle the cover until you can pull it off the phone.

  6. oCSKACaUNYgoKEtb
    oCSKACaUNYgoKEtb
    Kx1Kuk1nDBenvPd2
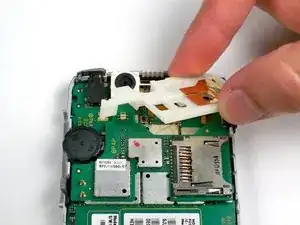
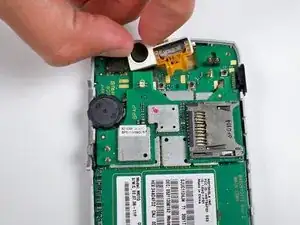
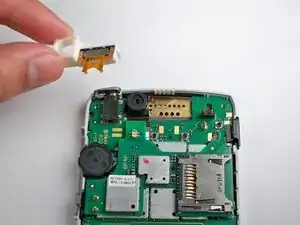
    • Using your fingers, remove the plastic piece that holds the camera in place.

  7. wcQvHbGxMFKn5Z2Q
    wcQvHbGxMFKn5Z2Q
    gaGnpXiW4AHhE4IH
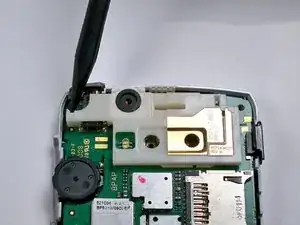
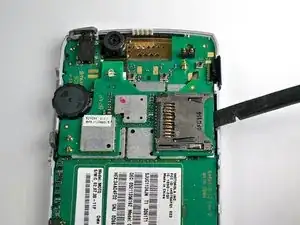
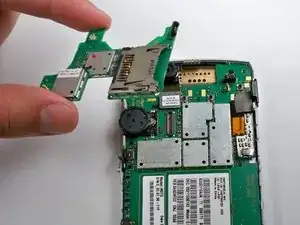
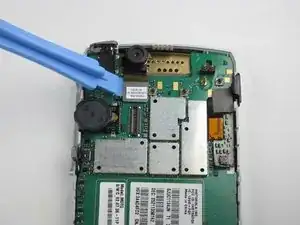
    • Carefully pry up the upper circuit board with the spudger.

    • The second picture shows what your phone should look like when the upper circuit board is removed.

  8. qe2QiSTqhFGFtPgI
    qe2QiSTqhFGFtPgI
    a15KFrl64ZEjxC6g
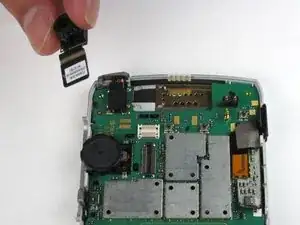
    • Take out the camera and attached chip with the iPod removal tool. Carefully pry the chip off its connection and the camera will come out too.

  9. je4U2S2vJoIVtOTA
    je4U2S2vJoIVtOTA
    ToBpVtcPNhAgygNq
    CkyW4CNBeglNUn2G
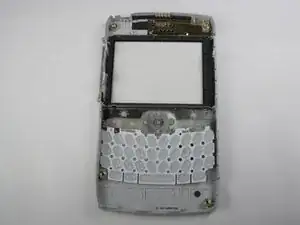
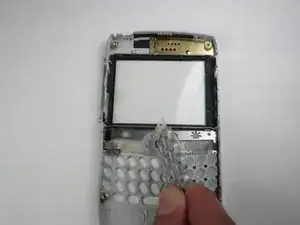
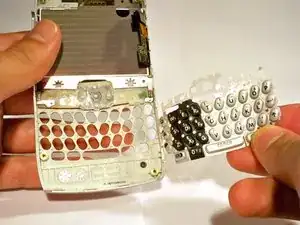
    • The keyboard is held in place with a little bit of glue.

    • Simply lift the keyboard buttons with your hands pulling from one side to the other.

Abschluss

To reassemble your device, follow these instructions in reverse order.
Luis Herrera

Mitglied seit: 21/01/10

52 Reputation

0 Kommentare