Einleitung

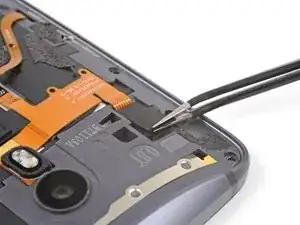
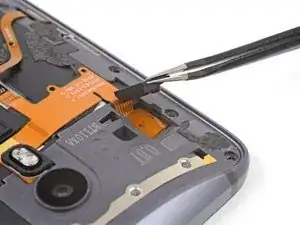
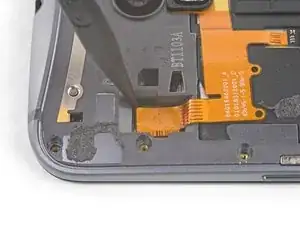
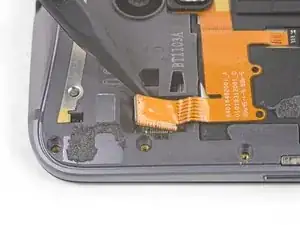
Grundständige Anleitung: Öffnen des Motorola Moto X Pure Edition, um das Display oder den Akku zu ersetzen.

  1. I1VFOoKklSWOU1TX
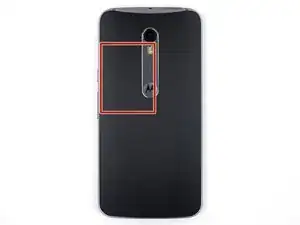
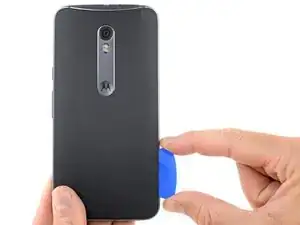
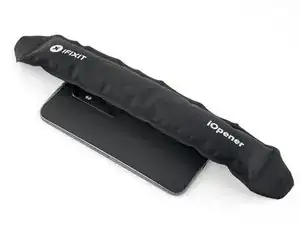
    • Bereite einen iOpener vor und erwärme damit etwa fünf Minuten lang die rechte Kante auf der Rückseite des Smartphones. Dadurch wird der Kleber, mit dem die Rückabdeckung befestigt ist, aufgeweicht.

    • Unter Umständen musst du den iOpener mehrfach erwärmen und auflegen, damit das Smartphone warm genug wird. Folge den iOpener Anweisungen, um eine Überhitzung zu vermeiden.

    • Du kannst auch einen Fön, eine Heißluftpistole oder eine Wärmplatte benutzen, aber achte darauf, das Smartphone nicht zu überhitzen. Das LCD Display und der interne Akku sind beide sehr hitzeempfindlich.

  2. 4ITIIfrt26JXPIxU
    4ITIIfrt26JXPIxU
    OHtsmlqMpbdFj1iT
    HoXl4feVInrdRIed
    • In den folgenden Schritten wirst du den Kleber durchschneiden, mit dem die Rückabdeckung befestigt ist.

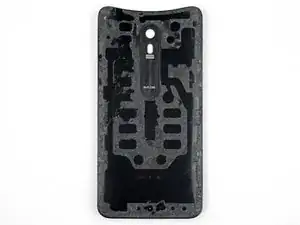
    • Auf dem ersten Bild siehst du, wie der Kleber auf der Innenseite der Rückabdeckung verteilt ist.

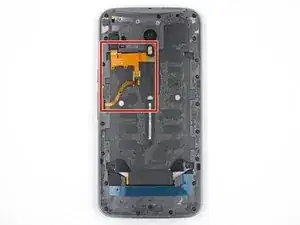
    • Schneide nicht in diesem Bereich, sonst könnten empfindliche Flachbandkabel beschädigt werden.

  3. BbSSSWONko31DNI2
    BbSSSWONko31DNI2
    45SkQkVXlySQoSYl
    aexbJkJH2nZvLCAu
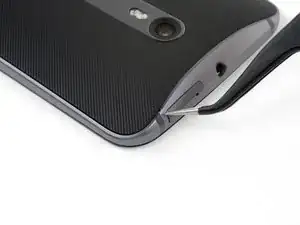
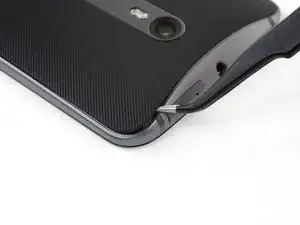
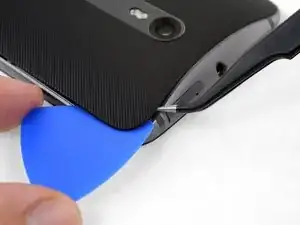
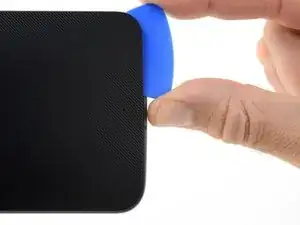
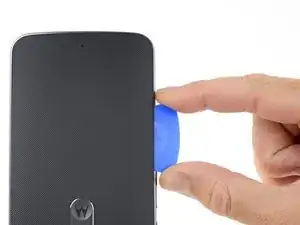
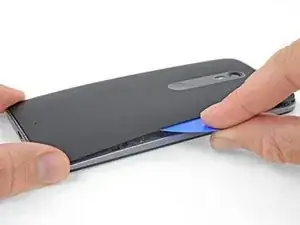
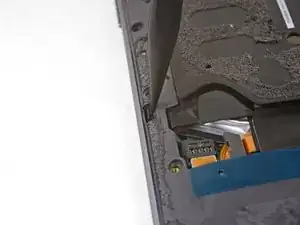
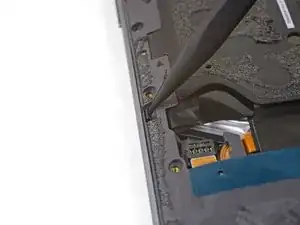
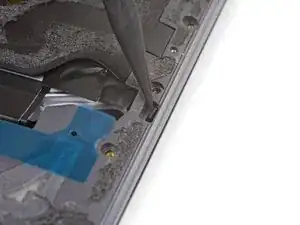
    • Drücke die Spitzen einer Pinzette zusammen und setze sie in das kleine Loch auf der Kante der Rückabdeckung neben dem SIM Kartenslot.

    • Hebe die Abdeckung leicht mit der Pinzette an und schiebe ein Plektrum in den Spalt zwischen Abdeckung und Rahmen.

    Insert only one of the tweezers’ point into the hole. Once the rubber backing is lifted high enough, slip a corner of the opening pick under the rubber backing. Leave the first pick near the corner while you use a second pick as directed in Step 6.

    Levi Asuncion -

  4. WfD6WDXBDtObiGgN
    WfD6WDXBDtObiGgN
    p5KZsRrrfyjQLHJA
    SoGbtZZolDdnMPjA
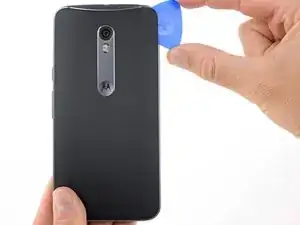
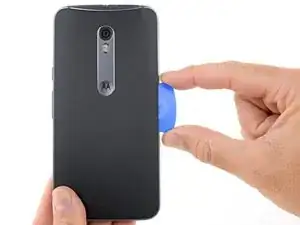
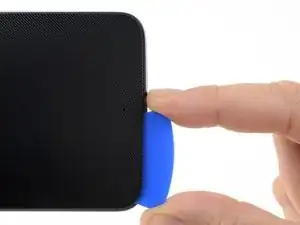
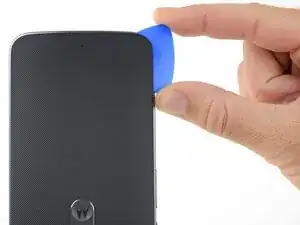
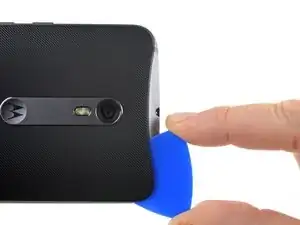
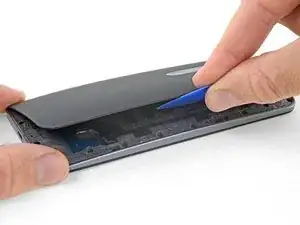
    • Schiebe das Plektrum an der Kante entlang, um den Kleber der Rückabdeckung zu durchtrennen.

    • Versuche, das Plektrum so tief wie möglich unter die Abdeckung zu schieben in die Mitte der Abdeckung. Dort befindet sich eine dicke Schicht Kleber, die durchtrennt werden muss.

    • Lasse das Plektrum stecken und mache mit dem nächsten Schritt weiter. Das Plektrum verhindert, dass sich der Kleber, den du eben abgetrennt hast, wieder verbindet.

    I did not have a pick, used a few old credit cards, leaving them in place to keep the phone back separated.

    Used a hair dryer to heat up a little, one section at a time, was enough to remove. Pulled apart slowly.

    Left adhesive on the back and on the phone, where possible, using a tiny screw driver to separate. Reused whatever adhesive remained to reattach.

    Natalie Hursky -

  5. IxCNPhJWutPrxXdc
    • Bereite einen iOpener vor und erwärme damit etwa fünf Minuten lang die linke Kante der Rückabdeckung. So wird der Kleber, mit dem der Rest der Rückabdeckung befestigt ist, aufgeweicht.

    • Unter Umständen musst du den iOpener mehrfach erwärmen und auflegen, damit das Smartphone warm genug wird. Folge den iOpener Anweisungen, um eine Überhitzung zu vermeiden.

  6. YXJApJG1xQgPLQeZ
    YXJApJG1xQgPLQeZ
    1MoP2YItFZBf2CFY
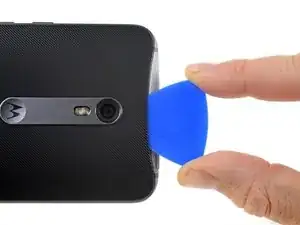
    • Durchtrenne den Kleber an der Unterkante des Smartphones.

    • Erwärme die Rückabdeckung gegebenenfalls erneut, damit der Kleber nicht abkühlt und wieder fest wird.

  7. tZMViRwW2kFwmdoq
    tZMViRwW2kFwmdoq
    QmkNYhL1Kuscm5Kp
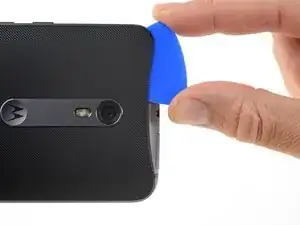
    • Durchtrenne den Kleber an der linken Seite.

    • Versuche, das Plektrum so tief wie möglich unter die Abdeckung in die Mitte der Abdeckung zu schieben. Dort befindet sich eine dicke Schicht Kleber, die durchtrennt werden muss.

    • Höre mit dem Schneiden auf, sobald du an die Kante der Lautstärketasten kommst, sonst riskierst du, die Flachbandkabel unter der Abdeckung zu beschädigen.

  8. cjcZoKkITldAUNXJ
    cjcZoKkITldAUNXJ
    mVOBOBxnhTNDTDQp
    lWHNArHdFiVwUwM4
    • Durchtrenne den Kleber an der Oberkante, führe dabei das Plektrum vorsichtig um die Rückkamera.

  9. QOZOuWRIwJsVmUWg
    QOZOuWRIwJsVmUWg
    hEVyVJoDTCWe1GRK
    TRBGiOQqSjZR15NL
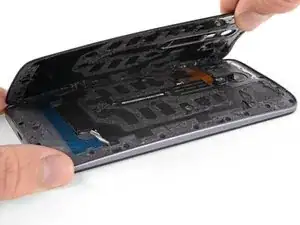
    • Heble die Abdeckung vorsichtig vom Smartphone ab.

    • Das kann einiges an Kraft erfordern, falls der Kleber in der Mitte nicht ganz durchtrennt ist. Unter Umständen musst du beim Abheben den restlichen Kleber in der Mitte mit einem Plektrum durchtrennen.

    • Um die Rückabdeckung wieder einzusetzen, gehe folgendermaßen vor:

    • Entferne zuerst mithilfe einer Pinzette und einem Spudger alle Klebereste von der Rückabdeckung und vom Rahmen.

    • Reinige dann die Klebebereiche mit hochkonzentriertem Isopropylalkohol (mindestens 90%) und einem fusselfreien Tuch. Wische nur in eine Richtung, nicht hin und her. Die Oberfläche wird so für den neuen Kleber vorbereitet.

    • Die Ersatzklebestreifen werden mit den exakt vorgestanzten Kontouren der Rückabdeckung geliefert. Ansonsten kannst du Klebeband wie Tesa 61395 benutzen. Bevor du die vorgestanzte Klebefolie auf der Rückabdeckung anbringst, musst du den Metalleinsatz entfernen. Bringe den Klebestreifen an, dann wieder den Metalleinsatz.

    • Nach dem Einbau der Rückabdeckung solltest du mehrere Minuten lang festen und gleichmässigen Druck auf dein Smartphone ausüben, damit sich der Kleber gut verbindet.

    • Du kannst die Rückabdeckung auch ohne Kleber wieder einsetzen. Entferne dazu vorher größere Klebestoffklumpen, die verhindern könnten, dass die Rückabdeckung gut aufliegt. Erwärme die Rückabdeckung nach dem Einbau und drücke sie gut fest.

    Had the pre-cut adhesive sheet for reinstalling the Moto X Pure’s back cover. It seemed like the most “original” option at the time. I tried and tried to get it aligned inside the back cover, but found it virtually impossible to do. You pretty much have to get it perfectly aligned and then stick it down all at once. If it makes contact with the cover before it’s perfectly aligned, it’s all over. You’ll never get it back off without destroying it.

    After failing with the pre-cut sheet, I resorted to the die-cut strips and corner pieces. This worked just fine.

    Jeff Carleton -

  10. ah4W6JLwrZGvTHTw
    ah4W6JLwrZGvTHTw
    1t1x4EddN5225Miw
    Lv2tFWVD2TuCcHma
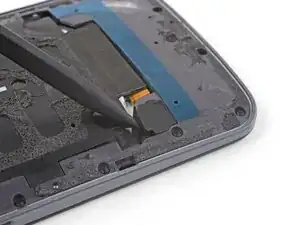
    • Heble die Gummiabdeckung über dem Akkustecker mit der Spitze eines Spudgers hoch.

    • Entferne die Gummiabdeckung.

  11. nDX2pqVCgHMiHA1C
    nDX2pqVCgHMiHA1C
    AxdJRLYT3cLwwmLU
    • Heble den Akkustecker mit dem flachen Ende des Spudgers aus seinem Anschluss heraus nach oben.

    • Heble nur an der kleinen Lasche auf dem Ende des Steckers gegenüber vom Flachbandkabel. Drücke nicht zu fest gegen den Stecker, da du sonst unter Umständen den Anschlussstecker auf dem Motherboard beschädigst.

    Reconnecting the battery was difficult, did not align exactly. Note there are 2 slots that line up and 4 pins. Used a 10x magnifying lens with LED light, purchased to do this job. This step (reassembly) is where the magnifier came in handy. Had to move battery around a bit to get it to line up. Ended up removing adhesive tape from battery, so I could get in place to attach the connector. Battery held in place with screws and phone case, so far so good.

    Natalie Hursky -

    this is the difficult part. I find it is easier to remove this connector as the midframe and phone screen are separating (see step 19). Be also careful in prying this mine got broken luckily it is connected to the old battery which I replaced anyway

    Neil Catalan -

    Broke the battery plug right off the motherboard! Trying to do a 2nd battery replacement. Only push up gently on the edge of the tab and straight up. Shopping for a new phone.

    Natalie Hursky -

  12. 6csWJbhBacko22VM
    6csWJbhBacko22VM
    pUdEueRhCjxB3A3d
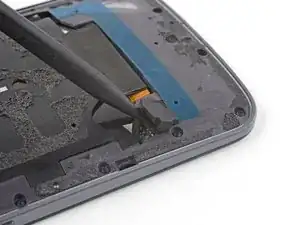
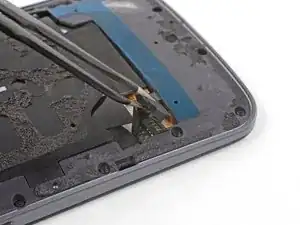
    • Hebe die Gummiabdeckung über dem Stecker des Blitzes mit einer Pinzette ab.

  13. gX4tqtZjxamLkswY
    gX4tqtZjxamLkswY
    oMsPvZpCQUtOqbbB
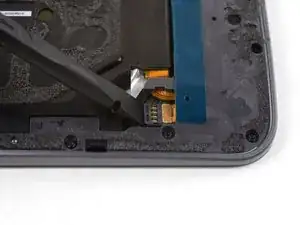
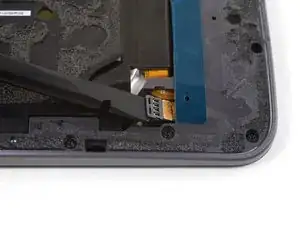
    • Setze die Spudgerspitze gegen die Ecke des Blitz-Steckers , um den Stecker aus seinem Anschluss heraus nach oben zu hebeln.

  14. cuuTufVE1SKP3nu3
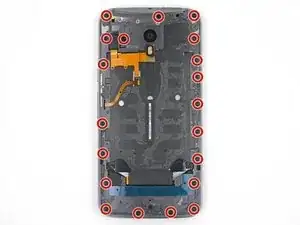
    • Entferne die zwanzig 2,4 mm Schrauben mit einem T3 Torx Schraubendreher.

    Need to add a step for removing the bar holding the buttons in place. Step 5 from the tear down. Still can’t take the mid frame off though.

    Pieter Richards -

    I stripped the threads on one of the 20 screws, had to drill it out. (Managed to do this without cracking the screen, completed battery replacement, all ok.)

    Careful removing the screws, be sure of tight grip. I saw T4 torx suggested on another site for Moto X Pure, this might grip better? Try both.

    Natalie Hursky -

    I did not have to remove the screw holding the volume buttons bar in place. These stay attached, not needed for replacing the battery. Just the 20 screws shown.

    Natalie Hursky -

    DO NOT REMOVE THE SILVER SCREW HOLDING IN THE VOLUME AND ON-OFF BUTTON. If these buttons fall out there are 4 very small springs that will pop out and are very hard to reinsert. If they do pop out do not use tweezers to reinsert but use a magnetic screw driver bit to reinsert.

    Michael Bedwell -

    This is extremely easy to overlook. This screw is a different color (silver versus black) but when you’re in the swing of removing all the screws it’s tempting to just remove ALL the screws. I goofed, had the buttons fall out, could only find 3 of the springs. Put two back in the volume rocker and only one in the power button since it’s smaller, seems like it wouldn’t need two as much. Everything still works, maybe just slightly less tactile than before. Even without the the springs, there’s still some mechanical return to the buttons, so if you do lose them don’t despair.

    Michael Decker -

    This is not working, got two out. Most just strip.

    Christina Denboer -

    Update. The driver provided is not the right size. I had some tools laying around and found one that fit. This allowed me to get all the screws out except the six I stripped using the driver provided by ifiixit. Turns out they come out pretty easy if you have the right size bit. Would have been an easy fix had I not bought the tools…. go figure.

    Christina Denboer -

    What is the right size bit?

    Marlon Nelson -

    The T3 Torx Driver was bundled in the bag with the Alcohol Prep Pad, not with the rest of the drivers! So look before you there before you call support like I did.

    pixilated1 -

    T4 works better, T3 also works. Try both and proceed carefully, get a good grip before turning.

    Natalie Hursky -

  15. TDl2WjeUJqcmYVIZ
    TDl2WjeUJqcmYVIZ
    V4RwIievwOLpDWQJ
    • Drücke die kleine Klammer, mit der die linke Seite des Mittelrahmens befestigt ist, zur Kante des Smartphones, um sie zu lösen.

    On reassembly, these did not really click back in place. Held tight when reattaching the 20 (19 in my case) screws).

    Natalie Hursky -

    I had to push rather hard to release both clips. The tip of the spudger bent under the pressure I had to apply. But the the clips did finally release without damage.

    Thomas Bartol -

  16. e2MUxBsMTQjxcoVc
    • Wiederhole den vorherigen Schritt, um die Klammer an der rechten Seite des Mittelrahmens zu lösen.

  17. DbVyTklTFsoQH5y3
    DbVyTklTFsoQH5y3
    5gCGwlFmBVlDXTQD
    d3d3HCBhe3bklqDM
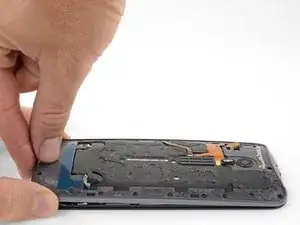
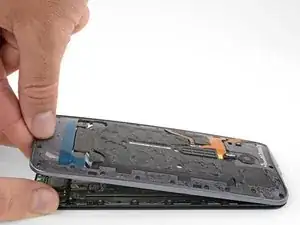
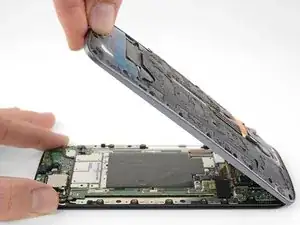
    • Halte das Display an den Kanten fest und hebe den Mittelrahmen vorsichtig vom Display.

    • Entferne den Mittelrahmen vom Display.

    My mid-frame and display were separated on the long sides but seemed a little bit stuck on the top and bottom. I used the flat end of the spudger to carefully pry the two assemblies apart at either end.

    Gary Herber -

    In my case, stuck in the middle. Pulled apart very slowly, giving the adhesive a chance to separate, and not tearing whatever it was in there. Kept an eye on the inside middle, and very SLOW let it separate. Or was that the battery? In either case, go slow on all steps.

    Natalie Hursky -

    Yeah, everything went according to the guide until this step. I lifted the midframe away from the screen assembly as shown and something in the center didn’t separate at all. I spent a good half hour terrified that I had missed a step or a screw or that there was something different about my phone. In the end I read the comments and very slowly and patiently lifted the midframe until something uncoupled and the two parts cleanly separated. I was certain that permanent damage must have been done, but upon reassembling everything seems to be working perfectly.

    Brian Horne -

    Note to self - check that ALL (20) screws have been removed… especially if midframe is stubborn lifting up - i (almost) forgot about the one near the display cable (and it’s threaded into the motherboard instead of the frame) :)

    John Riselay -

    In my unit, the midframe released from the display nicely just as described in the instructions.

    Thomas Bartol -

Abschluss

Um dein Gerät wieder zusammenzubauen, folge den Schritten dieser Anleitung in umgekehrter Reihenfolge.
Adam O'Camb

Mitglied seit: 11/04/15

178852 Reputation

0 Kommentare