Einleitung

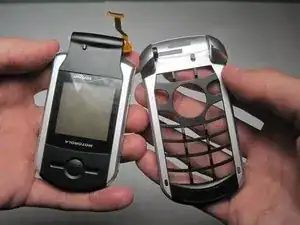
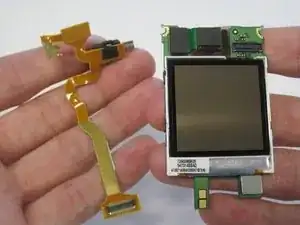
Installing a new flex cable for the Motorola V276 phone.

  1. AKGFSPPftxKI2BqP
    • Locate the silver button on the back of the phone, near the bottom.

    • Depress the silver button with one hand and slide the back cover of the phone away from the antenna.

    • The back cover should slide off easily.

  2. 1mn1qsfv5eOsZnJ4
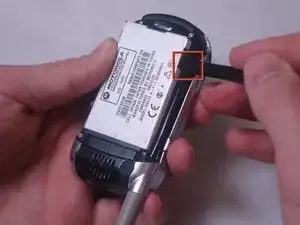
    • Insert a plastic spudger near one corner of the battery (preferably one furthest from the phone's antenna).

    • Gently pry the battery up and away from the phone. The battery should easily raise out of its place.

    • Now that the battery is exposed, use your fingers to remove the it from the phone.

  3. qg4hlTKXvDyuyC3A
    qg4hlTKXvDyuyC3A
    qrmUfmyDSOnZ1sWg
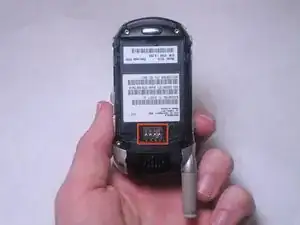
    • Note the metal connections on the phone, which are now exposed with the battery removed.

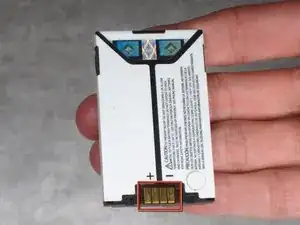
    • There are corresponding metal connectors on the replacement battery.

    • When you install the battery, be sure both connectors are matched up. Otherwise, your battery will be unable to supply power to your phone.

  4. 1fdZJ6MbtCG3JmJB
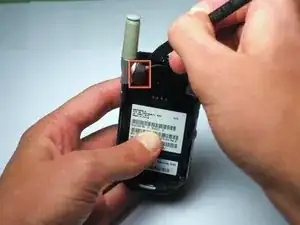
    • Use a spudger to remove the rubber plug from the upper left corner of the back of the phone.

  5. 1V3QiWQ3AejJgvgZ
    • Use a Torx T6 screwdriver to remove the 4 screws that secure the back plate of the phone.

  6. YfQou2mrDROZdERU
    YfQou2mrDROZdERU
    NIyhgZjsNRApdbjb
    FZtAwNTi1UZ5GARb
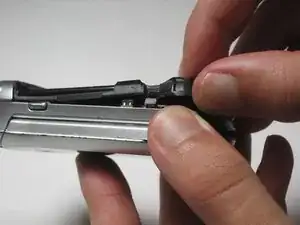
    • Three tabs will hold the back plastic plate in.

    • To remove the back plate, pull the tabs towards the outside of the phone and lift the plate up simultaneously

    • Be careful when removing the back plate; don't put too much stress on the back plate or the plastic may snap

  7. SOLkNGpfolmy6tOl
    SOLkNGpfolmy6tOl
    dZfOUGnUrSY1oXfP
    y22AYJKu4wqllWBD
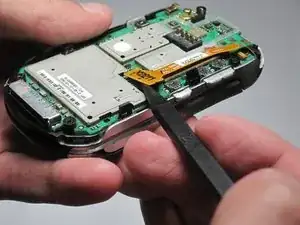
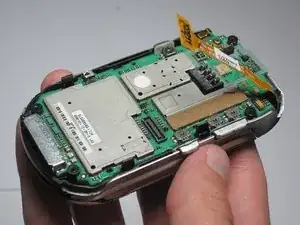
    • Use a spudger to remove the ribbon cable from the motherboard.

    • Be delicate while removing the ribbon cable because it is slightly fragile and it is necessary for the phone to function

  8. aogAWqsFTjnErwMH
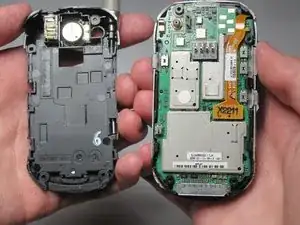
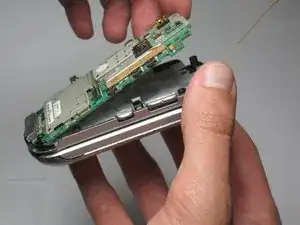
    • Gently peel back the motherboard from the main part of the phone.

  9. vdxUuXtFmFkPT2gt
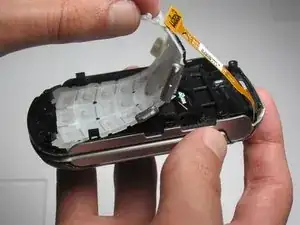
    • Remove the keypad from the bottom half of the phone.

  10. HhCxR1Ystqho45xP
    HhCxR1Ystqho45xP
    QsHIVmcx6HRgLXDC
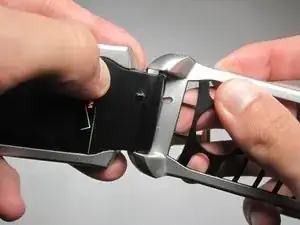
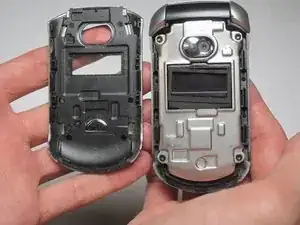
    • Detach the bottom half of the phone by pulling out on the bottom half and pulling up on the top half.

    • A small amount of force is necessary to pull the two pieces apart, but be careful because the plastic may break.

  11. yHdIaYYelt21O5nQ
    yHdIaYYelt21O5nQ
    QjmoGQkEAgbynJM1
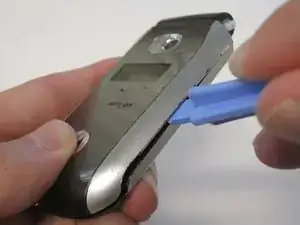
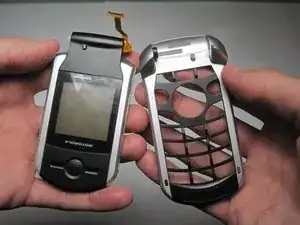
    • Use a plastic opening tool to remove the front cover of the phone.

  12. DTHgmJoLbBHw4Jeq
    DTHgmJoLbBHw4Jeq
    6jLgMPNxr4AxQZMn
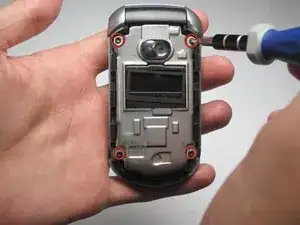
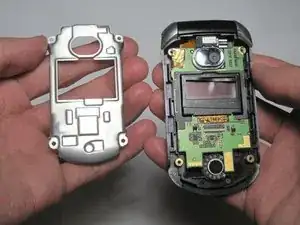
    • Remove the four screws holding in the metal cover.

  13. T4ABbnAfO2YK3XOp
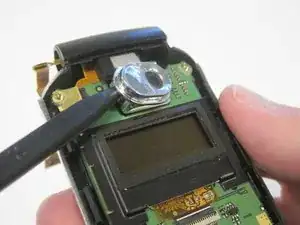
    • Use a spudger to remove the plastic protector case around the camera.

  14. xhnu6iht2yDn6NXS
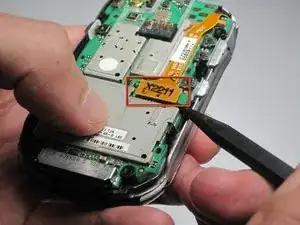
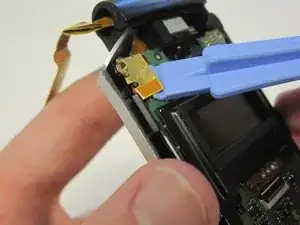
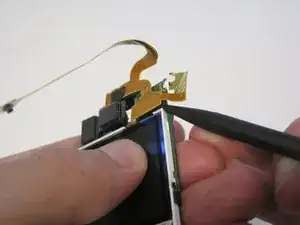
    • Use a plastic opening tool to peel off the gold tape that holds the flex cable in place.

  15. dCufUujJkWy3bHZK
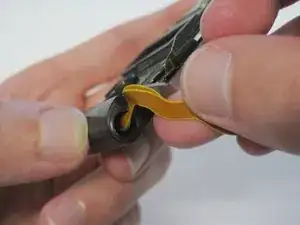
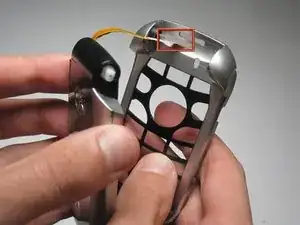
    • Slide the ribbon cable through the tiny slit located in the hole on the side of the frame.

  16. lOLwMyuGikWThxXl
    lOLwMyuGikWThxXl
    uVJ4baLyciILSYVR
    • Slide the ribbon cable through the rectangular hole in the bottom half of the frame.

  17. AejTNeiwFvbohW1g
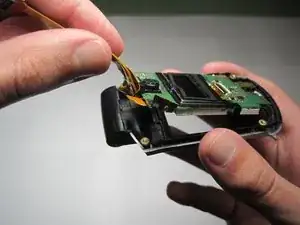
    • Remove the ribbon cable and the motherboard (still connected) from the frame of the phone.

  18. JFHXDjFYpPXJAwV3
    JFHXDjFYpPXJAwV3
    VsUhu4PTO3FFFpPB
    • Use a spudger to detach the ribbon cable from the motherboard.

Abschluss

To reassemble your device, follow these instructions in reverse order.
Jonathan Cheung

Mitglied seit: 12/04/10

1 Reputation

0 Kommentare