Einleitung
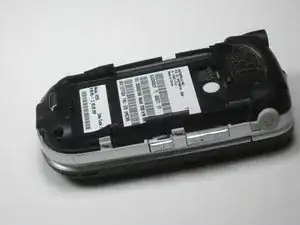
Replacing the logic board is very easy, follow the provided instructions to safely execute the procedure.
Werkzeuge
-
-
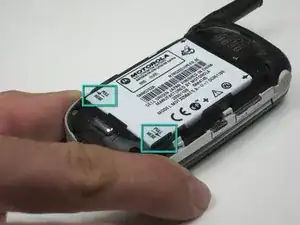
Flip the phone over so that the back is visible.
-
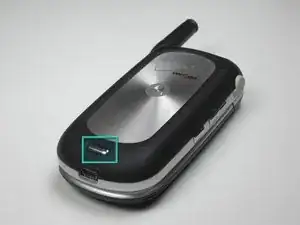
Push down on the silver button using your fingernail or thumbnail. Push down all the way until the button stops.
-
-
-
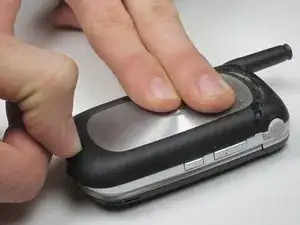
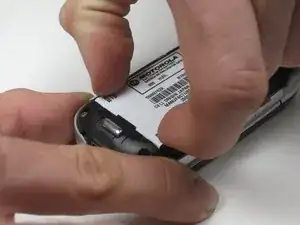
While holding down the silver button, simultaneously pull downward on the rear cover, then lift it off to reveal the battery.
-
This will only take a moment to do.
-
-
-
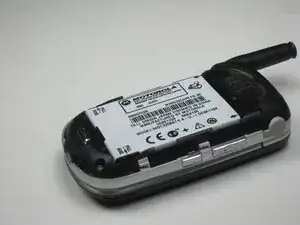
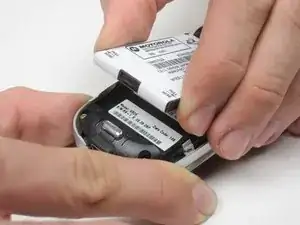
Using your thumbnail and fingernail, grip the battery where indicated as "pull here" and lift the battery upward, starting at that side.
-
Remove the battery completely by lifting it straight out of the phone.
-
-
-
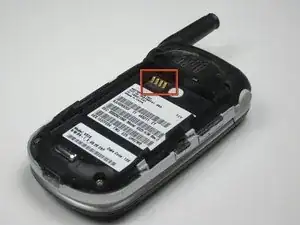
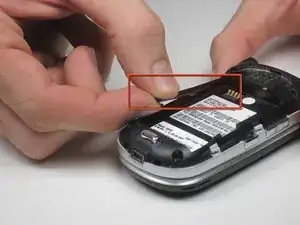
When replacing the battery, ensure that the side that has the "pull here" arrows goes toward the bottom of the phone. Place the side of the battery with the metallic contacts in toward the inside of the phone, making a full connection with the contacts within the phone (shown in the red rectangle).
-
-
-
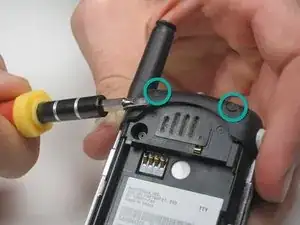
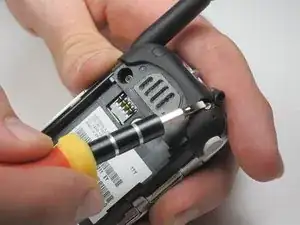
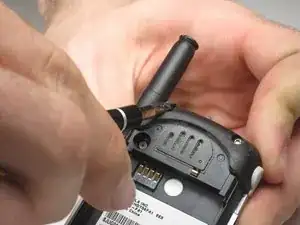
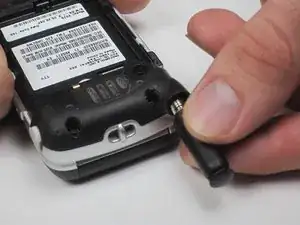
Using a small flat head screwdriver or your fingernail, remove the rubber covers near the top of the phone
-
-
-
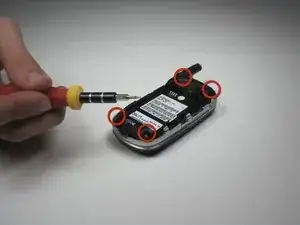
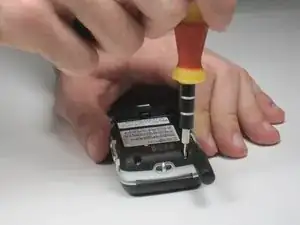
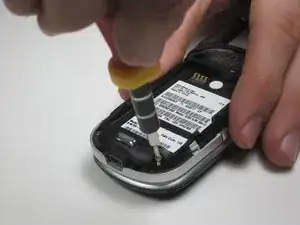
There are four Torx screws located on the four corners of the rear panel
-
Remove all four screws using the T6 Torx Screwdriver.
-
-
-
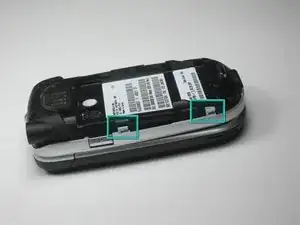
There are four light gray tabs located around the phone (two on each side)
-
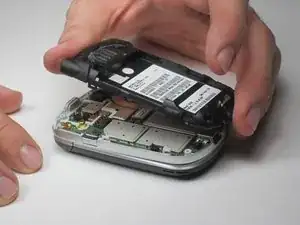
Using your finger nail or a flat head screwdriver, pull the gray tab away from the body while simultaneously lifting upward on the black rear panel.
-
Once all four tabs are removed, lift up the back panel to reveal the interior logic board.
-
-
-
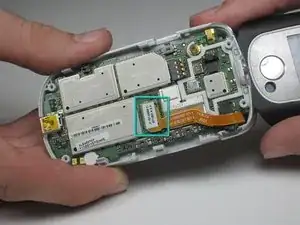
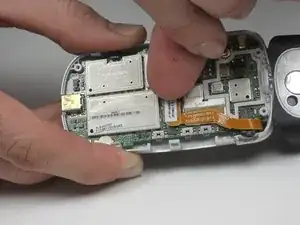
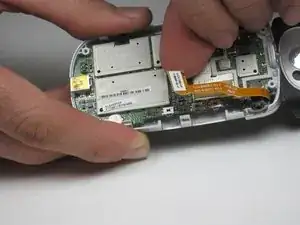
Place finger at the indicated area.
-
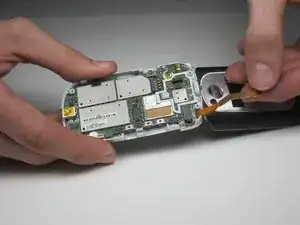
Gently detach the cable as shown in the picture. This is easiest to do by grabbing the corner.
-
-
-
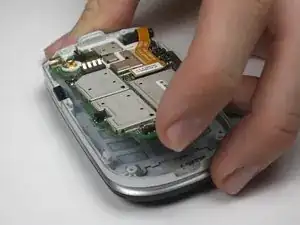
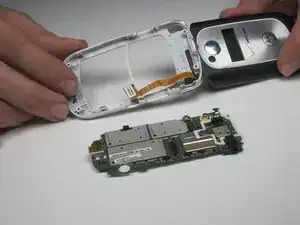
After detaching the cable you can then completely take the logic board out.
-
Connect the new logic board by plugging the cable into the same port as the old logic board.
-
To reassemble your device, follow these instructions in reverse order.
