Einleitung
This section will show how to remove the external speaker from the intermediate back-casing of a Motorola V557 phone.
Werkzeuge
-
-
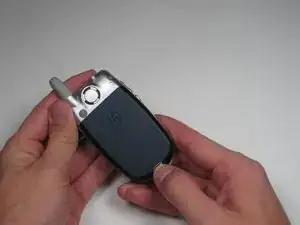
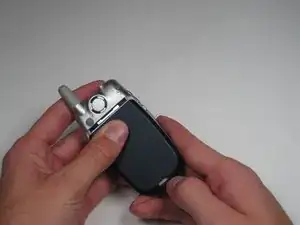
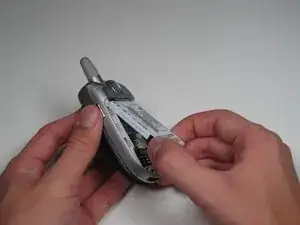
First, on the back of the phone find the silver button on the top left corner of the phone.
-
Simultaneously push down the button and slide the back plate down to reveal the battery.
-
-
-
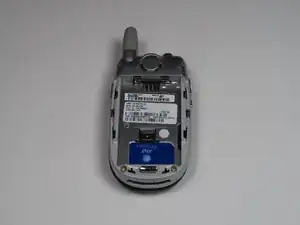
Grab the lower edge of the battery at the two bottom corners.
-
Pull upward on the edges to remove the battery.
-
-
-
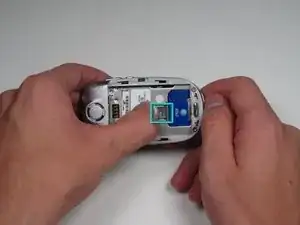
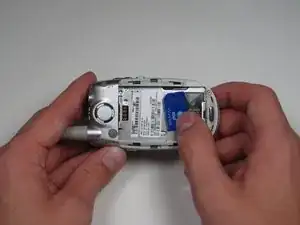
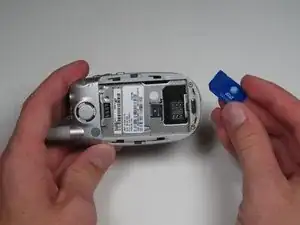
Push the metal slider towards the top of the phone until it clicks out of the original position.
-
Gently slide out and remove the SIM card.
-
-
-
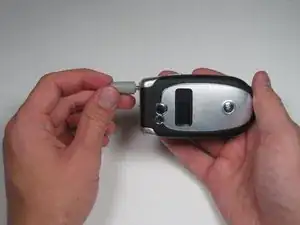
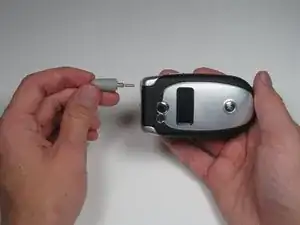
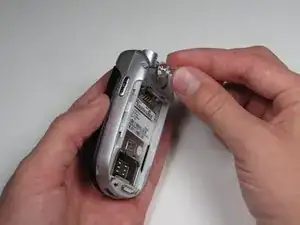
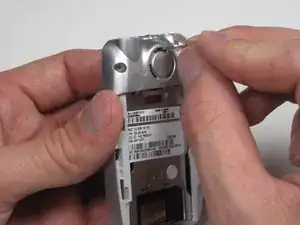
Grip the antenna and twist it counterclockwise to loosen it.
-
When it has been loosened all the way, pull gently to remove the antenna piece.
-
-
-
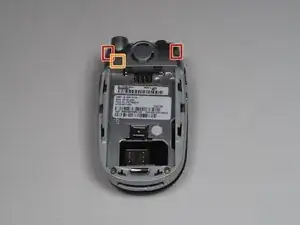
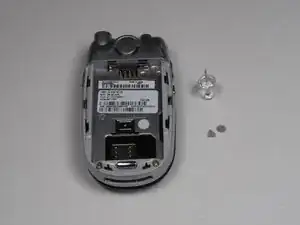
Using a pin, gently pry the top two screw covers off.
-
The large cover in the upper left of the back plate does not need to be removed.
-
-
-
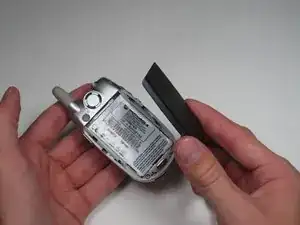
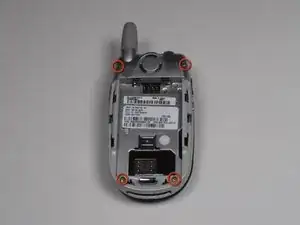
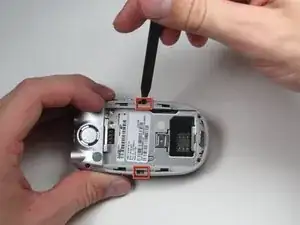
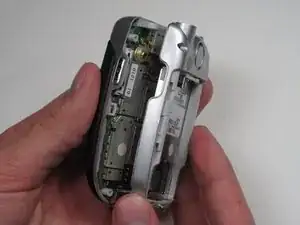
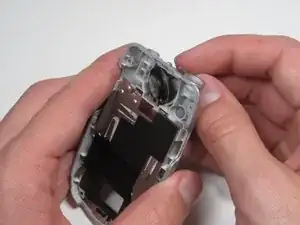
Next, insert a spudger into the marked holes, one at a time, and pry away from the phone to release the internal tabs.
-
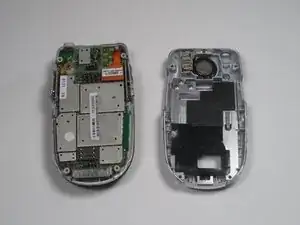
Then, separate and detach the rear casing.
-
-
-
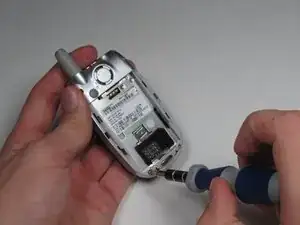
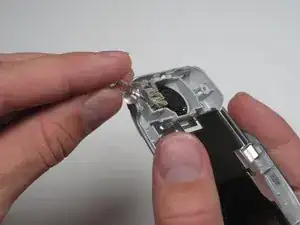
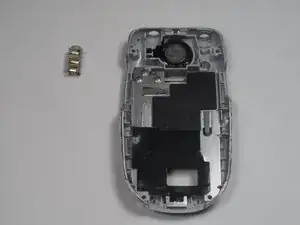
Lastly, using a push pin, lift out and to the left to release the headphone jack assembly.
-
Insert the new headphone jack assembly and repeat these steps in reverse order.
-
-
-
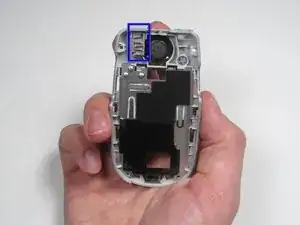
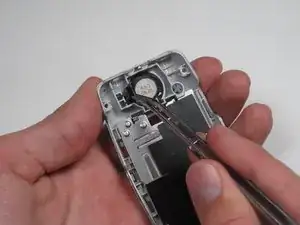
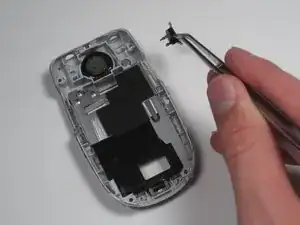
Using metal tweezers, lift out the black plastic support piece from beneath the headphone jack.
-
-
-
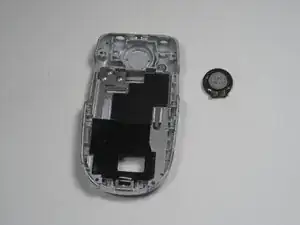
Separate the speaker from the casing by pushing with a pin from the back (external) side, through the openings in the casing.
-

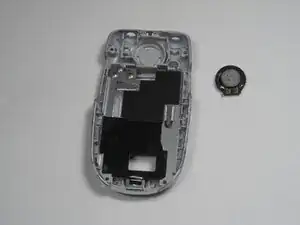
To reassemble your device, follow these instructions in reverse order.