Einleitung
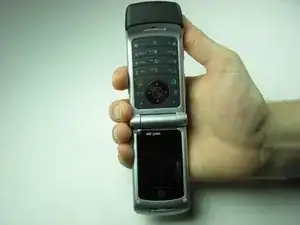
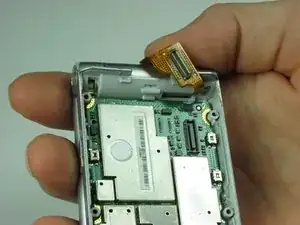
Have a faulty logic board? Replace it
Werkzeuge
-
-
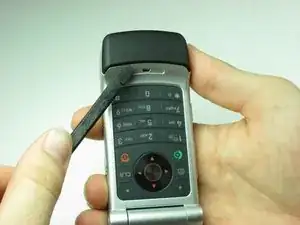
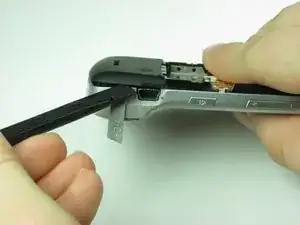
Using the flat side of the spudger and a little pressure, insert it under the bottom plastic piece at about center.
-
This might require a little persistence due how the beveled plastic rests on the phone body.
-
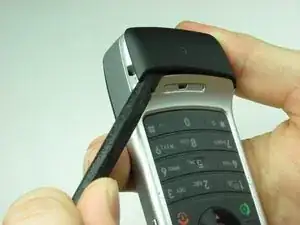
After the spudger is under the plastic piece, move counter clockwise using a gentle twisting motion until the piece is free from the phone body.
-
-
-
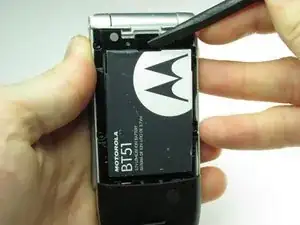
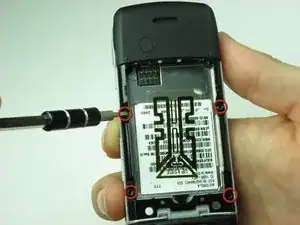
Keeping the phone open, turn it over allowing the battery compartment to be visible.
-
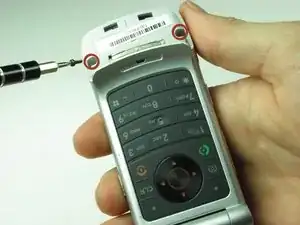
Remove the four Torx-6 screws from the back plastic.
-
-
-
Hold the phone with the keys facing down and the mini USB charging port visible.
-
Open the rubber flap covering the charging port.
-
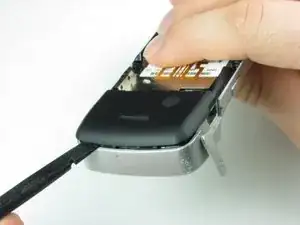
Insert the flat end of the spudger just above the charging port.
-
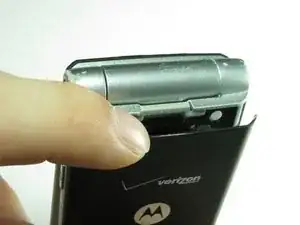
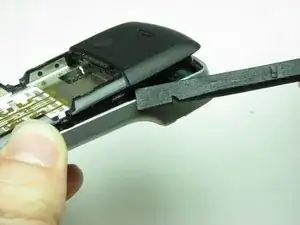
Using the same gentle twisting motion, work around the bottom of the phone and up the opposite side. The back casing should separate from the body of the phone.
-
-
-
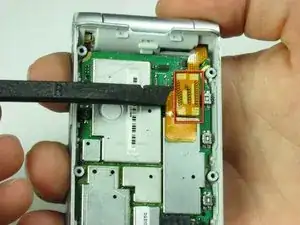
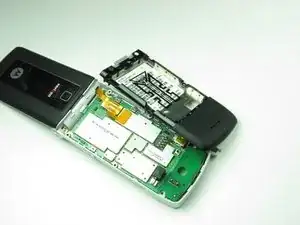
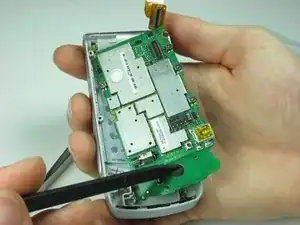
Place the sharp end of the spudger in the hole at the bottom of the logic board.
-
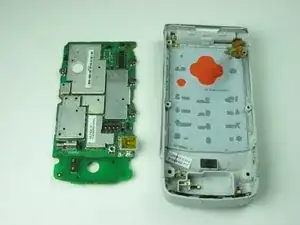
Gently remove the logic board from the phone casing.
-
To reassemble your device, follow these instructions in reverse order.
