Einleitung

  1. tF4SADSuKtDnQZHl
    tF4SADSuKtDnQZHl
    E32Q1ilFmAVSBcQU
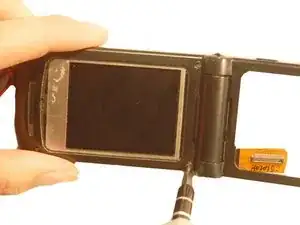
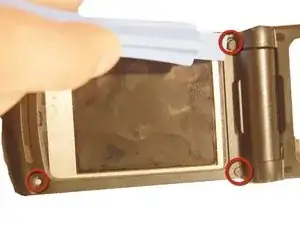
    • Use the blue plastic opening tool to pry off all four of the rubber stickers from the upper inside face.

    • Use the Torx T5 screwdriver to remove the four 5.4 mm screws from the upper inner face.

  2. X6FXWnC3sCQrAWXU
    X6FXWnC3sCQrAWXU
    Mj3CZNyTcwFneTqF
    mdhlKRQyIqeUyKdn
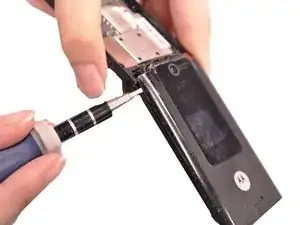
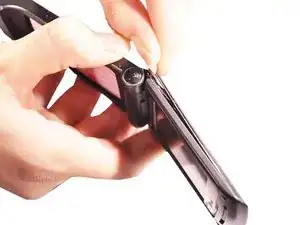
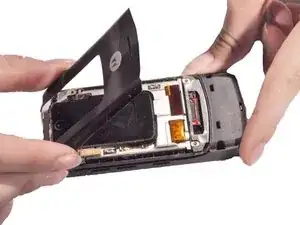
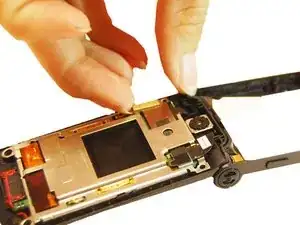
    • Use a flathead screwdriver or plastic opening tools to help pry the top cover away from the phone.

  3. 2JDtIc2CIyPq6WCx
    2JDtIc2CIyPq6WCx
    sSxrGwlSvNohwsit
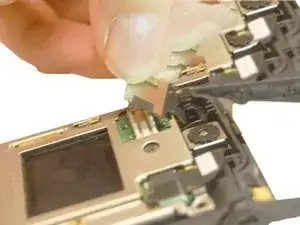
    • Pull the flex cable connection away from the top of the phone.

  4. pHAiMQTSLCfE6RXM
    pHAiMQTSLCfE6RXM
    cdnPCkEmE6gpMpXA
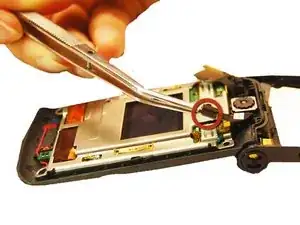
    • Pull the camera connection away from the top of the phone.

  5. 6mhtkJdsgxdMJRAV
    6mhtkJdsgxdMJRAV
    GK2TB5JsO2nagEkQ
    uqMLFcaCroRVpLDS
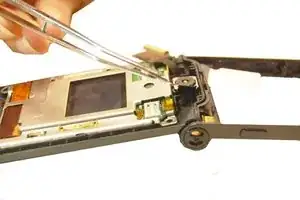
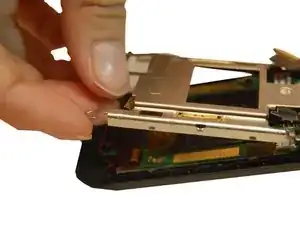
    • Pull the upper metal frame away from the phone.

  6. HoTcbjuUkKkeKqyy
    HoTcbjuUkKkeKqyy
    fGPTCicJWSGW4xoq
    EQUwVqVKNAJLrhFc
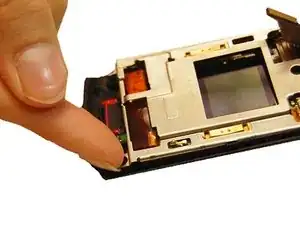
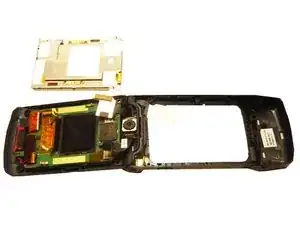
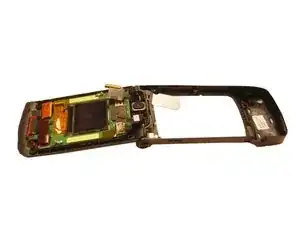
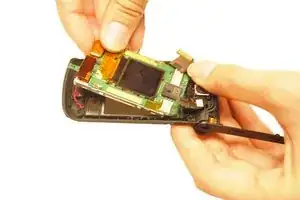
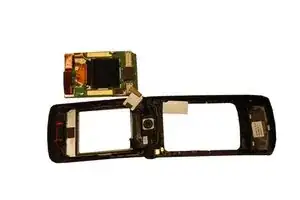
    • Hold the outer phone casing and pull the LCD screen out.

Abschluss

To reassemble your device, follow these instructions in reverse order.

Will Edwards

Mitglied seit: 22/10/12

61 Reputation

Ein Kommentar

It's fantastic when someone takes the time to compile photos and directions as good as these. Not only does it make the repairs possible, but it makes them so much easier. Thanks!
Bill Dominic -