Einleitung

Is your microphone not working? Here is a guide to replace the microphone. You will need to purchase a new microphone before beginning.

  1. aYSSjG5fJJVp6UXJ
    aYSSjG5fJJVp6UXJ
    MJjoFw4MdSUwOsPl
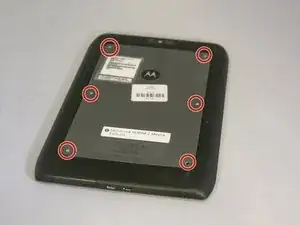
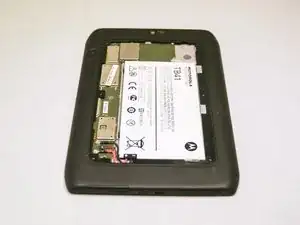
    • Power off the device before beginning disassembly.

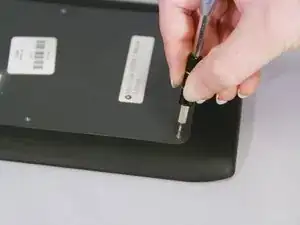
    • Remove six 2.7mm Torx #3 screws.

  2. 2T4efOVfiQQATokE
    2T4efOVfiQQATokE
    JNWRwp1mE6ywHNIR
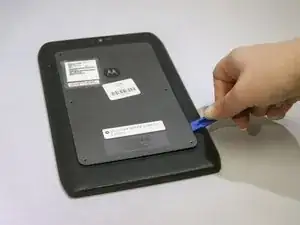
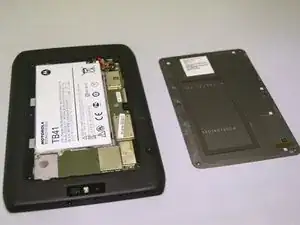
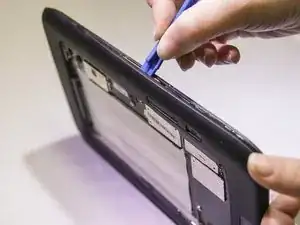
    • There is adhesive attached to the underside of the back panel. Gradually lift the panel to avoid bending it out of shape.

    • Pry off the back panel using a plastic opening tool.

    • Using a plastic opening tool, slide the tool gently around the back cover to lift the cover off.

  3. 4mEaSTtVQEvXHhii
    4mEaSTtVQEvXHhii
    VJ3XcfRHgfenEVbh
    JsWUvDJeEKrdfcyo
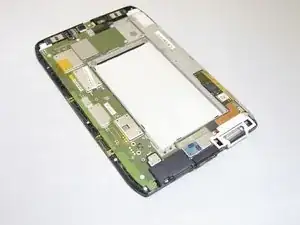
    • Pry off the black cover gradually using a plastic opening tool.

  4. BvSM6lQGtP2ZGfHt
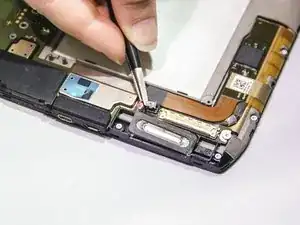
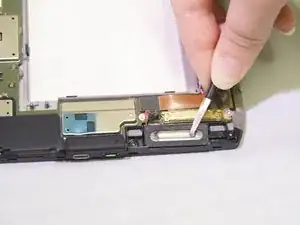
    • Gently pull up rubber housing with tweezers from above microphone.

    • There is adhesive holding down the rubber microphone housing.

  5. KOaHLaF1RAoKQdmh
    • Using the tweezers, gently pull up the connector off the microphone.

  6. RJLdq3N4BSfj3bhu
    RJLdq3N4BSfj3bhu
    HdoGHMMImGBsyRQK
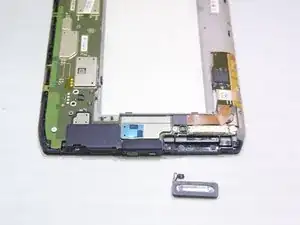
    • Once the connector is removed, use the tweezers to pull up the microphone from its plastic socket.

Abschluss

To reassemble your device, follow these instructions in reverse order.
Jillian Cain

Mitglied seit: 28/09/16

319 Reputation

0 Kommentare