Einleitung
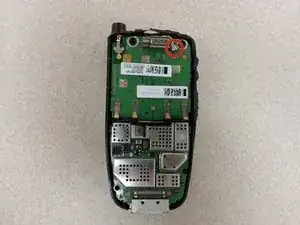
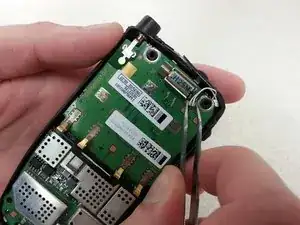
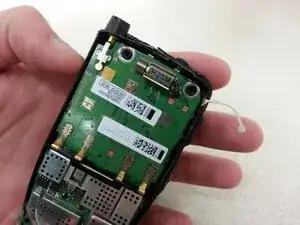
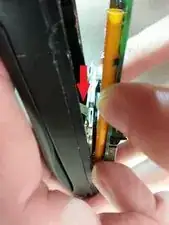
As with all electronic devices, microphones will eventually stop functioning properly and need replacement. This guide will show the user how to replace the microphone in their device. This guide requires little to no technical knowledge and is easy to complete. Anyone should be able to follow this guide.
Werkzeuge
-
-
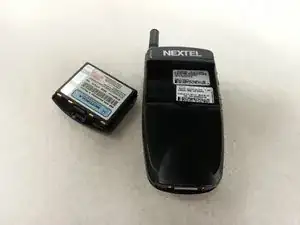
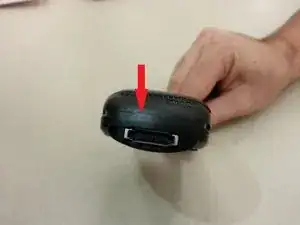
Push the tab located at the bottom of the battery towards the top of the phone.
-
Lift the battery away from the phone.
-
-
-
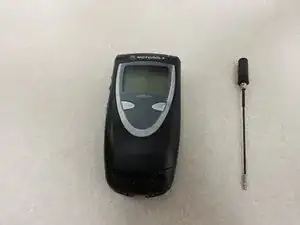
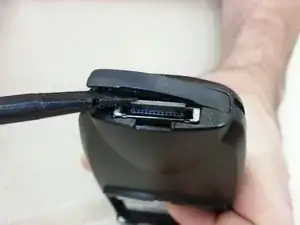
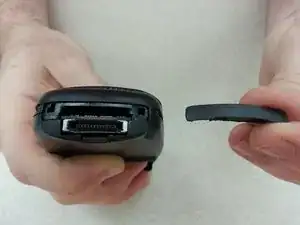
Grasp the antenna between two fingers and turn it counterclockwise until it is unscrewed.
-
Pull the antenna straight out of the phone.
-
-
-
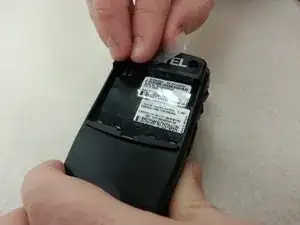
Using a Torx T8 screwdriver, remove the two screws exposed after removing the sticker by unscrewing counterclockwise.
-
-
-
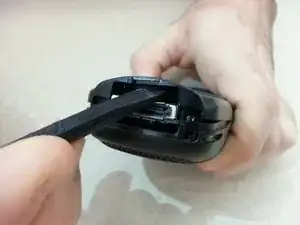
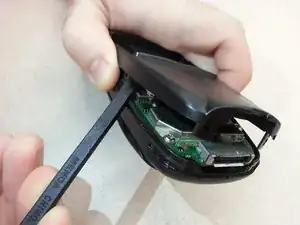
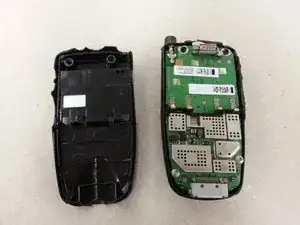
Starting from the bottom and working towards the top, use a spudger to pry the back cover off the phone.
-
-
-
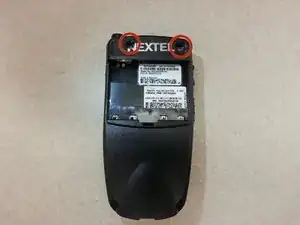
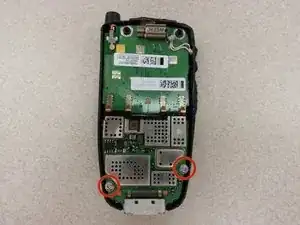
Using a Torx T8 screwdriver, remove the two circled screws by unscrewing counterclockwise.
-
-
-
Using a pair of tweezers, firmly grasp the connector at the top of the phone and pull the connector straight away from the phone.
-
-
-
Unclip the ribbon cable, located underneath the motherboard, by using the spudger to push up on the dark brown part of the connector located on the circuit board.
-
-
-
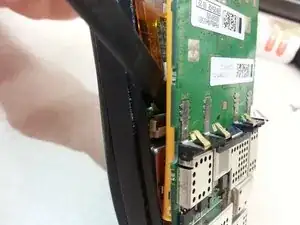
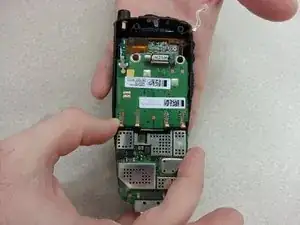
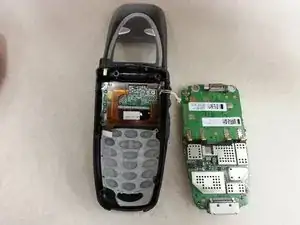
Remove the motherboard by firmly grasping the edges of the circuit board with one hand and the phone with the other and pulling up on the motherboard slightly and then pulling it straight down toward the bottom of the phone.
-
-
-
Flip the motherboard over 180 degrees.
-
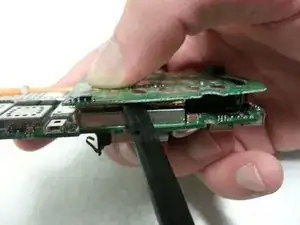
Place a spudger in between the gold plate and the bottom of the circuit board.
-
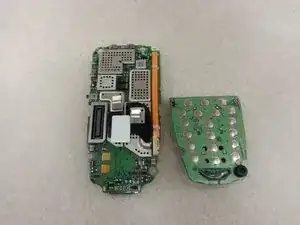
Carefully use the spudger as a prying tool to lift the circuit board from the motherboard.
-
-
-
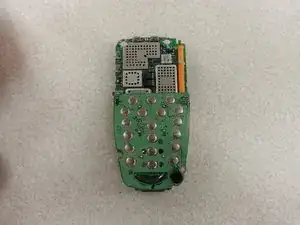
Flip the keypad circuit board over so the keys are facing the table.
-
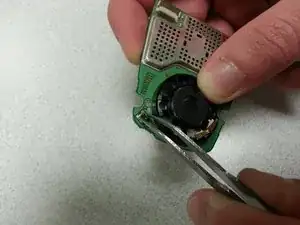
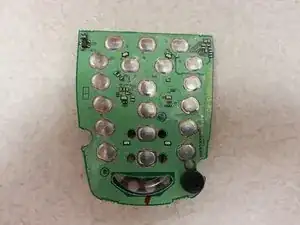
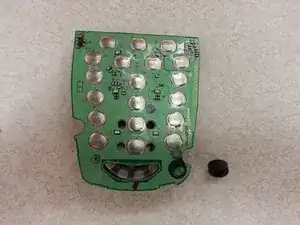
Using pair of tweezers, remove the black plastic piece holding the microphone in place.
-
-
-
Flip the keypad circuit board over again so the keys are now facing away from the table.
-
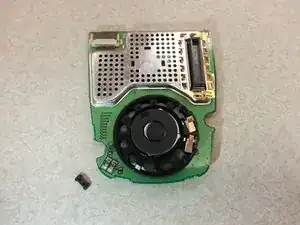
Using a pair of tweezers, remove the microphone from the circuit board.
-
To reassemble your device, follow these instructions in reverse order.
