Einleitung

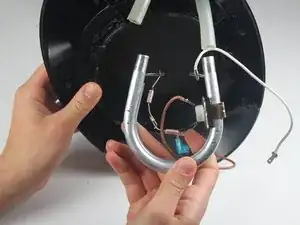
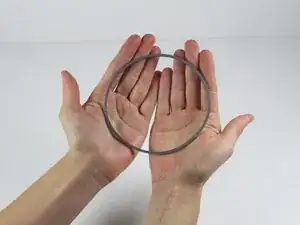
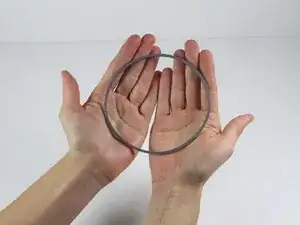
To complete this repair you will need pilers, a Philips head screwdriver, and a flathead screw driver. During this repair you will remove the base of the coffee machine, loosen the support bar, before finally removing the heating plate and prying out the O-ring.

  1. OZPogRuFNmM353Rl
    OZPogRuFNmM353Rl
    q6dXBAHracmhLHFW
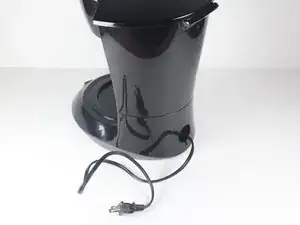
    • Before performing this repair, be sure that your machine is unplugged and dry and that your work space is clean.

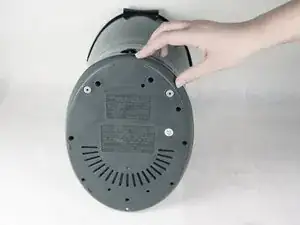
    • Flip the Mr. Coffee DW13 over so that the lid is facing away from you and the base is facing toward you.

  2. xXL2ScVfFoEsXS1b
    xXL2ScVfFoEsXS1b
    6RugpG5MvXEUXqod
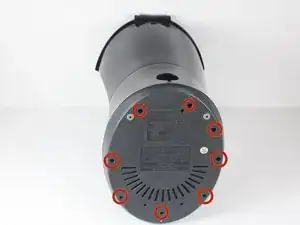
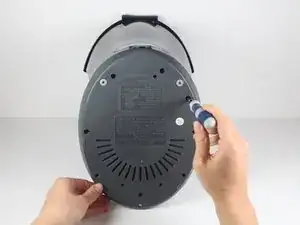
    • Remove the eight 11 mm screws that secure the base of the machine with a Phillips Head #2 screwdriver.

  3. jjIXFCRlCIaJV2xC
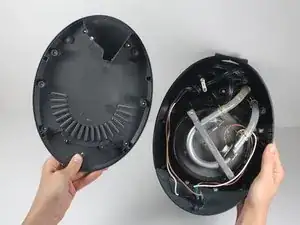
    • Gently lift the base cover to expose the inside of the coffee machine.

    SO interesting! I love fixing things, myself. Many things are so

    easy, if looked at logically, and/or long enough.

    Nice site!

    I don't have a clue how I came here to it.

    haskinskristin43 -

    Anyone know the Mr. Coffee part number for the white tubing? My Mr. Coffee maker model #BVMC-EVX23. Ty.

    Pam -

  4. NgVR1rEvMKBhcORE
    NgVR1rEvMKBhcORE
    oM5MNUeCKtVNuXWC
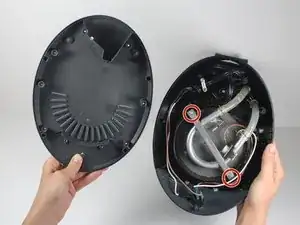
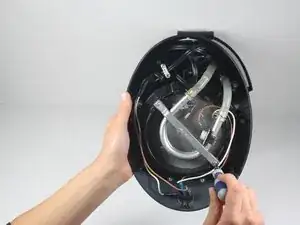
    • Remove the two 13mm screws securing the silver support bracket using a #2 Phillips head screwdriver.

  5. MQGUvhsmjnQQrBVF
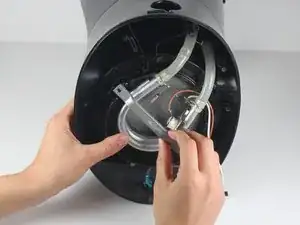
    • Gently lift the silver support bracket freeing the heating plate from the heating coil.

  6. PRCmHprbXio22QA3
    PRCmHprbXio22QA3
    YTkPJXRf44wOcZuy
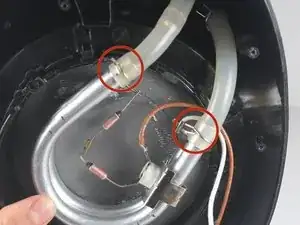
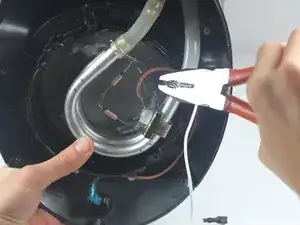
    • Use needle-nose pilers to pinch and loosen the crimps

  7. BNYXTYYpbUSLSBQe
    • Once the crimps are loosened, slide them down the tubing.

  8. MBkbkVJEitm3Ke2y
    MBkbkVJEitm3Ke2y
    ebR5ED46t515wPqT
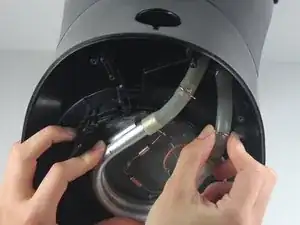
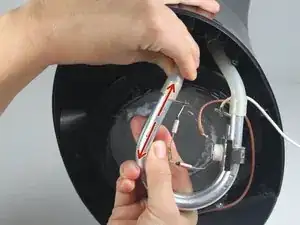
    • Separate the tubing from the heating coil by grasping the tubing in one hand and the heating coil in the other and gently pulling apart.

  9. HLpRTRvegIYrKfKp
    HLpRTRvegIYrKfKp
    WbENDPfgBYpLxUKK
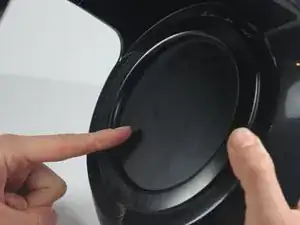
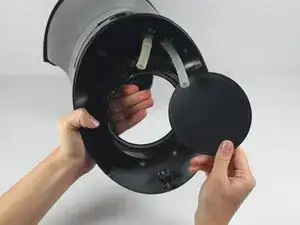
    • Place one of your hands on the front side of the heating plate.

    • Use this hand to gently push the heating plate towards yourself and out of the machine.

  10. oeEkpNAAOrmZy3mG
    oeEkpNAAOrmZy3mG
    oqhAcmAgUvlCDHJA
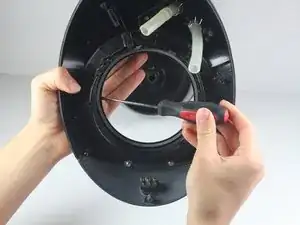
    • Use a 2.5 mm Flathead Screwdriver to pry out the O-ring.

Abschluss

To reassemble your device, follow these instructions in reverse order.
Madeline Landis

Mitglied seit: 22/01/14

137 Reputation

0 Kommentare