Einleitung
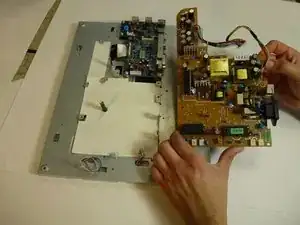
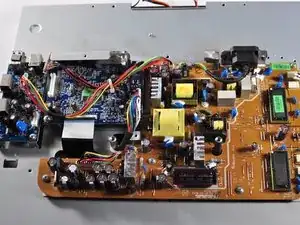
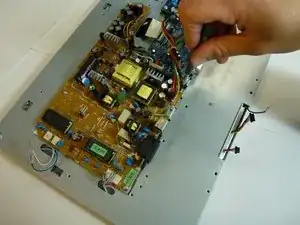
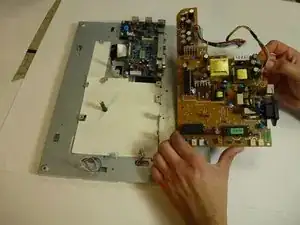
The power circuit board controls the flow of power to the monitor to prevent overload. If there is a problem with the power supply, the entire circuit board must be removed before any soldering may occur.
Werkzeuge
-
-
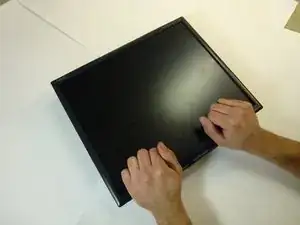
Place the monitor screen face up.
-
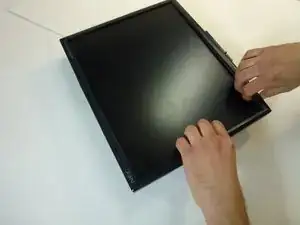
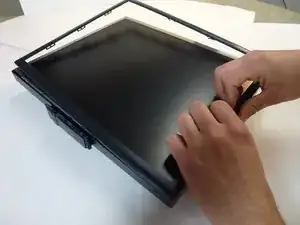
Pull the frame off by placing your fingers on the inside of the frame and pulling out and up, the frame should snap off.
-
Continue your way around the screen.
-
-
-
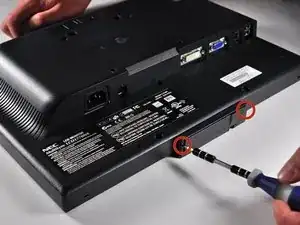
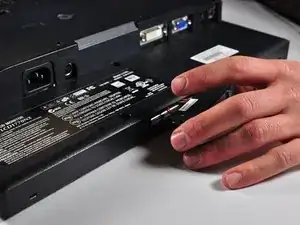
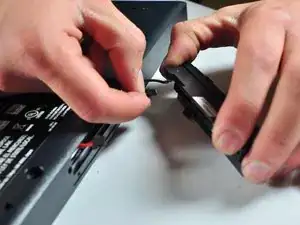
Unscrew the two 7mm screws from the bottom of the button assembly.
-
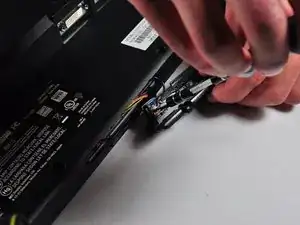
Pull the button assembly out a few inches and unplug the colored cables.
-
-
-
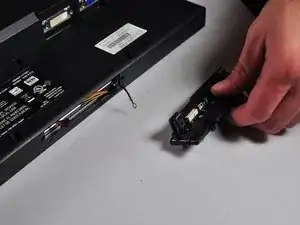
Unscrew the gold colored 7mm Phillips PH000 screw holding the button assembly to the monitor.
-
Remove the button assembly from the monitor.
-
-
-
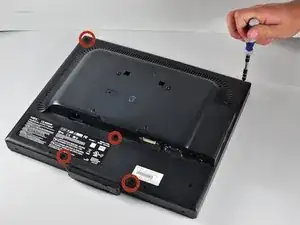
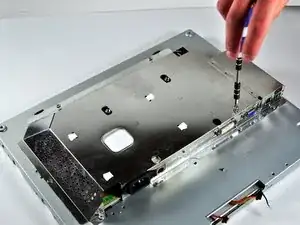
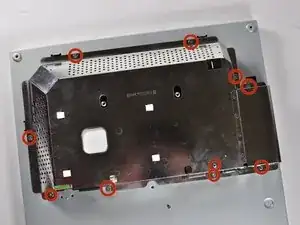
With the monitor face-down, unscrew the 5 7mm Phillips PH2 screws around the outside of the enclosure.
-
-
-
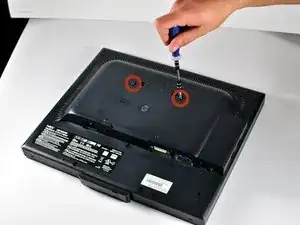
Unscrew the 2 14.5mm Phillips PH2 screws located on the raised center of the enclosure.
-
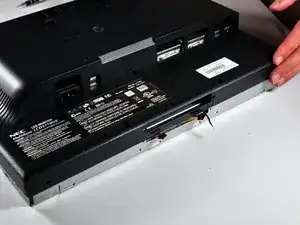
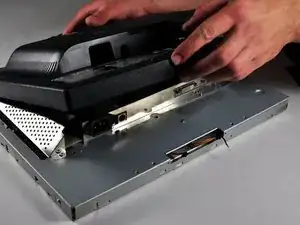
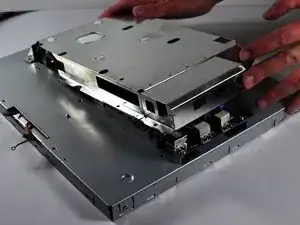
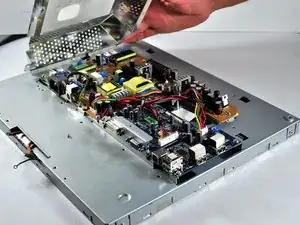
Carefully pull the enclosure off the monitor.
-
-
-
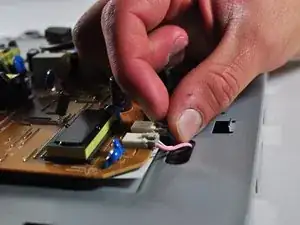
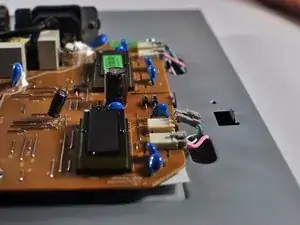
Make a note or use a pen to mark which plugs correspond to which colors. (Pink or Blue)
-
Remove the four plugs on the brown circuit board by pulling up on the tabs and wiggling them out. You could also use a spudger to help you lift little clips holding them in.
-
-
-
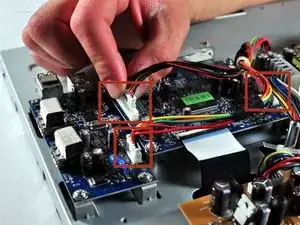
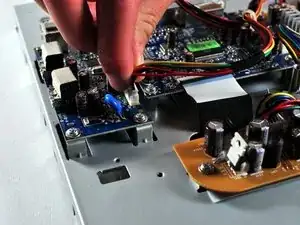
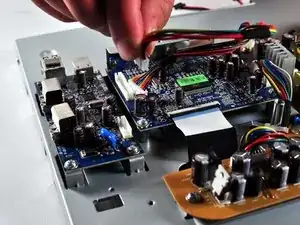
Locate the several multi-wire connectors on the board.
-
Disconnect the three plastic connectors from the blue colored boards by pulling them up while wiggling them.
-
-
-
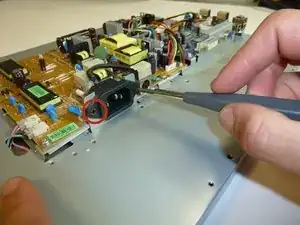
Locate the large black power plug.
-
Using a Phillips #1 Screwdriver, unscrew the two 8mm colts holding the black tabs to the metal frame.
-
-
-
Locate and remove the gold colored 10mm Philips screw located near the black power plug. It holds in a wire that connects to the power plug.
-
-
-
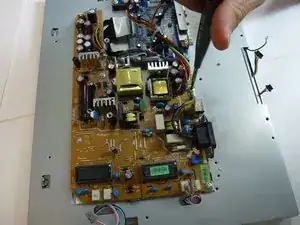
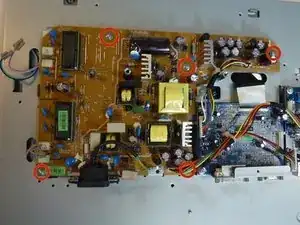
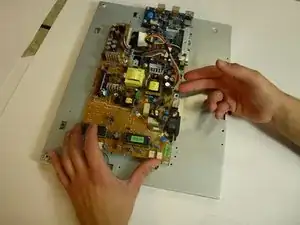
Remove 5 8mm Phillip1 screws, with a Philips 1 screwdriver, located in various places on the board.
-
To reassemble your device, follow these instructions in reverse order.
