Einleitung

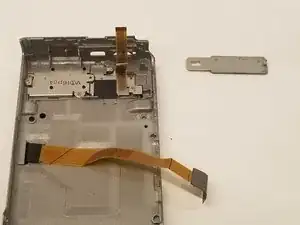
This guide will show you how to replace the I/O Cover on the Nikon Coolpix A900.

The I/O cover may need to be replaced due to normal wear and tear. Because it is a silicon part, it is prone to ripping after heavy periods of use.

You may not need the spudger listed in the tool section as it is possible to do it with just your fingers.

  1. XIILUYSexLEDvkLO
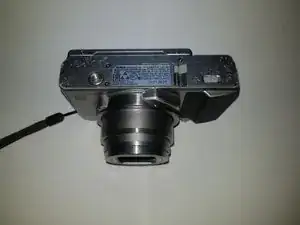
    • Orient the camera so that it is upside down, with the lens facing towards you.

  2. OxNhZUDI1sqZMDHi
    OxNhZUDI1sqZMDHi
    Yfq1TQCndC1Lu442
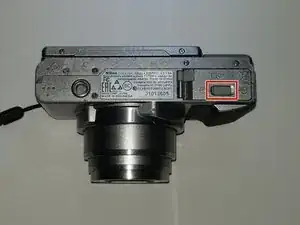
    • Slide the battery door lock left to unlock it.

    • The battery door will automatically open.

    Good addition of different conditions of the camera (camera is dirty)

    Brandon -

  3. sCMdRfbYnveOfRWk
    sCMdRfbYnveOfRWk
    ZyKTbTVXWtABKGtv
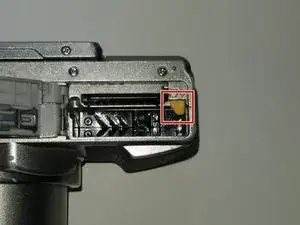
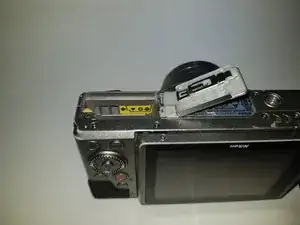
    • Slide the yellow tab up to release the battery.

    • To re-insert a battery, slide the battery back in until the yellow tab locks it in place.

    • There is a diagram on the opposite side of the battery compartment to help you orient the battery correctly.

  4. NpBn5gRRhJWZjSB1
    NpBn5gRRhJWZjSB1
    UXJkotBVgQEU1qYI
    Ckwt1Mkw3RpdCuOZ
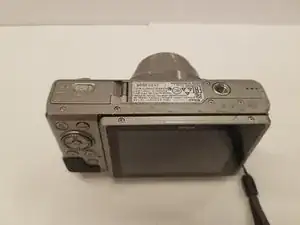
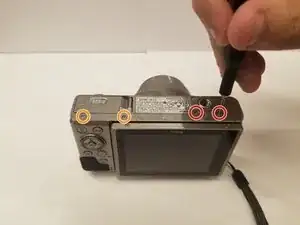
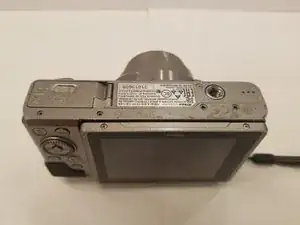
    • Orient the camera upside down, with the lens facing away from you.

    • Remove the two 3mm Phillips #00 screws from the right.

    • Remove the two 3.4mm Phillips #00 screws from the left.

  5. ocNpOrcXktvUqkBf
    ocNpOrcXktvUqkBf
    XfLKeDdaQ3Ep325I
    esHIVDYo3CvbpgQT
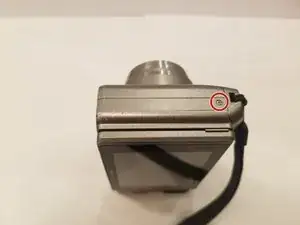
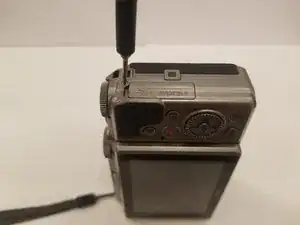
    • Turn the camera on its side, with the lens facing away from you.

    • Remove the 3.4mm Phillips #00 screw. Repeat this for the opposite side of the camera.

  6. QMxyV2MaSTrpFvYC
    QMxyV2MaSTrpFvYC
    LBxOmvXYm6mI3INv
    vulhqLRBXehE6tmG
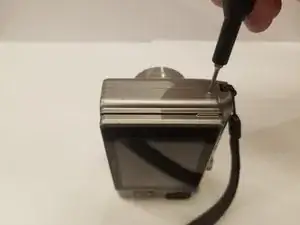
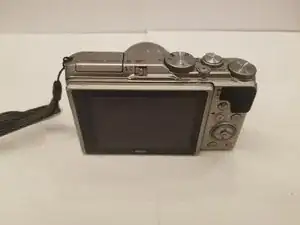
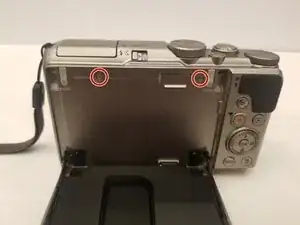
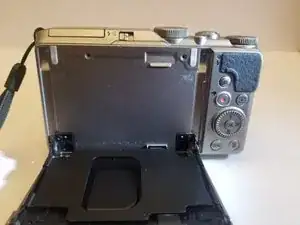
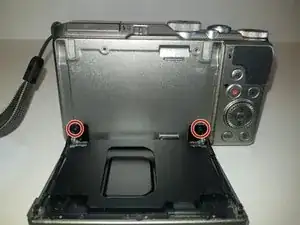
    • Place the camera upright with the lens facing away from you.

    • Move the monitor down, and remove two 4.4 mm screws.

  7. 6XJAsJyMLqMc1Mr2
    6XJAsJyMLqMc1Mr2
    kIRhdO1YY1SHShW2
    • Remove the two black 2.5 mm screws from the monitor bracket.

    Is there anywhere I can buy a replacement screw for this part? I have lost one of these screws

    Dylan Feeney -

  8. M536RbqmTGWT6KTI
    M536RbqmTGWT6KTI
    yuRHBmmxtwf663Dc
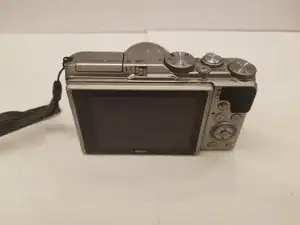
    • Return the monitor to the closed position.

    • Gently open the rear case.

    • You may need opening tools to help separate the rear case.

    • Be careful when opening the rear case to not damage the ribbon connectors.

  9. hsloJpjfO54WoeNs
    hsloJpjfO54WoeNs
    CGmPOmAMMRXUENGI
    IYt5skspPmCREoWv
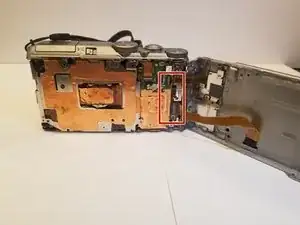
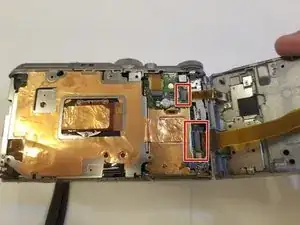
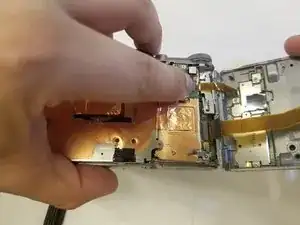
    • Place the camera lens down, while supporting the rear case.

    • Unlock the two ribbons by using your finger to lift the plastic hinge on the ribbon connector.

    • With the ribbons disconnected, you can now remove the rear case.

  10. GAEJU1EA1tO2SoUi
    GAEJU1EA1tO2SoUi
    kJ3KxPLfUIYKyvXe
    GBBS1cAWUp31DWSI
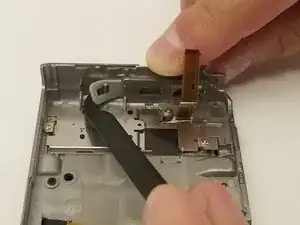
    • Locate the I/O cover on the rear case.

    • On the inside of the case, unhook the I/O cover by lifting up.

    • You may not need the spudger to remove the cover.

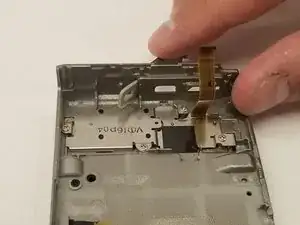
  11. nIr32dB2jObUEmN3
    • Remove the I/O cover by gently pulling away from the rear case.

Abschluss

To reassemble your device, follow these instructions in reverse order.
Andres Aronstam

Mitglied seit: 17/09/19

735 Reputation

0 Kommentare