Einleitung

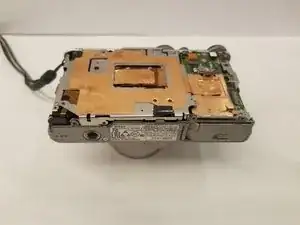
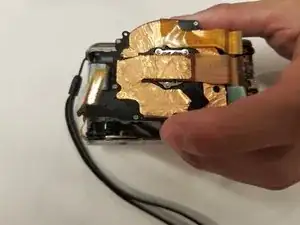
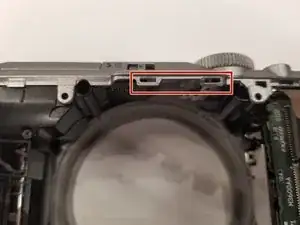
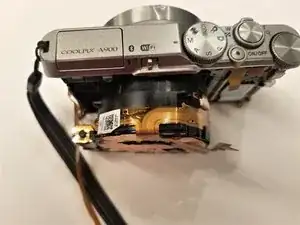
This guide will show you how to replace the lens on the Nikon Coolpix A900.

You may need to replace the lens of the camera if it suffers a hard drop or water damage. A good indicator that you should replace the lens is if the lens has any kind of damage like a crack or scratches.

To help with this guide, make sure that you have a way to organize the components that you will be removing.

  1. XIILUYSexLEDvkLO
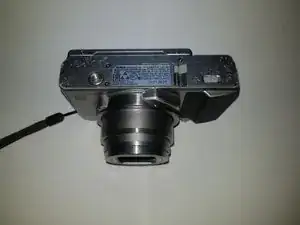
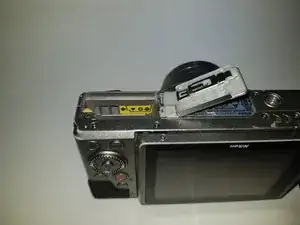
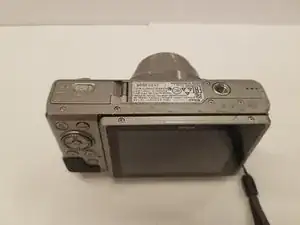
    • Orient the camera so that it is upside down, with the lens facing towards you.

  2. OxNhZUDI1sqZMDHi
    OxNhZUDI1sqZMDHi
    Yfq1TQCndC1Lu442
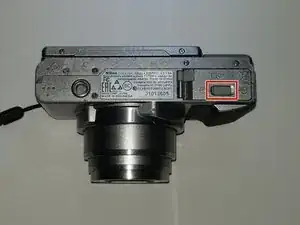
    • Slide the battery door lock left to unlock it.

    • The battery door will automatically open.

    Good addition of different conditions of the camera (camera is dirty)

    Brandon -
  3. sCMdRfbYnveOfRWk
    sCMdRfbYnveOfRWk
    ZyKTbTVXWtABKGtv
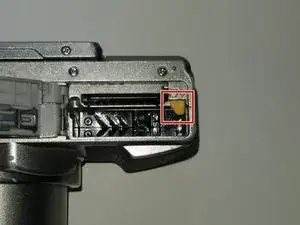
    • Slide the yellow tab up to release the battery.

    • To re-insert a battery, slide the battery back in until the yellow tab locks it in place.

    • There is a diagram on the opposite side of the battery compartment to help you orient the battery correctly.

  4. NpBn5gRRhJWZjSB1
    NpBn5gRRhJWZjSB1
    UXJkotBVgQEU1qYI
    Ckwt1Mkw3RpdCuOZ
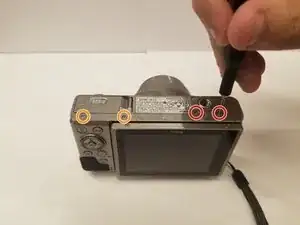
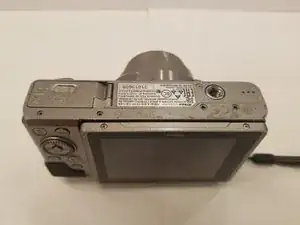
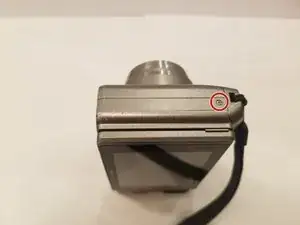
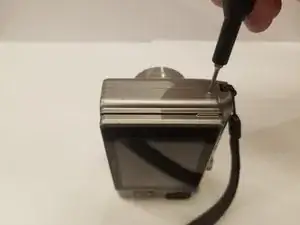
    • Orient the camera upside down, with the lens facing away from you.

    • Remove the two 3mm Phillips #00 screws from the right.

    • Remove the two 3.4mm Phillips #00 screws from the left.

  5. ocNpOrcXktvUqkBf
    ocNpOrcXktvUqkBf
    XfLKeDdaQ3Ep325I
    esHIVDYo3CvbpgQT
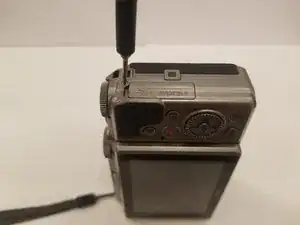
    • Turn the camera on its side, with the lens facing away from you.

    • Remove the 3.4mm Phillips #00 screw. Repeat this for the opposite side of the camera.

  6. QMxyV2MaSTrpFvYC
    QMxyV2MaSTrpFvYC
    LBxOmvXYm6mI3INv
    vulhqLRBXehE6tmG
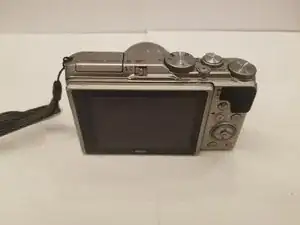
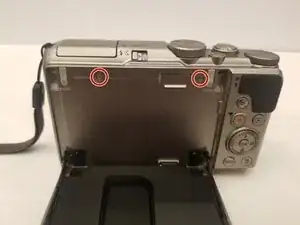
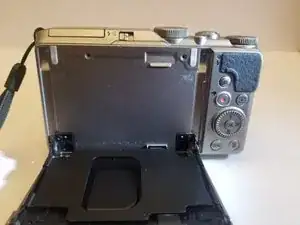
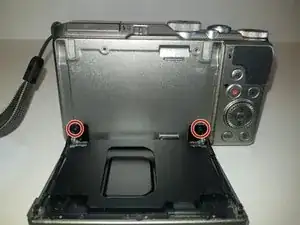
    • Place the camera upright with the lens facing away from you.

    • Move the monitor down, and remove two 4.4 mm screws.

  7. 6XJAsJyMLqMc1Mr2
    6XJAsJyMLqMc1Mr2
    kIRhdO1YY1SHShW2
    • Remove the two black 2.5 mm screws from the monitor bracket.

    Is there anywhere I can buy a replacement screw for this part? I have lost one of these screws

    Dylan Feeney -

  8. M536RbqmTGWT6KTI
    M536RbqmTGWT6KTI
    yuRHBmmxtwf663Dc
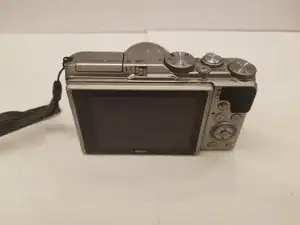
    • Return the monitor to the closed position.

    • Gently open the rear case.

    • You may need opening tools to help separate the rear case.

    • Be careful when opening the rear case to not damage the ribbon connectors.

  9. hsloJpjfO54WoeNs
    hsloJpjfO54WoeNs
    CGmPOmAMMRXUENGI
    IYt5skspPmCREoWv
    • Place the camera lens down, while supporting the rear case.

    • Unlock the two ribbons by using your finger to lift the plastic hinge on the ribbon connector.

    • With the ribbons disconnected, you can now remove the rear case.

  10. BrhOjsYHcyuDUQHS
    BrhOjsYHcyuDUQHS
    Gm1Pkbg1MRwyor5p
    QHtWyLXHFTytWCkT
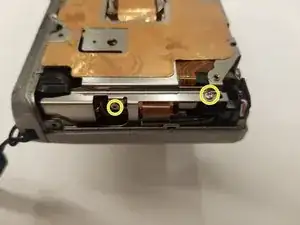
    • Place the camera in front of you with the lens facing down.

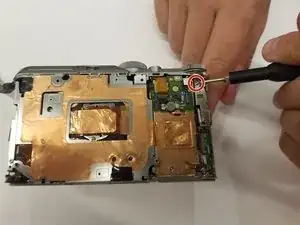
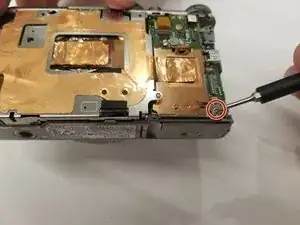
    • On the top right, remove the 4.5 mm Phillips #00 screw holding the input shield.

  11. nerywybwLDj6eYNR
    nerywybwLDj6eYNR
    HNSMFy1ebO2IRhTr
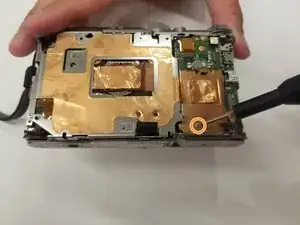
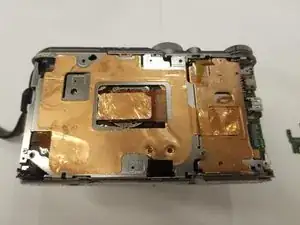
    • Remove the 4.5 mm Phillips #00 screw holding the bracket in the bottom right.

    • Remove the 2.5 mm Phillips #00 rear brace screw.

  12. GicsOb4ABREhUwXd
    GicsOb4ABREhUwXd
    f1UFRrgmKirF2JO2
    GGa5FavJkqQpBJjA
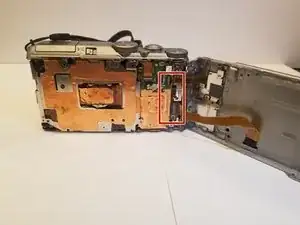
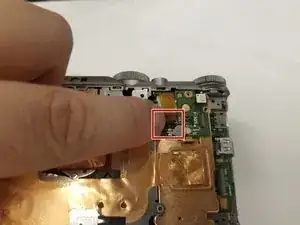
    • Use your finger to undo the ribbon connector on the top right of the camera.

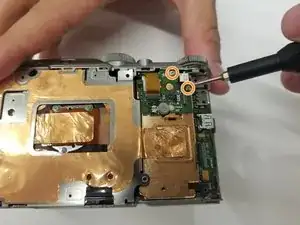
    • Remove the two 2.5mm Phillips #00 screws holding the small chip in place. Remove the small chip.

    • Remove the final two 4.5 mm Phillips #00 screws from the left side of the brace.

  13. ABMXr4NUiGmC351N
    ABMXr4NUiGmC351N
    1kFcAK3PFRHjdmNu
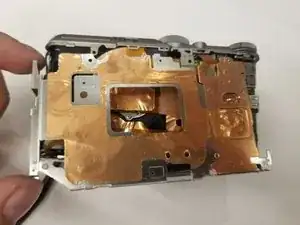
    • Gently lift the rear brace off of the camera.

  14. LgCBCIT6ogWnF5Od
    LgCBCIT6ogWnF5Od
    EExVKXbBkVivpnaC
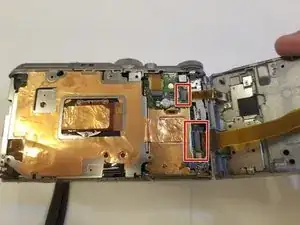
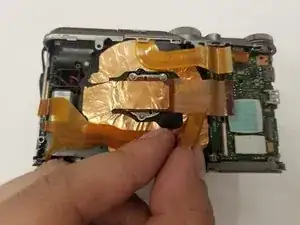
    • Use your finger to undo the three ribbon connectors.

    • Make sure that all ribbons are properly disconnected before proceeding.

  15. qTPqujKDYAo35DPp
    qTPqujKDYAo35DPp
    QvGpU2ULi2TxIymv
    RkJTYbB5Jbo1l5qC
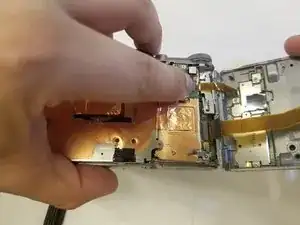
    • Carefully lift the lens out of the camera.

    • It may be necessary to gently pry these tabs out of the way to release the lens.

    • When reassembling, make sure that the ribbon cables are flat against the lens to ensure that they don't snag.

  16. sWyPRHIFTCwwAftZ
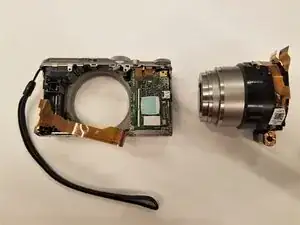
    • Separate the lens from the body of the camera.

    I disassembled the zoom lens so I could remove the dust behind the glass. It is possible but both disassembly and reassembly takes a lot of patience and instinct.

    Hanspeter Doswald -

    Mijn lens unit is geblokkeerd, is dat te verhelpen?

    Ad de Jong -

Abschluss

To reassemble your device, follow these instructions in reverse order.

Andres Aronstam

Mitglied seit: 17/09/19

735 Reputation

2 Kommentare

How to replace the front-lens of the zoom-lens, when it’s scratched!?!

Tom de Hoop -

Ok I removed the defective one, but my question now is: what model of lens can I replace it with? Is it compatible with any lens from Nikon, or from other manufacturers?

martin -