Einleitung

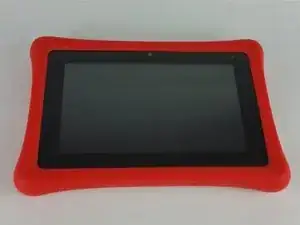
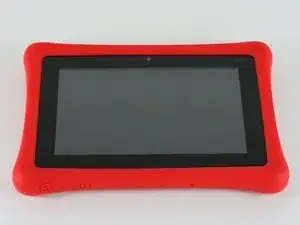
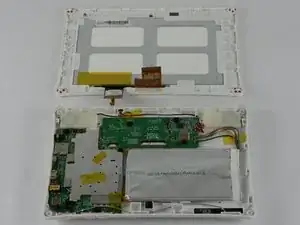
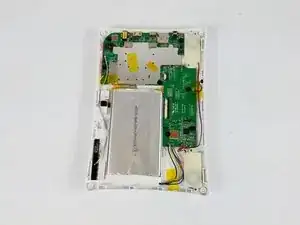
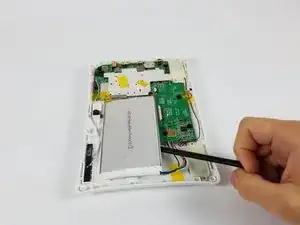
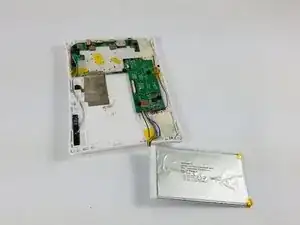
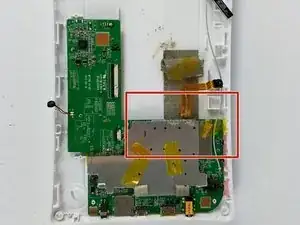
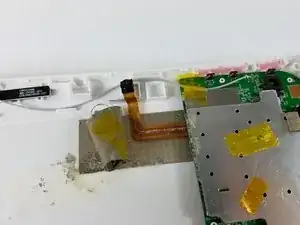
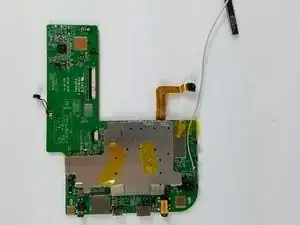
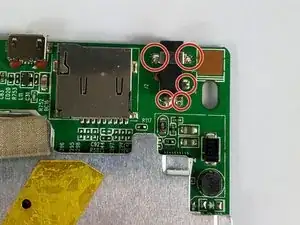
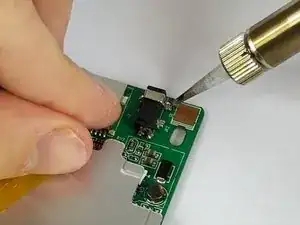
This guide will demonstrate how to remove and replace your Nabi 2's charging port. The charging port allows the charging cable to attach to the device, and over time the part may stop functioning correctly. There are many reasons to perform this repair, but the most common causes are the port becoming loose, and the device not charging. This repair involves the use of a soldering iron; be very careful not to touch the hot end of the iron while it is plugged in. It is recommended to document the order of the charging port wires before you detach them so that you can attach the new battery's wires in the correct order.

  1. ulNKaDbXVUTgYAUK
    ulNKaDbXVUTgYAUK
    xVyjFDU1TLYvm1Qb
    RGt2pEC5XTaTwNsv
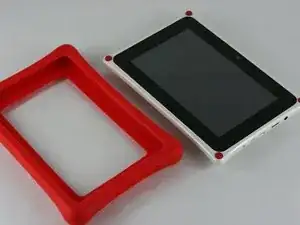
    • Remove the rubber bumper from the tablet.

  2. bOBMP3aldLi2rnqX
    bOBMP3aldLi2rnqX
    bxdNHQpaGoSDuQDJ
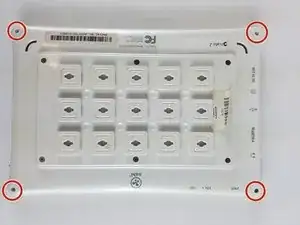
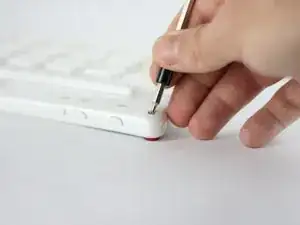
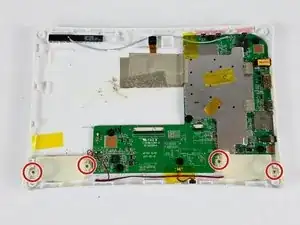
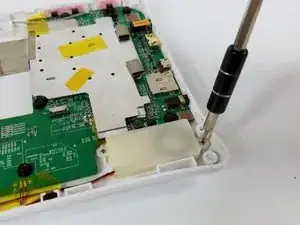
    • With a PH00 screwdriver, remove the four outermost screws from the back of the tablet.

  3. ChLuBVt2RGqvbEJP
    ChLuBVt2RGqvbEJP
    KZg2TJmKnCTOQJPp
    LkyZQ3I52tHyIreq
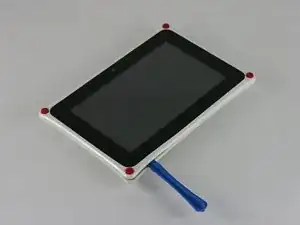
    • Carefully, insert a plastic opening tool into the seam of the device and begin gently prying the two plastic pieces apart.

    • Work the tool all the way around the device. Small plastic clips should release. If they do not, gently apply outwards pressure until the clips give.

    • Do not force the clips open, as they are fairly easy to break

  4. DEd5svaUoFVZFfUp
    DEd5svaUoFVZFfUp
    VKPUqXZEArITbmIp
    iKNUMUyyKfHw6cdP
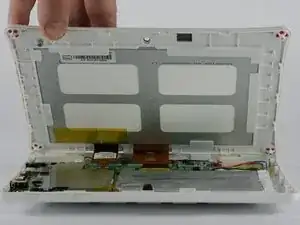
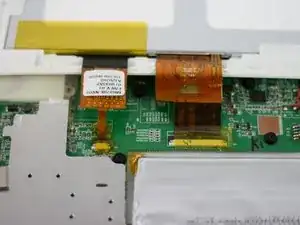
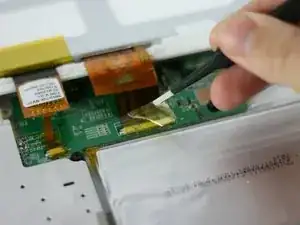
    • Lay the tablet down flat and remove the yellow tape from the ZIF connector on each side

  5. w1VVASvtYw1KyjLG
    w1VVASvtYw1KyjLG
    QGBivBEhUrIsZFLL
    WcsKxdDSgyA3FZ32
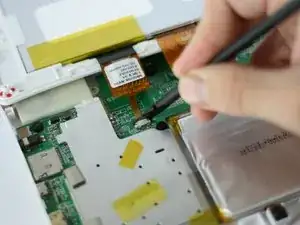
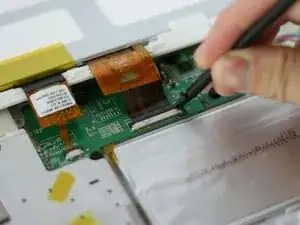
    • Using a spudger, slide the brown tab forward on each side of the connector

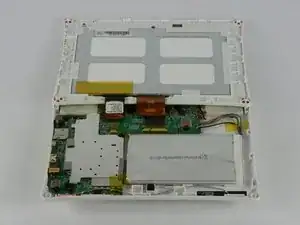
    • Slide until the connector is completely loose, then separate the screen from the bottom half of the tablet

    • If the screen is not working correctly, you will need to replace the entire display assembly

    que aser cuando no le pasa carga a la bateria

    yordenis sanchez -

    Where can I go to get a new screen

    Reis Brooks -

  6. 2FapFMPYEFnXvTYN
    2FapFMPYEFnXvTYN
    AqYce1yoxlvUVFUS
    iwTxn3NwgqwZnKYQ
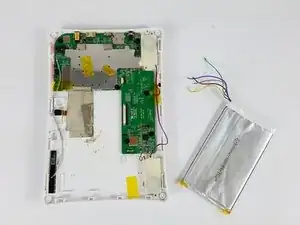
    • Use the spudger to pop the battery out of place and set it aside.

  7. wjhC6ETc3IQCrjXc
    wjhC6ETc3IQCrjXc
    VtORVoXwq2blliGV
    JFYWiNnG2txVJNoI
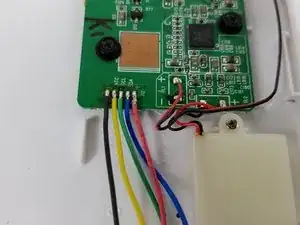
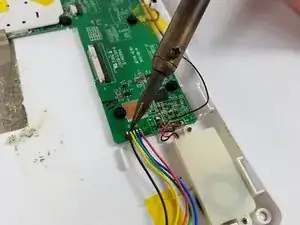
    • Desolder the battery connection and remove the battery completely

    • Note the color order for future replacemement

  8. PFEHgFHKRLVB3sjm
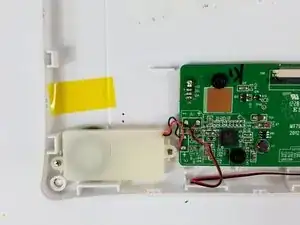
    • Using the soldering iron, detach the speaker's wires from the circuit board.

  9. lhBuyDYfpGTXgQFU
    lhBuyDYfpGTXgQFU
    PFTiZqiLTNtLNrLm
    RvMohSOFaSKUxXUf
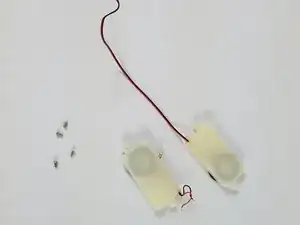
    • Using a Phillips PH 000 screwdriver, unscrew the two 3 mm Phillips #000 screws on each side of the speakers that hold the speakers in place.

  10. HvKvUPAX4eiCLgM2
    • Once the screws have been removed, remove the speakers from the device.

  11. W33PZ3VlaOcdO2pG
    W33PZ3VlaOcdO2pG
    y2VW1wdwA4AXR2km
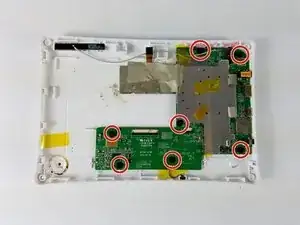
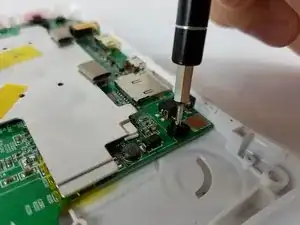
    • Remove the seven 4 mm Phillips #000 screws with a PH#000 screwdriver

  12. VRRYsCDBNTyCq25f
    VRRYsCDBNTyCq25f
    vc54vnWrCbli2YuO
    YRcw6UYuC3UtW3XG
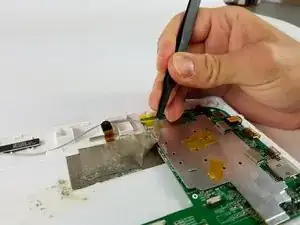
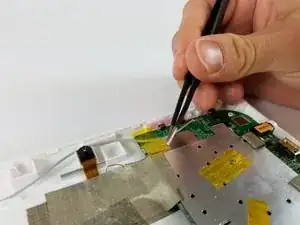
    • Remove the tape that is attaching the motherboard to the plastic casing

  13. fH1EB4oOqtIOcyun
    fH1EB4oOqtIOcyun
    eyH1QJFCRp2ajiYh
    TnJFoIVQTBU2F2Vq
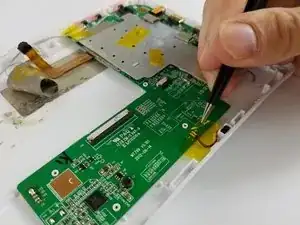
    • Remove the motherboard by lifting from the area indicated

    where to purchase

    eugene cook -

  14. duLuEO5PSStW1BCr
    duLuEO5PSStW1BCr
    VgpXeiZbD4RheSDZ
    C6GZlSaEuloLZQhU
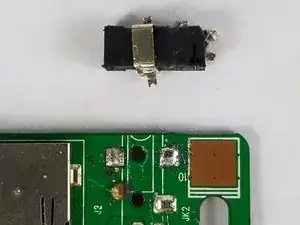
    • Using a soldering iron, desolder the charging port from the motherboard

    • Remove the charging port completely

    • If the glue does not completely detach from the board, try to heat it until the charging port can be removed

Abschluss

To reassemble your device, follow these instructions in reverse order.

Trevor Westergard

Mitglied seit: 10/02/16

201 Reputation

7 Kommentare

I think you would be better to just through it away and get something else.

Brad Cobb -

Naw they are still a handy fairly tough tablet for the kids shame about badly designed dc port I managed to find ports for it on ebay.

http://www.ebay.com/itm/dc-socket-port-j...

DotDotCom -

send me a new nabi in the mail today
Deborah Cramer -

A lot of unneeded work there. The power port is surface mount and and can be replaced without removing the PCB or anything else, but the back.

Donnie

Donnie -

Do steps 1-3 above then 4 desolder power port and clean area then reverse order.

Donnie

Donnie -

Bought a new battery and still wont turn on. but, wont charge. now what.

Sonya Harris -

Not to be a Ralph Repeater, but I agree with Donnie here, not sure why this article instructs you to take everything apart. That's just asking to get yourself into a major pickle, by tearing cables or losing small parts. Literally all you do is take off the rear, and it's right there, skip from the first set of photos to the very last photo. The author of this article is a real Johnny Overkill.

Also, can someone check on Deborah Cramer above, as I think she may be having a stroke. She has requested a replacement Nabi, from a unrelated repair site. I saw it in at least 3 different search results. What a goose!

Eli Bishop -