Einleitung

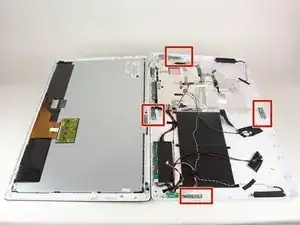
There are four Nabi ports that are available to use. The Nabi ports are specific ports from Nabi that requires a USB adapter in order to connect a USB device to the tablet. Before replacing the Nabi port, determine which port is faulty, as there are four ports to choose from.

  1. rRUPtnxY51fsjwCf
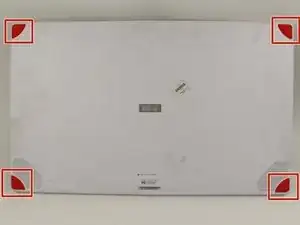
    • Ensure that the tablet is facing you with the screen on the table.

    • Locate the four red rubber stops at the corners.

  2. tKJXuMIensmmWZfR
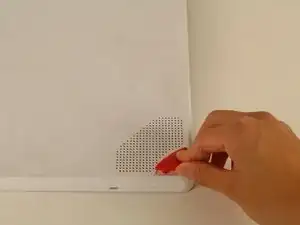
    • Use your fingers to carefully peel them off the device to reveal the screws underneath.

  3. VABvn2Tfj2xtZawd
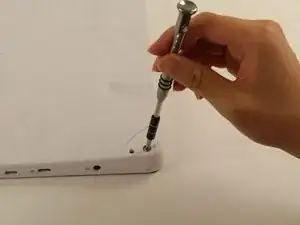
    • Use a Phillips #1 screwdriver to remove the 9.5 mm screw in each of the four corners.

  4. shylTkWgSeQ6ELml
    • Flip the tablet over such that the screen is facing upwards.

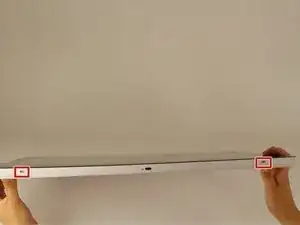
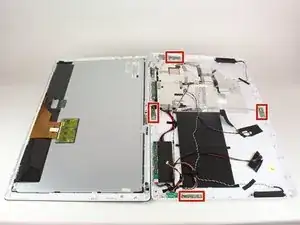
    • Locate the the 4 small openings on the sides of the tablet.

    • There should be 2 on the bottom of the tablet, 1 on each side of the tablet viewing it from the front as if you were using it.

    • Do not confuse the openings with the charging port or the USB ports. The openings will be labelled with an icon of a small fan, the Nabi logo.

  5. 4bUTFa3cByR6aota
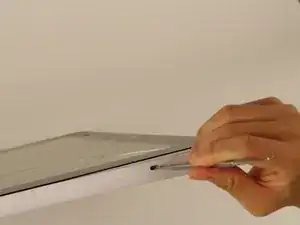
    • Insert a metal spudger into one of the openings and carefully pop the device open by applying a steady downward force.

    • Repeat for the other three openings.

  6. Jqs2cOu25YKRfWCJ
    Jqs2cOu25YKRfWCJ
    XRNtSQ54KjNNTPsn
    • Flip the device over so that the back assembly is facing you.

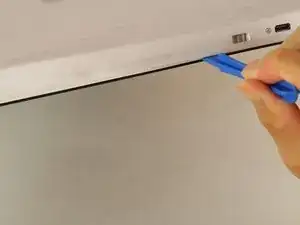
    • Use a plastic opening tool to carefully pry open the device from its hinges.

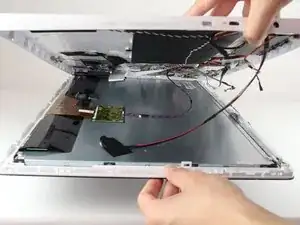
    • Take care when opening the device as there are cables running internally that are connected to both the front and the back assemblies.

  7. OtLm1IInWHGwxfga
    OtLm1IInWHGwxfga
    BQD6ySoxlFJeYonp
    • Locate the white port that connects the back panel to the circuit board on the back of the display.

    • Carefully pull the plastic connector straight out.

  8. hKXhY1YX2BgPsIPK
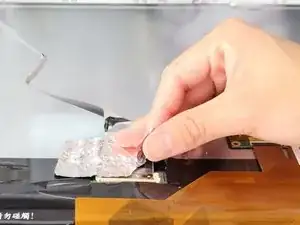
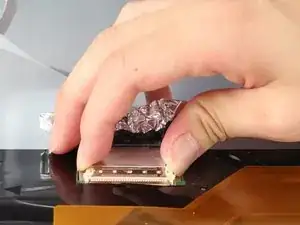
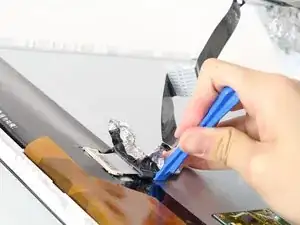
    • Be careful of the aluminum foil tape, as it can easily rip.

    • Carefully lift up the aluminum foil tape with your fingers so that the ribbon connector reveals itself.

    • Do not try to pull the ribbon cables off the screen as there is a plastic piece surrounding the ribbon cables glued onto the metal display.

  9. uPvubkQbp6hQin41
    • Firmly press the two switches located on the sides of the connector and disconnect the connector from its connections.

    • Leave the connector disconnected but still intact with the metal display.

  10. IKFunPgVpPERSljU
    • Use a plastic opening tool and carefully push it underneath the grey plastic case surrounding the ribbon cable.

    • Apply a downward force to carefully peel the grey plastic off of the metal display.

  11. 6YDUAMbjliysWruo
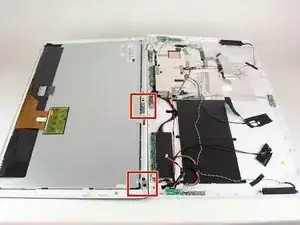
    • Locate the two cables running on both sides of the device found at the bottom side of the screen.

  12. mnGstBeEPA61Uqdp
    mnGstBeEPA61Uqdp
    MAiFLOWmt3wjSHIX
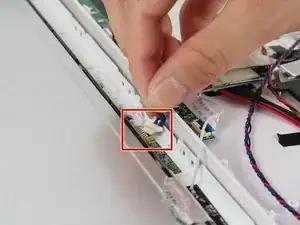
    • Carefully grab both sides of the white plastic piece with your fingers and gently pull directly upward.

    • Do not pull from the red and black cable as it is not very sturdy and may come undone from the connector.

  13. HffLnWSGWtBtF6Hb
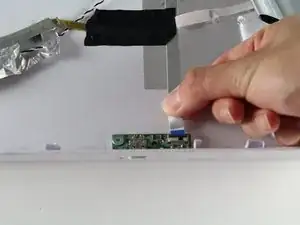
    • Locate the nonfunctional Nabi port; there should be one on each side of the tablet.

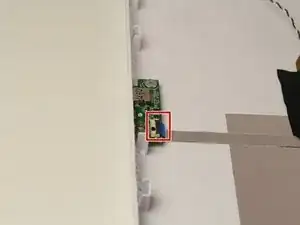
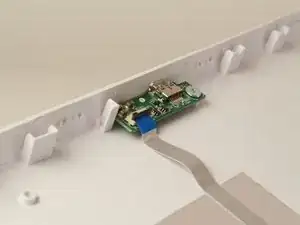
    • The circuit board of the Nabi Port has a ribbon connector attached to it and there should be a blue strip of tape at the end of the ribbon connecting to the board.

  14. TV12Wh5rWvqKUayH
    TV12Wh5rWvqKUayH
    nOxGfbuIbNHPQYOY
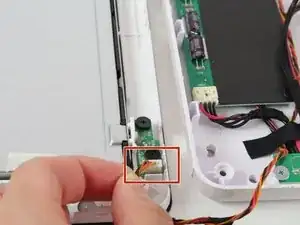
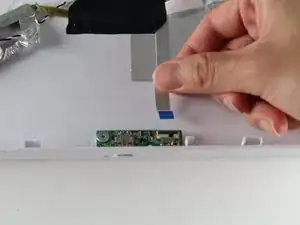
    • Locate the black tab which secures the blue end of the ribbon cable to the Nabi port.

    • Lift up the black tab to release the ribbon cable.

  15. NQZvmDQ2CvDboAwA
    NQZvmDQ2CvDboAwA
    LFyiPuqHh1AbjVDx
    • Pull the ribbon connector away from the circuit board to disconnect it.

  16. NBJJJvP6tYPRY5OJ
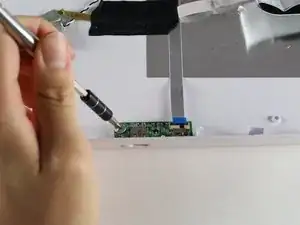
    • Unscrew the 4.5 mm silver screw holding the Nabi Port in place.

    • Lift out the Nabi Port and replace it with your new one.

Abschluss

To reassemble your device, follow these instructions in reverse order.
Kelvin Cao

Mitglied seit: 06/10/16

425 Reputation

0 Kommentare