Einleitung

These step-by-step instructions are provided so you can remove the top cover of the robot. This can be done as a step to remove the wheel or check the wiring.

  1. KCai5APAHfHh4gM4
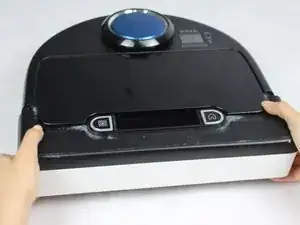
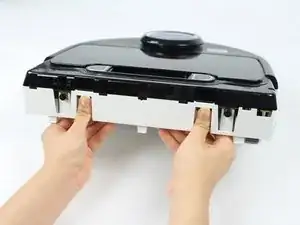
    • Grab the rear bumper with both hands on either side.

  2. 56UqliOjISkqrtDU
    56UqliOjISkqrtDU
    ffYKX1uvOugQpX4n
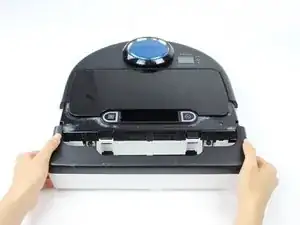
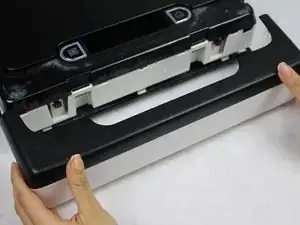
    • Firmly pull the bumper forward at a steady pace.

    • When pulling the bumper forward avoid being too rough because the bumper might break.

    Mine would not pull straight forward so I turned it over and pulled the back corner out and moved it a half an inch forward one side then the other. Once the clips were disengage it was easy to remove the whole thing

    Jeff Blackburn -

  3. EpkPBfORZdQMaIMH
    EpkPBfORZdQMaIMH
    1JZetBx2BPBIOPZJ
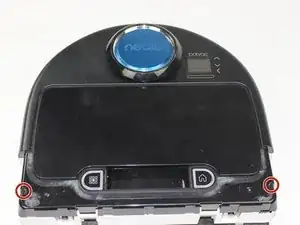
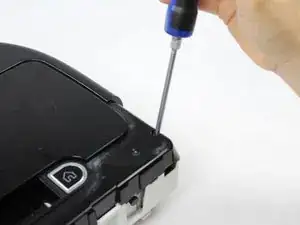
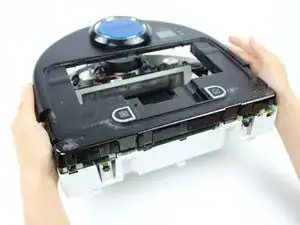
    • Looking from above, remove the two 11mm screws with a Torx T10 screwdriver.

  4. AZEvIsdkOVKsQoFr
    AZEvIsdkOVKsQoFr
    JYVSuLDkuRBBUcGX
    KowWSn12HiwayEkS
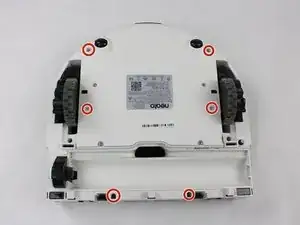
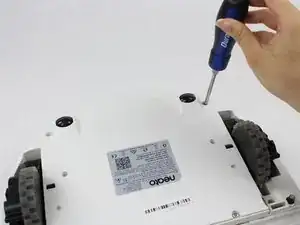
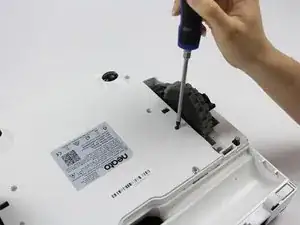
    • Place the robot on its back and remove the six 11mm screws using a Torx T10 screwdriver.

  5. FaEeuln5OGrvingI
    FaEeuln5OGrvingI
    KqVlI6lRAlsIyQfY
    FBjnrGaUAMyl3UgA
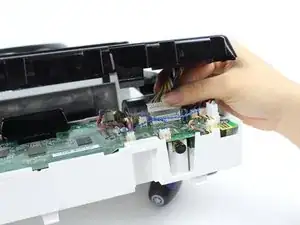
    • Push the clips, located in the back side, inward.

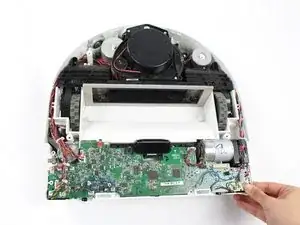
    • Gently lift up the top cover until you can see the wires. Then gently un-clip all the wires.

    • When you lift the top cover be careful because the wires are thin and fragile.

  6. AXVqXOrPUAoGdVed
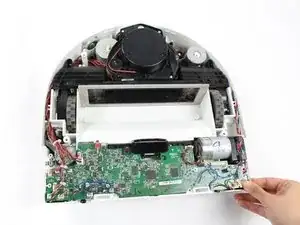
    • Once you have carefully removed the wire clip; you can fully remove the top cover.

Abschluss

To reassemble your device, follow these instructions in reverse order.
Ruth Lopez

Mitglied seit: 22/03/18

280 Reputation

0 Kommentare